
Wednesday, December 26, 2012
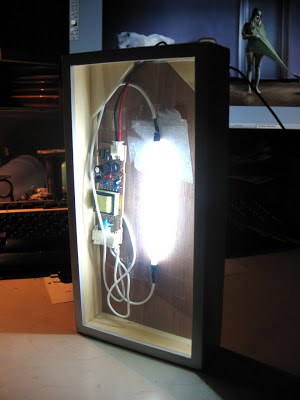
Light Box 2
Just an update on how it's coming along, this a 2nd attempt on creating a decent wooden box. Soon be ordering transparent prints. 6 inch CCFL's are on their way also, meanwhile using a 4 inch one.
Saturday, December 22, 2012
Light Box


Wednesday, December 19, 2012
Etching a Knife
I just came across this instructable here about how to do some simple etching on steel. The idea is to cover your knife blade or other piece of steel with nail polish, scribe a text or pattern in the nail polish and then using electricity etching the metal. Be sure to use a battery (9 volt) and for safety reasons, don't use any wall mounted power supply. This is really fun to do. To get more advanced you could try getting stickers made from your computer designed logo or illustration and use that instead of the nail polish for a real professional look.


Monday, December 17, 2012
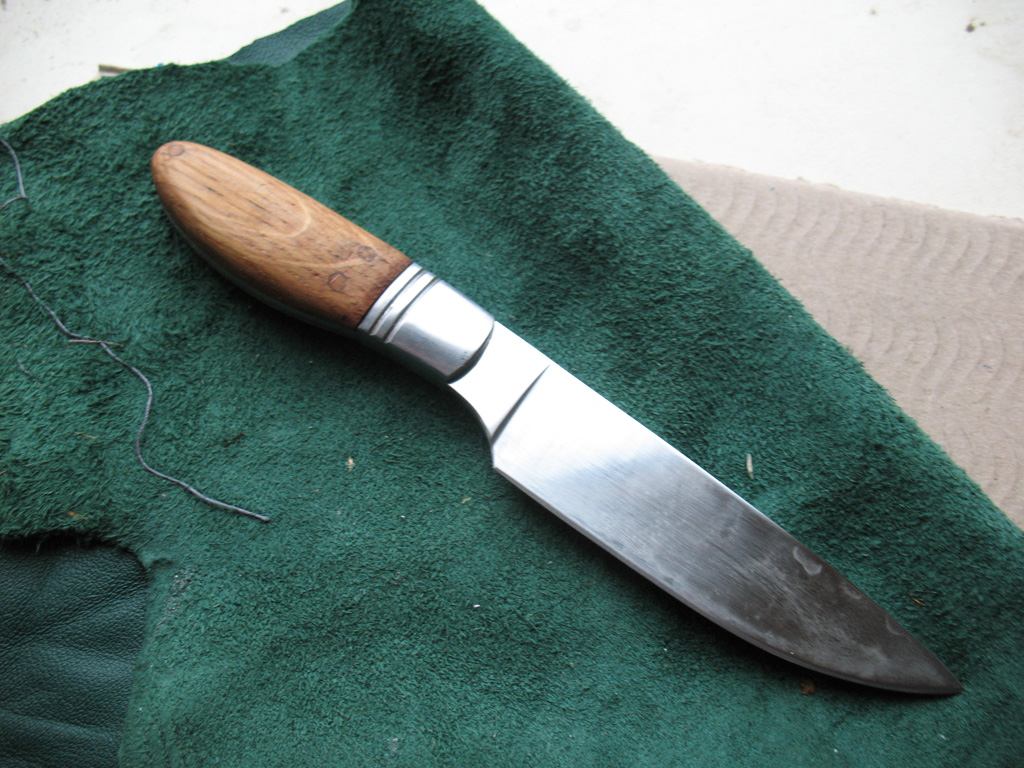
Knife Update
Got my first knife handle done today. All in all not too bad but the nest one will definitely be better. It's made of oak with birch pins and soaked in vegetable oil. Not sure actually what you would use this knife for, maybe for cutting cheese?

Thursday, December 13, 2012
Getting Serious About Knives
I've been trying to make handles for a couple of household knives and found it both a lot of fun and very frustrating. Since I'm completely new to this it's obvious I will make mistakes. Nonetheless I feel I have to get it right this time since I have now a professional looking knive, imported from the USA, with a 1/8th inch thick blade, not like the flimsy kitchen knives I used before. Here's a picture of what I have sofar. The idea is to glue the handle in place with epoxy and hammer 3 wooden pieces of round wood through the holes at the same time, that should keep it all together. Then file down the sticks flush to the handle. There's a lot of stuff to keep in mind; don't spill any glue, don't hammer the wooden sticks to pieces and make sure it all lines up. And also, try sanding stainless steel when you make a scratch, its a pain. If anyone has any hints let me know.


Saturday, November 17, 2012
Birdcage Amsterdam Style update
Here an update on the birdcage, changed the colour from brown and white to green, makes the profile stand out much more. All the metal wires are in, only need to make a base still and figure out how to attach the door with a springloaded locking system. Way much more work than I anticipated.


Saturday, November 10, 2012
Epoxy Resin Pendant
Just made a pendant for the first time for a friend. I made a crude drawing of a cat's face on paper and mixed 5 minute epoxy and poured it on top, let it dry, cut out around the resin and then same thing on the backside added with a piece of brass wire, and there you go. Instant pendant with drawing. Might have to change to slow setting epoxy to get rid of all those bubbles that come from mixing the 2 components but would drag the process to over 48 hours, if you have any ideas let me know? (apart from using vacuum that is)


Thursday, November 8, 2012
New Experiment


Tuesday, November 6, 2012
Birdcage Amsterdam Style
I've been busy building a birdcage, don't know why really, but when you google them they just have a nice shape and feel, preferably without any actual bird in it. And if you have been to Amsterdam, you will have noticed those lovely old slim and tall buildings lining the canals, so that's what I chose to mimic, being dutch and all. Here's a photo of the item under construction. Still need to finish the painting and then add the metal wires in the windows and sort out a door, oh and perhaps a swing for the bird :)


Subscribe to:
Posts (Atom)