Saturday, March 29, 2014

Custom Leather Case Part 6

It's finished! This was way more work than I anticipated, as always :) Especially the leather and felt part took some time getting used to working with. Now I need to find some use for the case, I'll show that as well when I figure it out. Here are some shots of the finished result and thanks for watching. Barry


Thursday, March 27, 2014

Custom Leather Case Part 5

Just a short update today. I've covered the inside trays of the case with red leather as you can see from the pictures. After this I will cover the inside of the trays with black felt. Also got an aluminium  handle, have to install it yet as I'm trying to figure out if the bolts that will hold the handle will clear the trays when the lid is closed. Tomorrow, perhaps the case will be completely done. Stay tuned.

Tuesday, March 25, 2014

Custom Leather Case Part 4

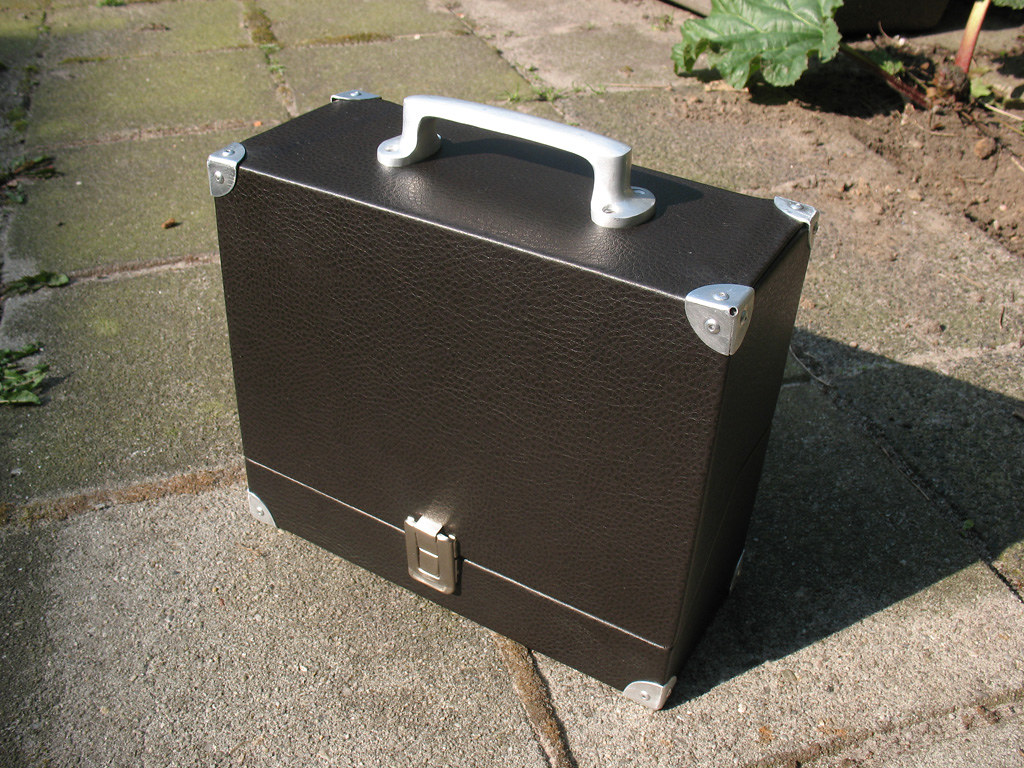
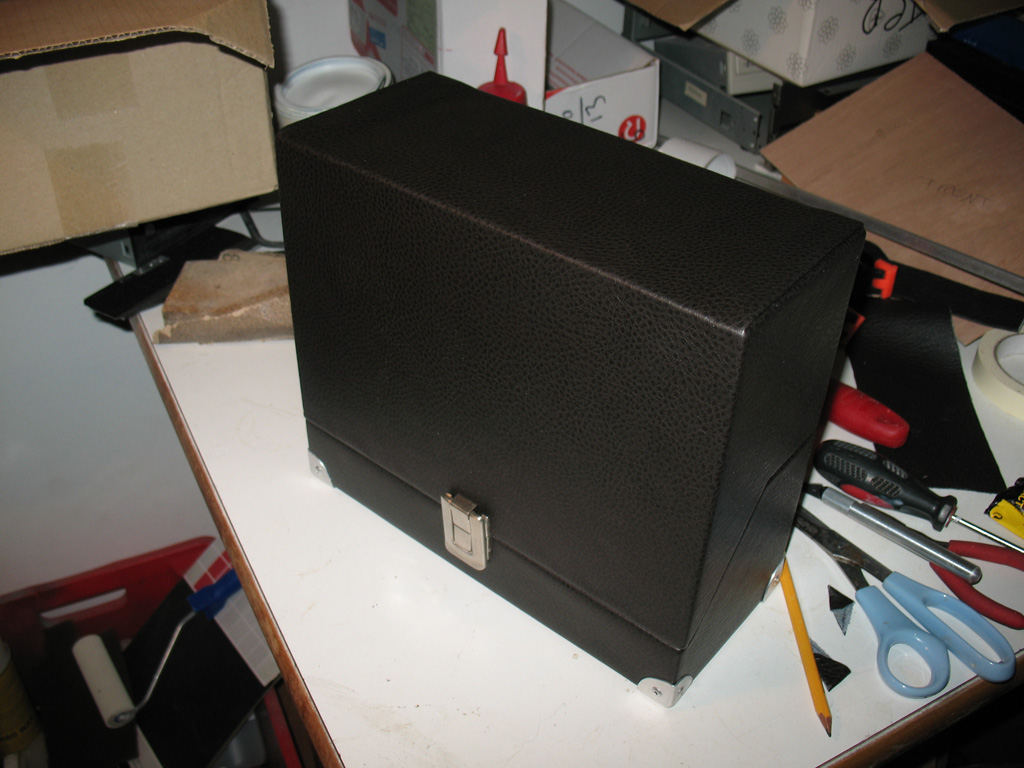
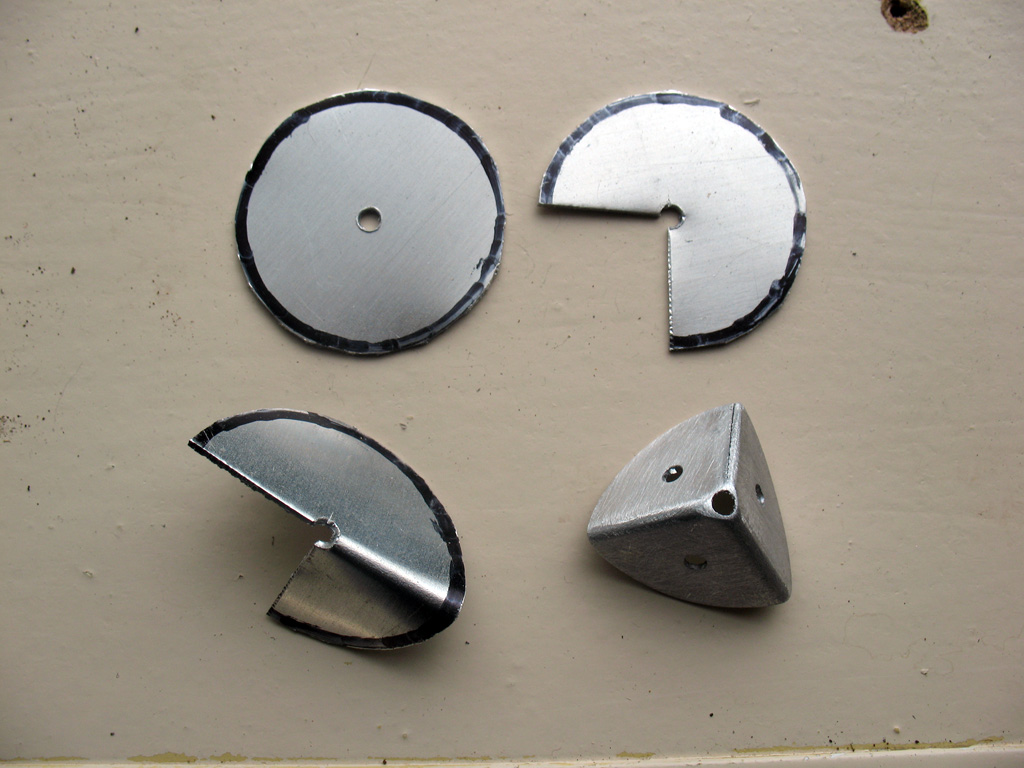
I've spent about 4 days building this case now, in hours, maybe 20. I know, it sounds like a lot. Some of it is due to mistakes you're bound to make when you do this sort of thing for the first time. Cutting wood is a time consuming job, again sometimes due to mistakes having to cut things twice, but haven't lost a lot of wood to the bin yet. Since all the wood is covered you can get away with a lot of bad cuts and rough edges. Making the 8 corner protectors was quite some work, maybe 1,5 hours, cutting disc shapes out of aluminium using scissors, drilling 4 holes, bending the piece, sanding it. Moneywise, spent about 25 euro (32 dollars?), leather and felt being the most expensive part, used a lot of glue also, about 5 euro worth. Wood was 5 euro as well. Aluminium sheet I still had in storage as well as rivets.

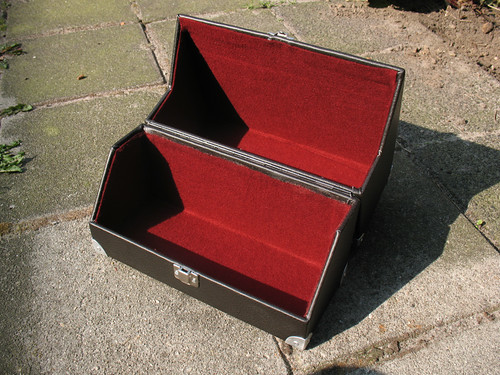
Note to self, try to slow down a bit. Today I wanted to fit the first pieces of red felt but hadn't thought it through and ran into trouble when having to remove felt after it was glued down, not a pretty sight I tell you.

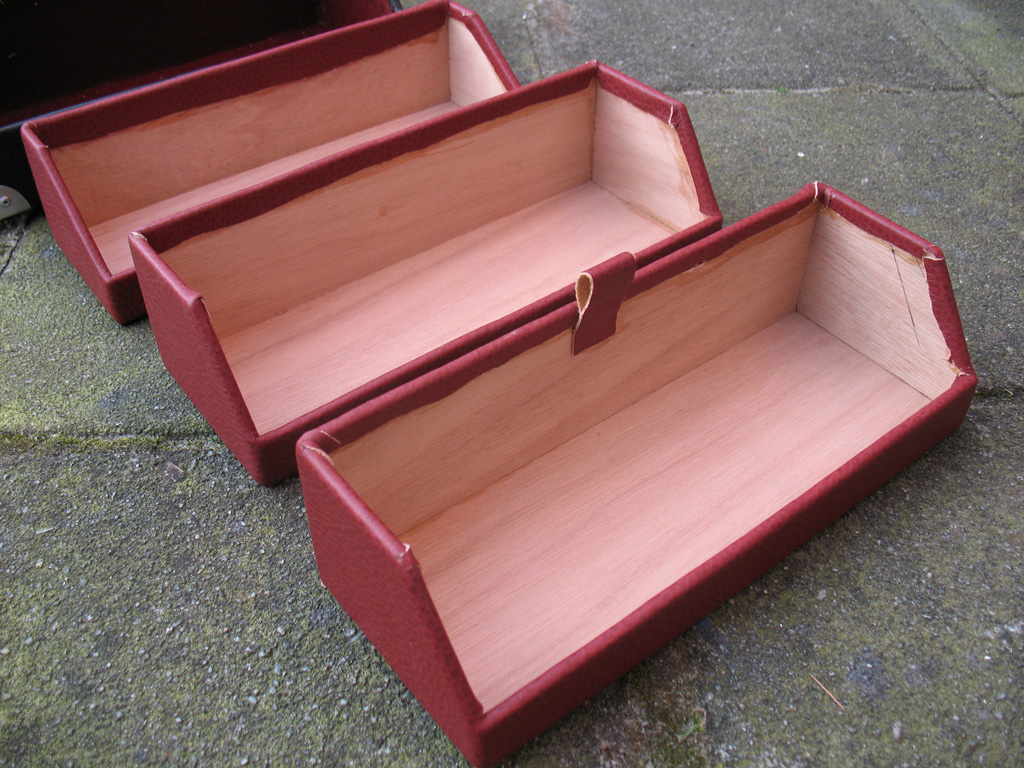
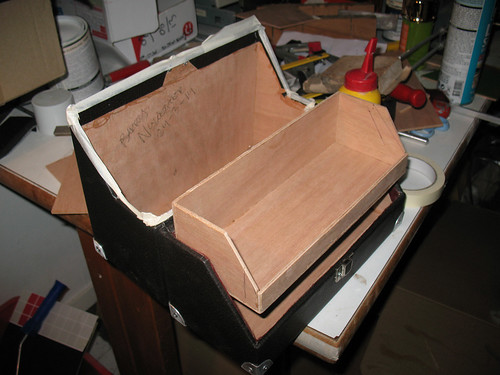
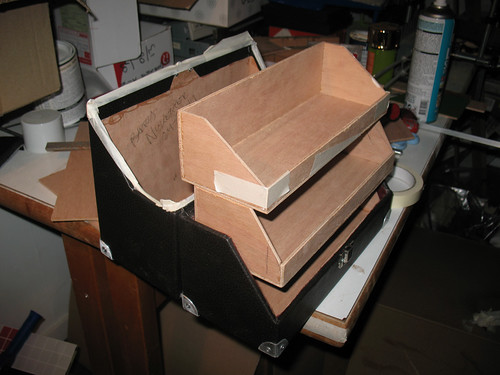
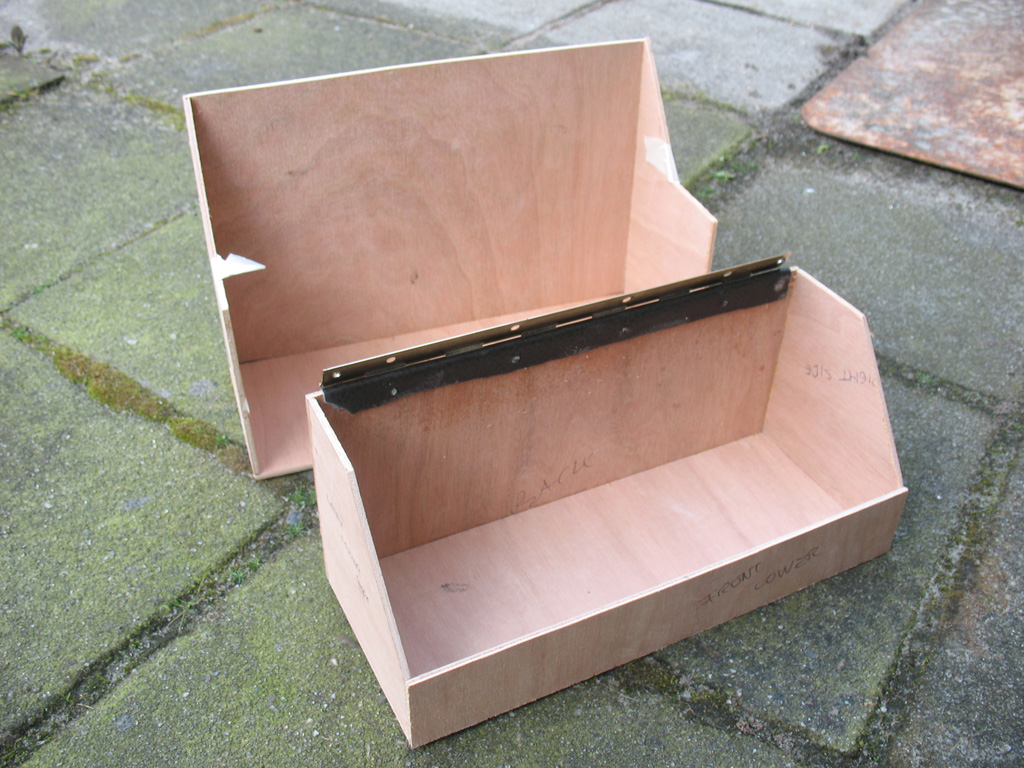
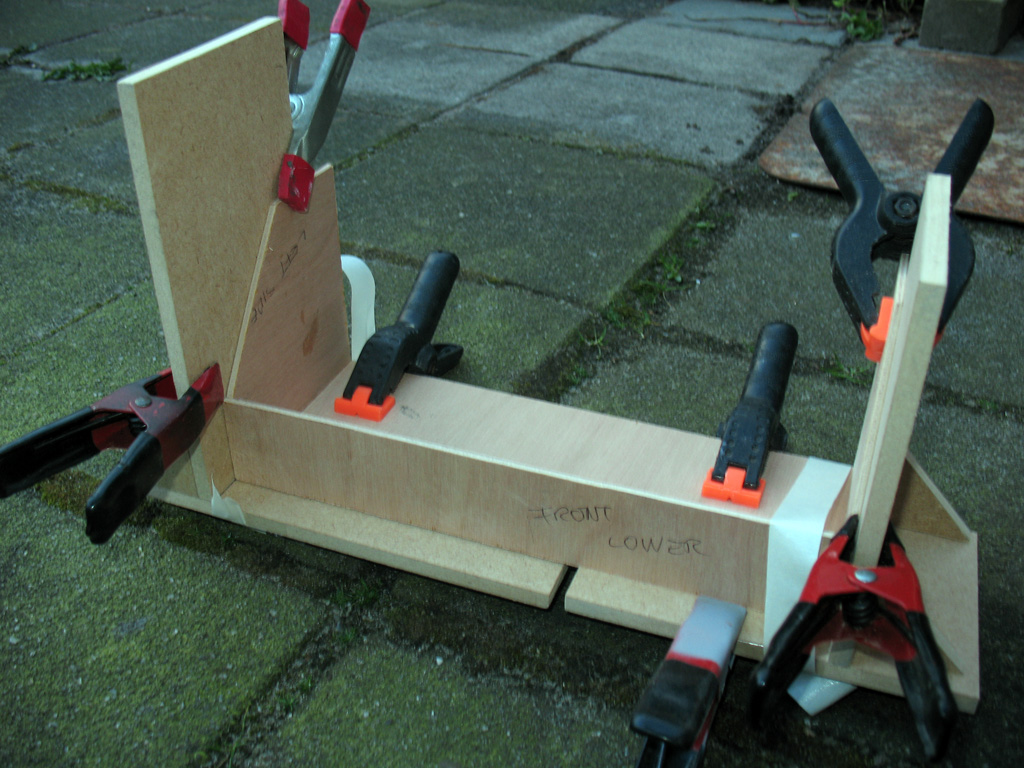
Anyway, today also started on the inner trays that the case will hold, 3 of them. And immediately ran into a small problem. I had envisioned 3 equal trays, however, due to the way the lid closes there wasn't enough room to make 3 equal ones that are stackable. So the top one will be a little bit different to allow the case to be able to close. Same procedure as the case, glue multiplex wood together to form a box. I use 90 degree angle shaped pieces of wood to keep pieces in the correct allignment when drying, using clamps. Using painter's tape also helps a lot to keep some tension on keeping pieces stuck together while drying.

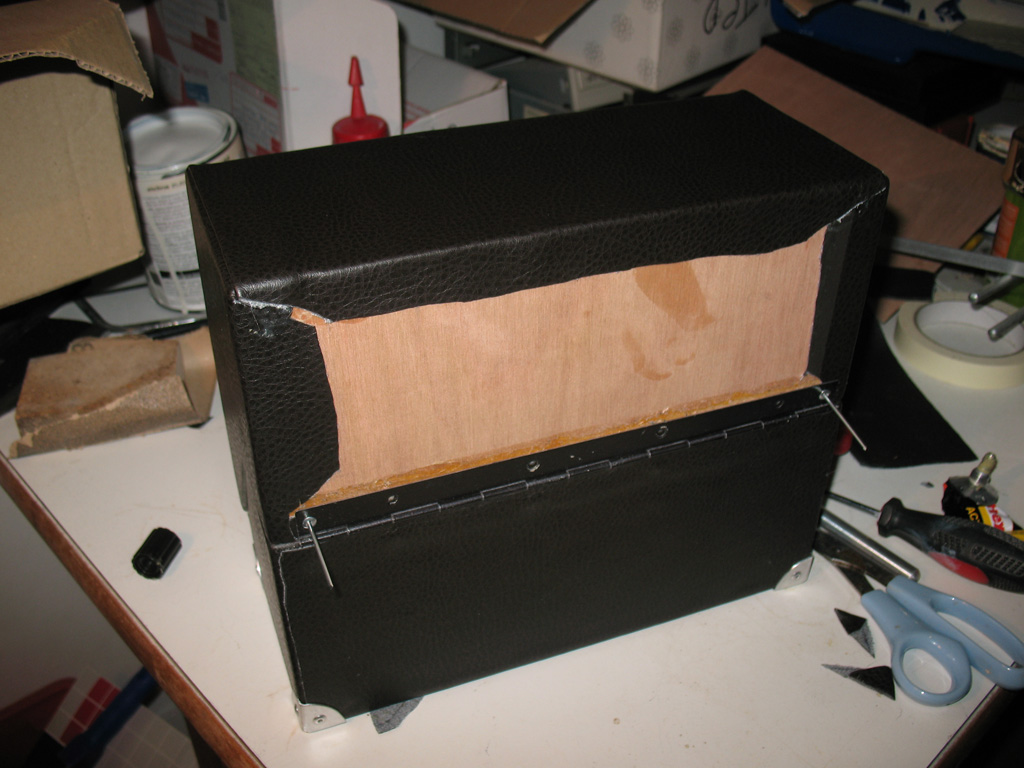
You may be wondering why I haven't put felt in the top part of the case yet, that's because I still have to decide about a handle that will need to be fixed to the top and also I might need some kind of foam in there that will keep my trays from bouncing around when the case is closed.

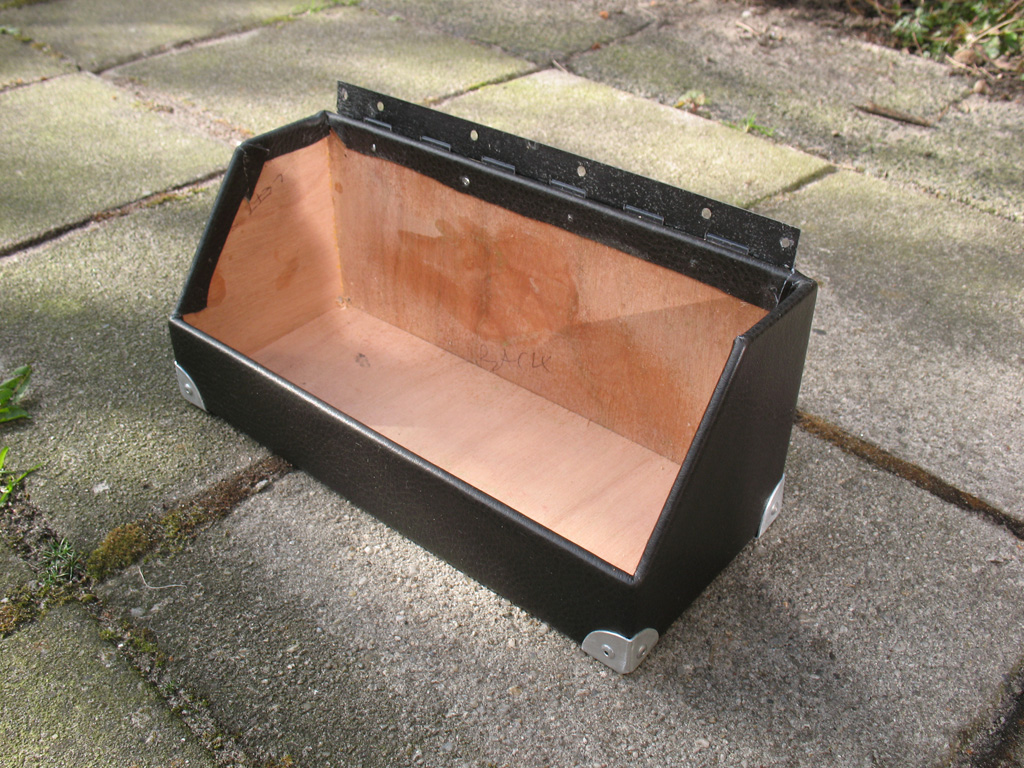
Here are the results of today. Hope you enjoy this build, I certainly am :)


Custom Leather Case Part 3

Glueing the leather on the top part of the case went far easier than the bottom half, guess I'm getting the hang of it now. What is still quite hard to figure out, is how you cover the leather over your part in the least amount of pieces. You want it to look smooth around the corners without separate pieces of leather being glued on top of eachother. It should be possible to do the whole half with one piece of leather but I haven't, partly cause my piece of leather wasn't large enough, so keep that in mind. As a result of this I have to glue a separate piece of leather that will cover the back. As it's the back it's not that big of a deal but I wish I had planned a little bit better. Well, next time will use what I have learnt. So this is what I have now, bottom and top and ready to join them together. I will join the two parts first before I cover the back with leather and hide those rivets.


After securing the two halves together I went looking for a locking mechanism. Not only will this hold the two halves together it also allows you to align both pieces, as in my case they didn't line up properly. And since eventually there will be a handle on the top part, the mechanism should hold the weight of it's contents, keep that in mind. I found a locking mechanism on an old suitcase and bolted it to my new case. Apart from the leather on the back, the front looks very professional :)


While that was drying I started on the last 4 corner protectors, I have 2 done at this point as I'm writing this. I haven't got an idea yet how to fix a handle on top or what to make it from. And of course the inside needs to be covered with fabric. After all that is done I will need to construct some boxes that will fit inside the case. I was thinking of making 3 open boxes that stack on top of eachother, maybe cover those in red leather for a classy look. But for now I leave you with a view of the inside and 2 pieces of felt that will cover the entire inside of the case, I think I will go for the red one.

Monday, March 24, 2014

Custom Leather Case Part 2

So the two halves have been glued. I need to mention that you're supposed to glue the whole box together and THEN cut it in two halves, but I don't have a japanese saw to do that. So I had to build the two halfs separately. When the bottom piece was dry I added a piece of leather where the piano hinge is gonna be, this way I get a nice leather rim on the inisde where the hinge meets the wood. Here's what I ended up with.


Next I placed the bottom part on a piece of dark brown "faux" leather and marked all the sides by laying the part on it's sides one at a time and ended up with this:


Next came the hard part, glueing the leather on. I used a contact glue, put glue on both sides and let it rest for 10 minutes, then stick them together. It's best, as I found out later, to glue one side at a time and let it dry, then cut the excess off and make cuts in the corners to allow folding of the leather to the inside of the box. As soon as I had the bottom box done I installed the aluminium corner protection pieces I had made before, using rivets. Doesn't look bad at all. Next time, top box assembly and putting the two halves together.

Sunday, March 23, 2014

Custom Leather Case Part 1

I saw Adam Savage from Mythbuster's on Tested doing a one-day-build and he built a gun case for his Bladerunner weapon replica. This was an awesome build and I always wanted to do something like this. Not for any particularl item but a case that has some boxes inside to store valuable items.
So here we go. I've made a simple drawing of a case, it has a leather outside and felt inside. It needs a opening and closing mechanism and the corners should be protected, edge protectors like cases usually have.
I started with some pieces of plywood (3.6 mm) for all the sides (the case will be 27x22x10 cm).


Then I cut the sides in half, so I can build the two sides of the case, then glued the parts together.


While that's drying I found some aluminium I can use for the 8 edge protectors and started making one.


Check out the progress on this build the next time as I try to make the two halves come together and start working with leather and a piano-hinge.
Barry