I'm always thinking about LED clocks, how to make an original one. I've made one a couple of years ago, it was inspired by the beautiful nixie clocks but using LED's instead of high voltage expensive nixie tubes. Now I'm still thinking about 7-segment displays (the numbers that make up a digital clock), how to make my own. It's hard to make your own using existing clock hardware. The route towards writing software and making your own pcb's is still a bit off-putting to me, but I might get to that some day. In the meantime tinkering with clock kits, trying to figure out how they work and especially what materials I like to combine them with. Here's an example, a test piece, of a LED clock in a clear housing on a wooden base. Added feature is bright yellow light lighting the clear housing (and the room) when the alarm goes off. It looks like something out of a James Bond movie, and that's what I like about it, it doesn't just show the time, it also has a dramatic housing around it, which, when I perfect the design will hopefully be a true unique and weird and wonderful clock.
Friday, May 9, 2014
Monday, May 5, 2014
Bird Family Coat Rack For Kids
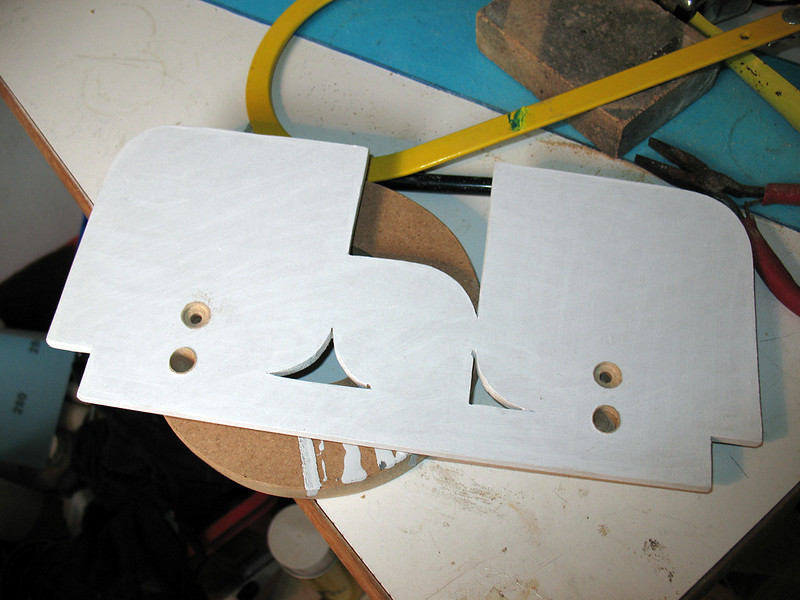
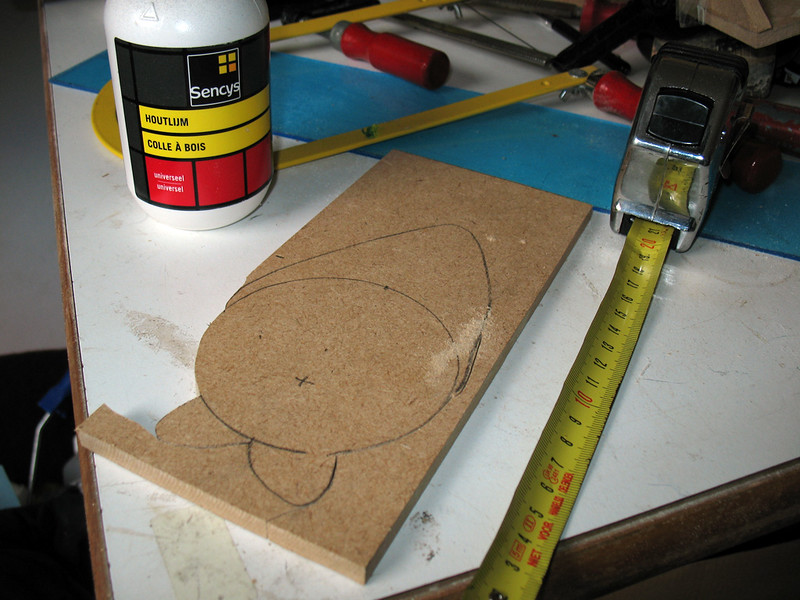
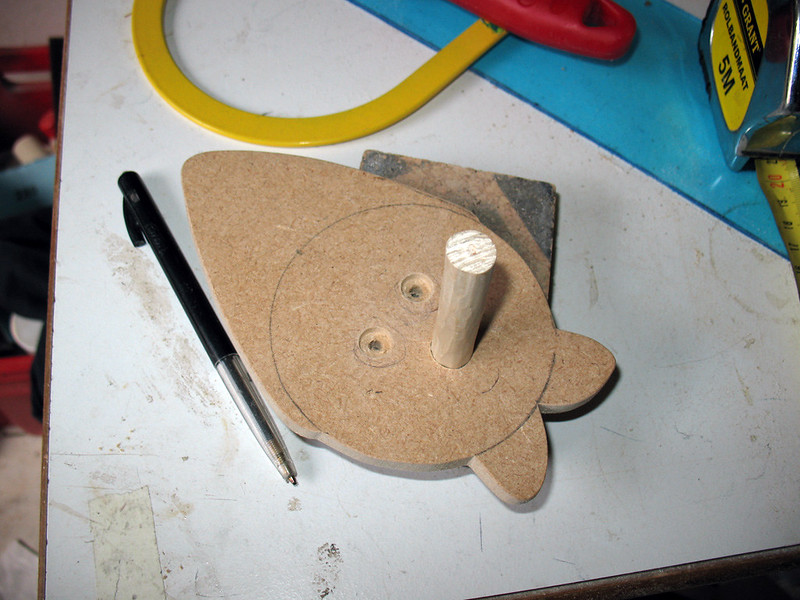
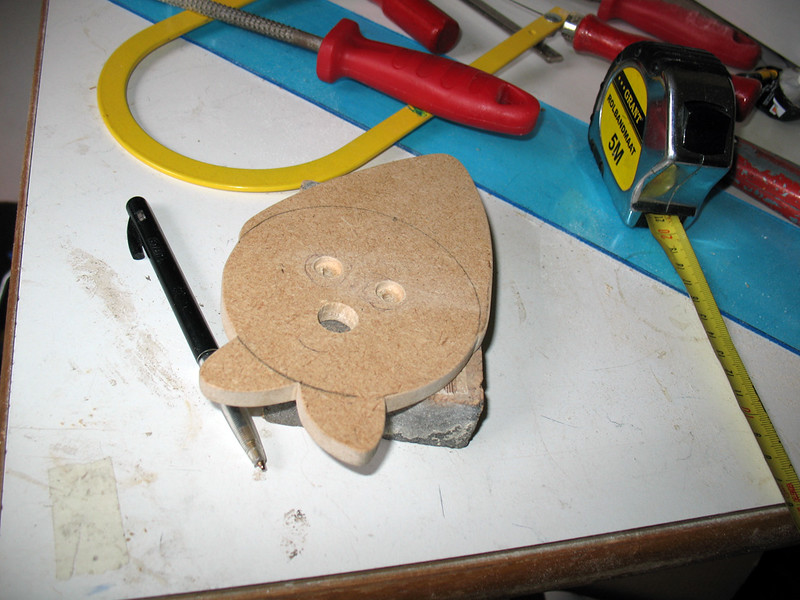
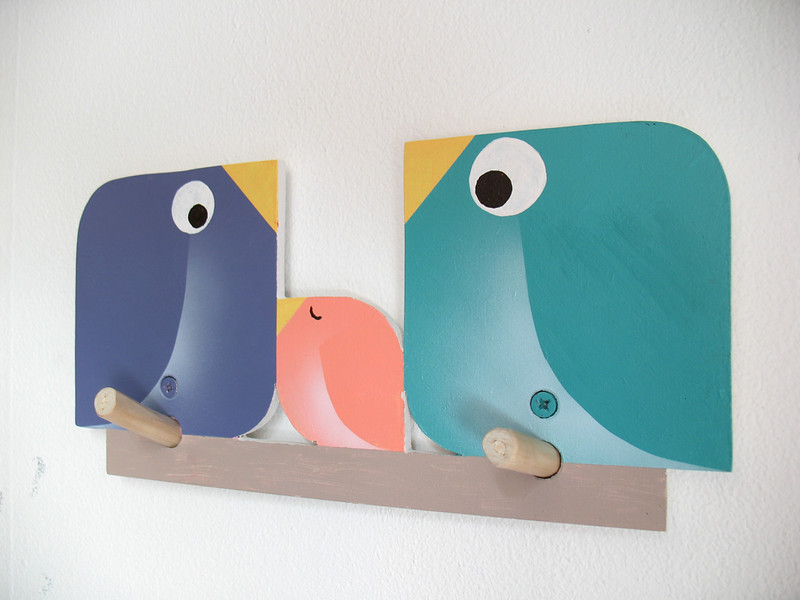
After the Pinocchio coat rack I got a taste for some more. Because a tree branch coat rack makes sense related to Pinocchio's nose, the only other subject I could think of are birds. A bird sitting on a tree branch. So I quickly designed some simple birds and cut the design out of MDF board. Give it a coat of white acryllic paint and drilled holes for the tree branch and screws. The back is reinforced with an extra piece of MDF which also acts as a spacer between the wall and the coat rack. The birds were hand painted with some shading done with an airbrush. Came out real nice. You can probbaly find them real soon in my Etsy shop.

Saturday, May 3, 2014
Pinocchio Coat Rack
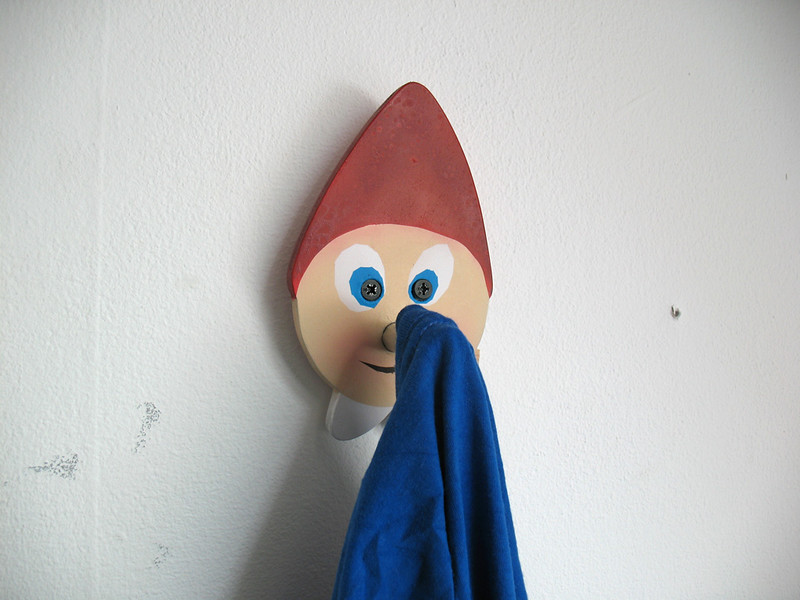
Thinking of what I could do with a tree branch coat rack, suddenly Pinocchio came to mind. Obvious really when you think of it. So I roughly sketched a Pinocchio head, purposefully avoiding the Disney resemblance. I then cut out the head shape and drilled holes for the nose and eyes. I decided the eyes would be perfect for the mounting screws so I recessed the holes a bit. From the last coat rack I still had a piece of tree branch that I could use for the nose.
Next up came painting. I decided to use acryllic paints with an airbrush. First primed the piece and then layer after layer of paint. Finally, sprayed the screws black and installed the nose (which has no paint on it). There you have it, a Pinocchio coat rack ready for a kid's bedroom.
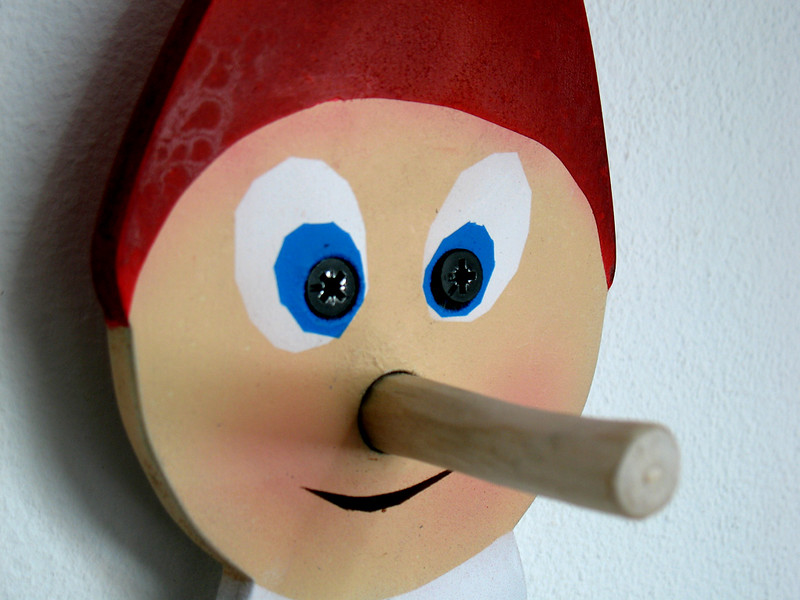
Next up came painting. I decided to use acryllic paints with an airbrush. First primed the piece and then layer after layer of paint. Finally, sprayed the screws black and installed the nose (which has no paint on it). There you have it, a Pinocchio coat rack ready for a kid's bedroom.

Friday, May 2, 2014
Landscape Light Box Part 3
Here's an update on the light box. I have started painting the box and all the electronics and CCFL tubes are test fitted with screws in place. There are two transformers that convert 12 volts to 300 volts. Everything fits nicely in the box. Wires from teh converter join to a wire block, from there a wire runs out of of the box to a 12 volt adapter. Once painting is done all I need is two sheets of clear acryllic glass and a photo print.
Subscribe to:
Comments (Atom)


