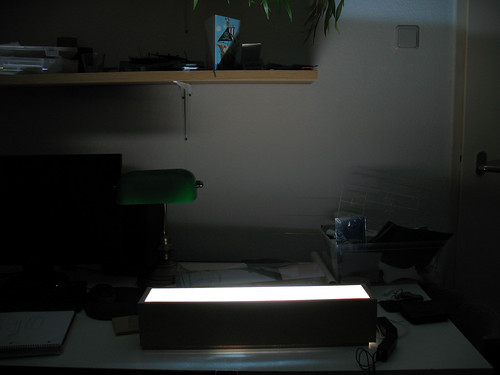
I've been wanting to do this one for a while. A wide light box for a landscape photo. This one will be about 20 by 4 inches, 50 by 10 centimeters. By 10 cm deep because this will allow the box to stay on a surface if not hung on a wall and not fall over if it was less deep, thinner.
The box is made of MDF and glued, on the front side I glued small strips of wood that will serve as a frame to hold the picture and the plexiglas/acryllic glass, clear plastic.
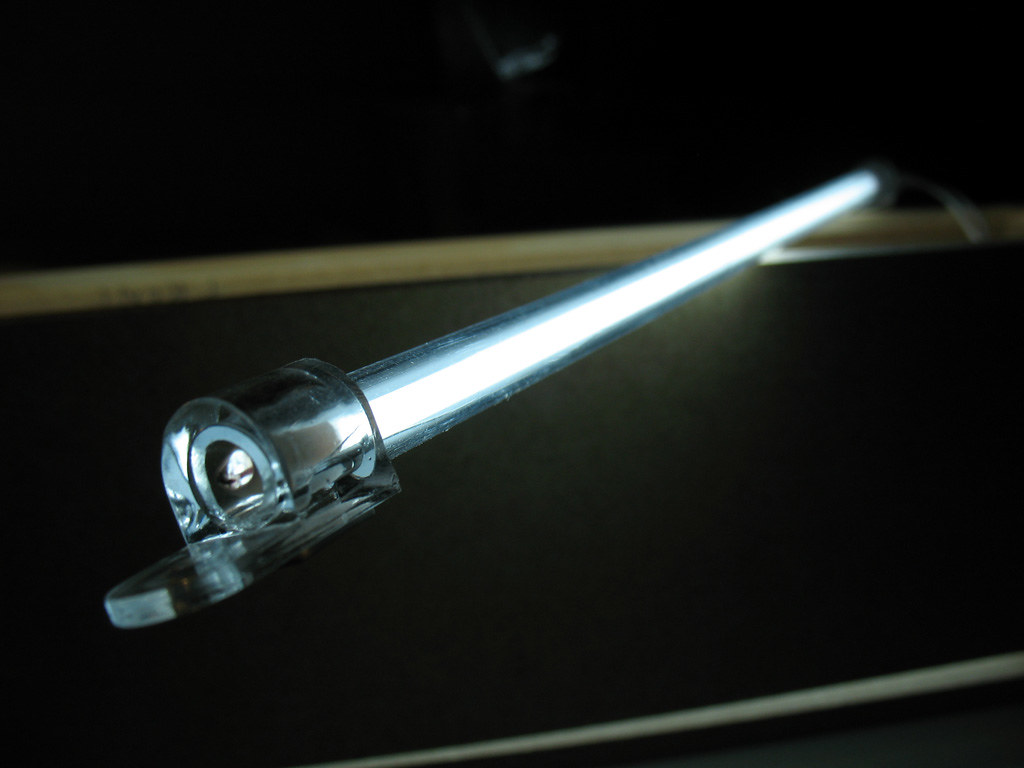
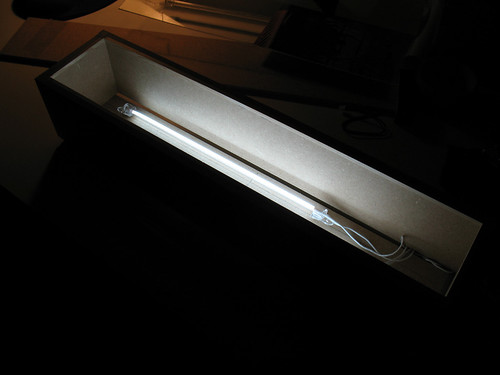
What you see here is a test of how much light is generated by 3 CCFL's in this box and how I should arrange them. This is critical cause I also need to fit the power converters inside the box without blocking the light. The CCFL's are like thin tube lights (used in laptops and pc case modding and cars), they work on about 300 volts which are generated by a converter (a small box you get with the lights), input is 12 volts. Currently I'm using a 3 amp adapter to power these, I'm not sure how much the CCFL's can consume, but I see the difference from when I was using a 1 amp adapter. Way more light now. It actually lights up the room. May also try some LED strips in the future, they will probably use more power but won't be able to break (CCFL's will break if you drop them on the floor) and less heat, though CCFL's only get a little bit warm not ho