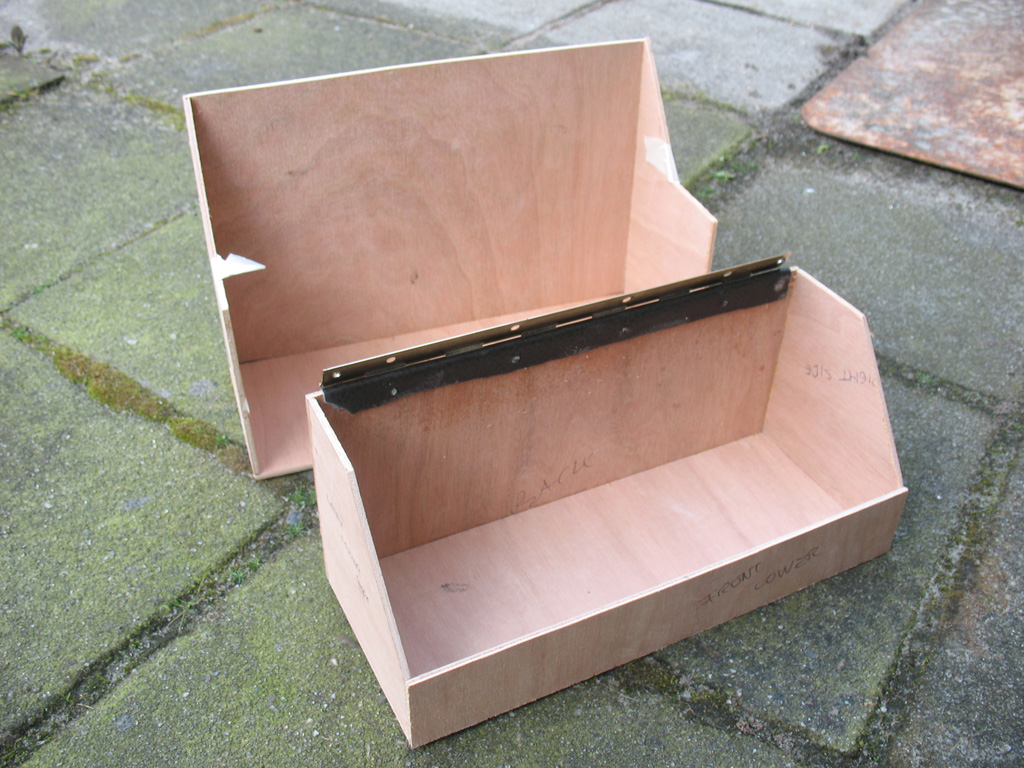
So the two halves have been glued. I need to mention that you're supposed to glue the whole box together and THEN cut it in two halves, but I don't have a japanese saw to do that. So I had to build the two halfs separately. When the bottom piece was dry I added a piece of leather where the piano hinge is gonna be, this way I get a nice leather rim on the inisde where the hinge meets the wood. Here's what I ended up with.
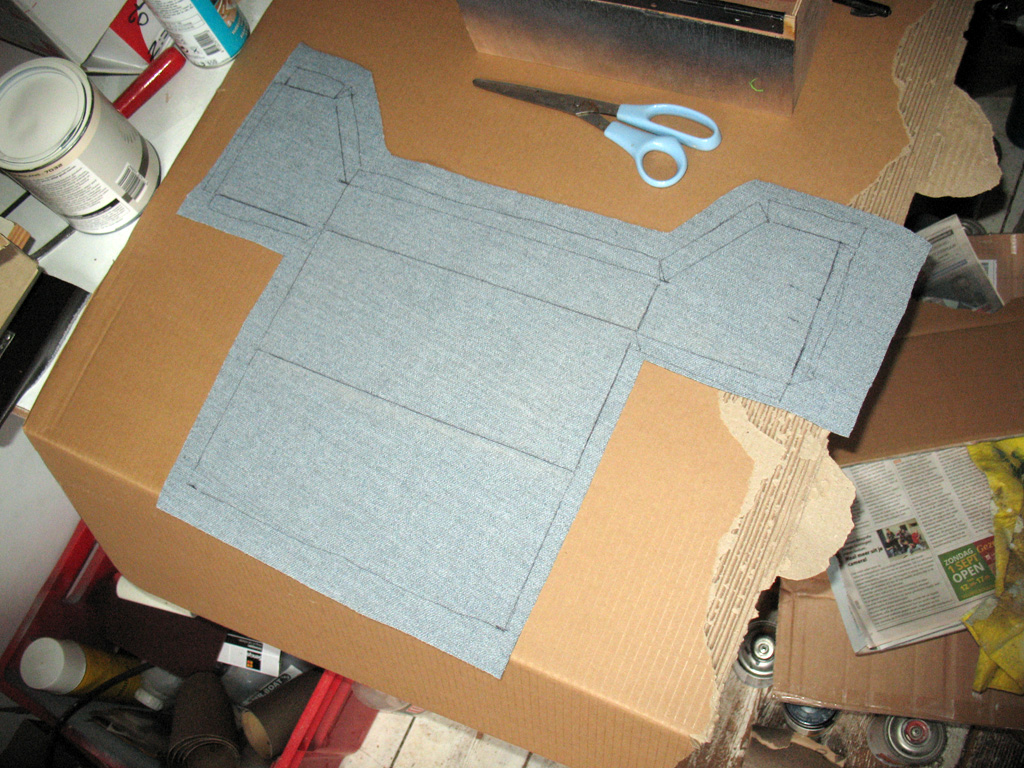
Next I placed the bottom part on a piece of dark brown "faux" leather and marked all the sides by laying the part on it's sides one at a time and ended up with this:
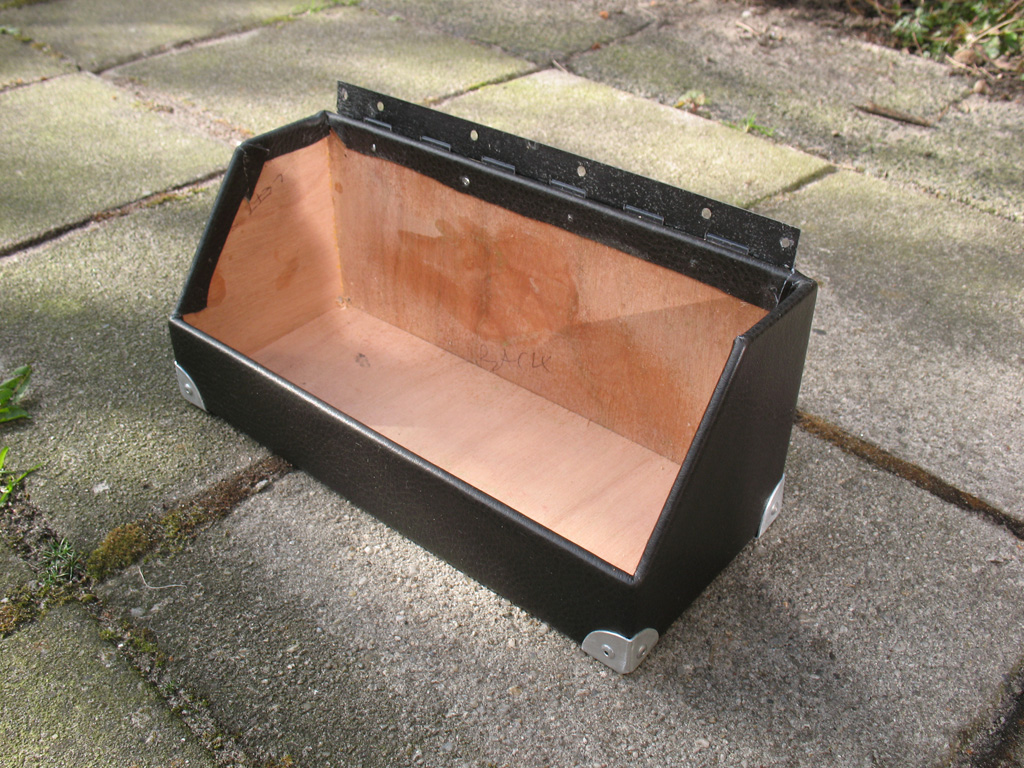
Next came the hard part, glueing the leather on. I used a contact glue, put glue on both sides and let it rest for 10 minutes, then stick them together. It's best, as I found out later, to glue one side at a time and let it dry, then cut the excess off and make cuts in the corners to allow folding of the leather to the inside of the box. As soon as I had the bottom box done I installed the aluminium corner protection pieces I had made before, using rivets. Doesn't look bad at all. Next time, top box assembly and putting the two halves together.


No comments:
Post a Comment