Saturday, October 14, 2017
Tiny Bandai Millennium Falcon Build II
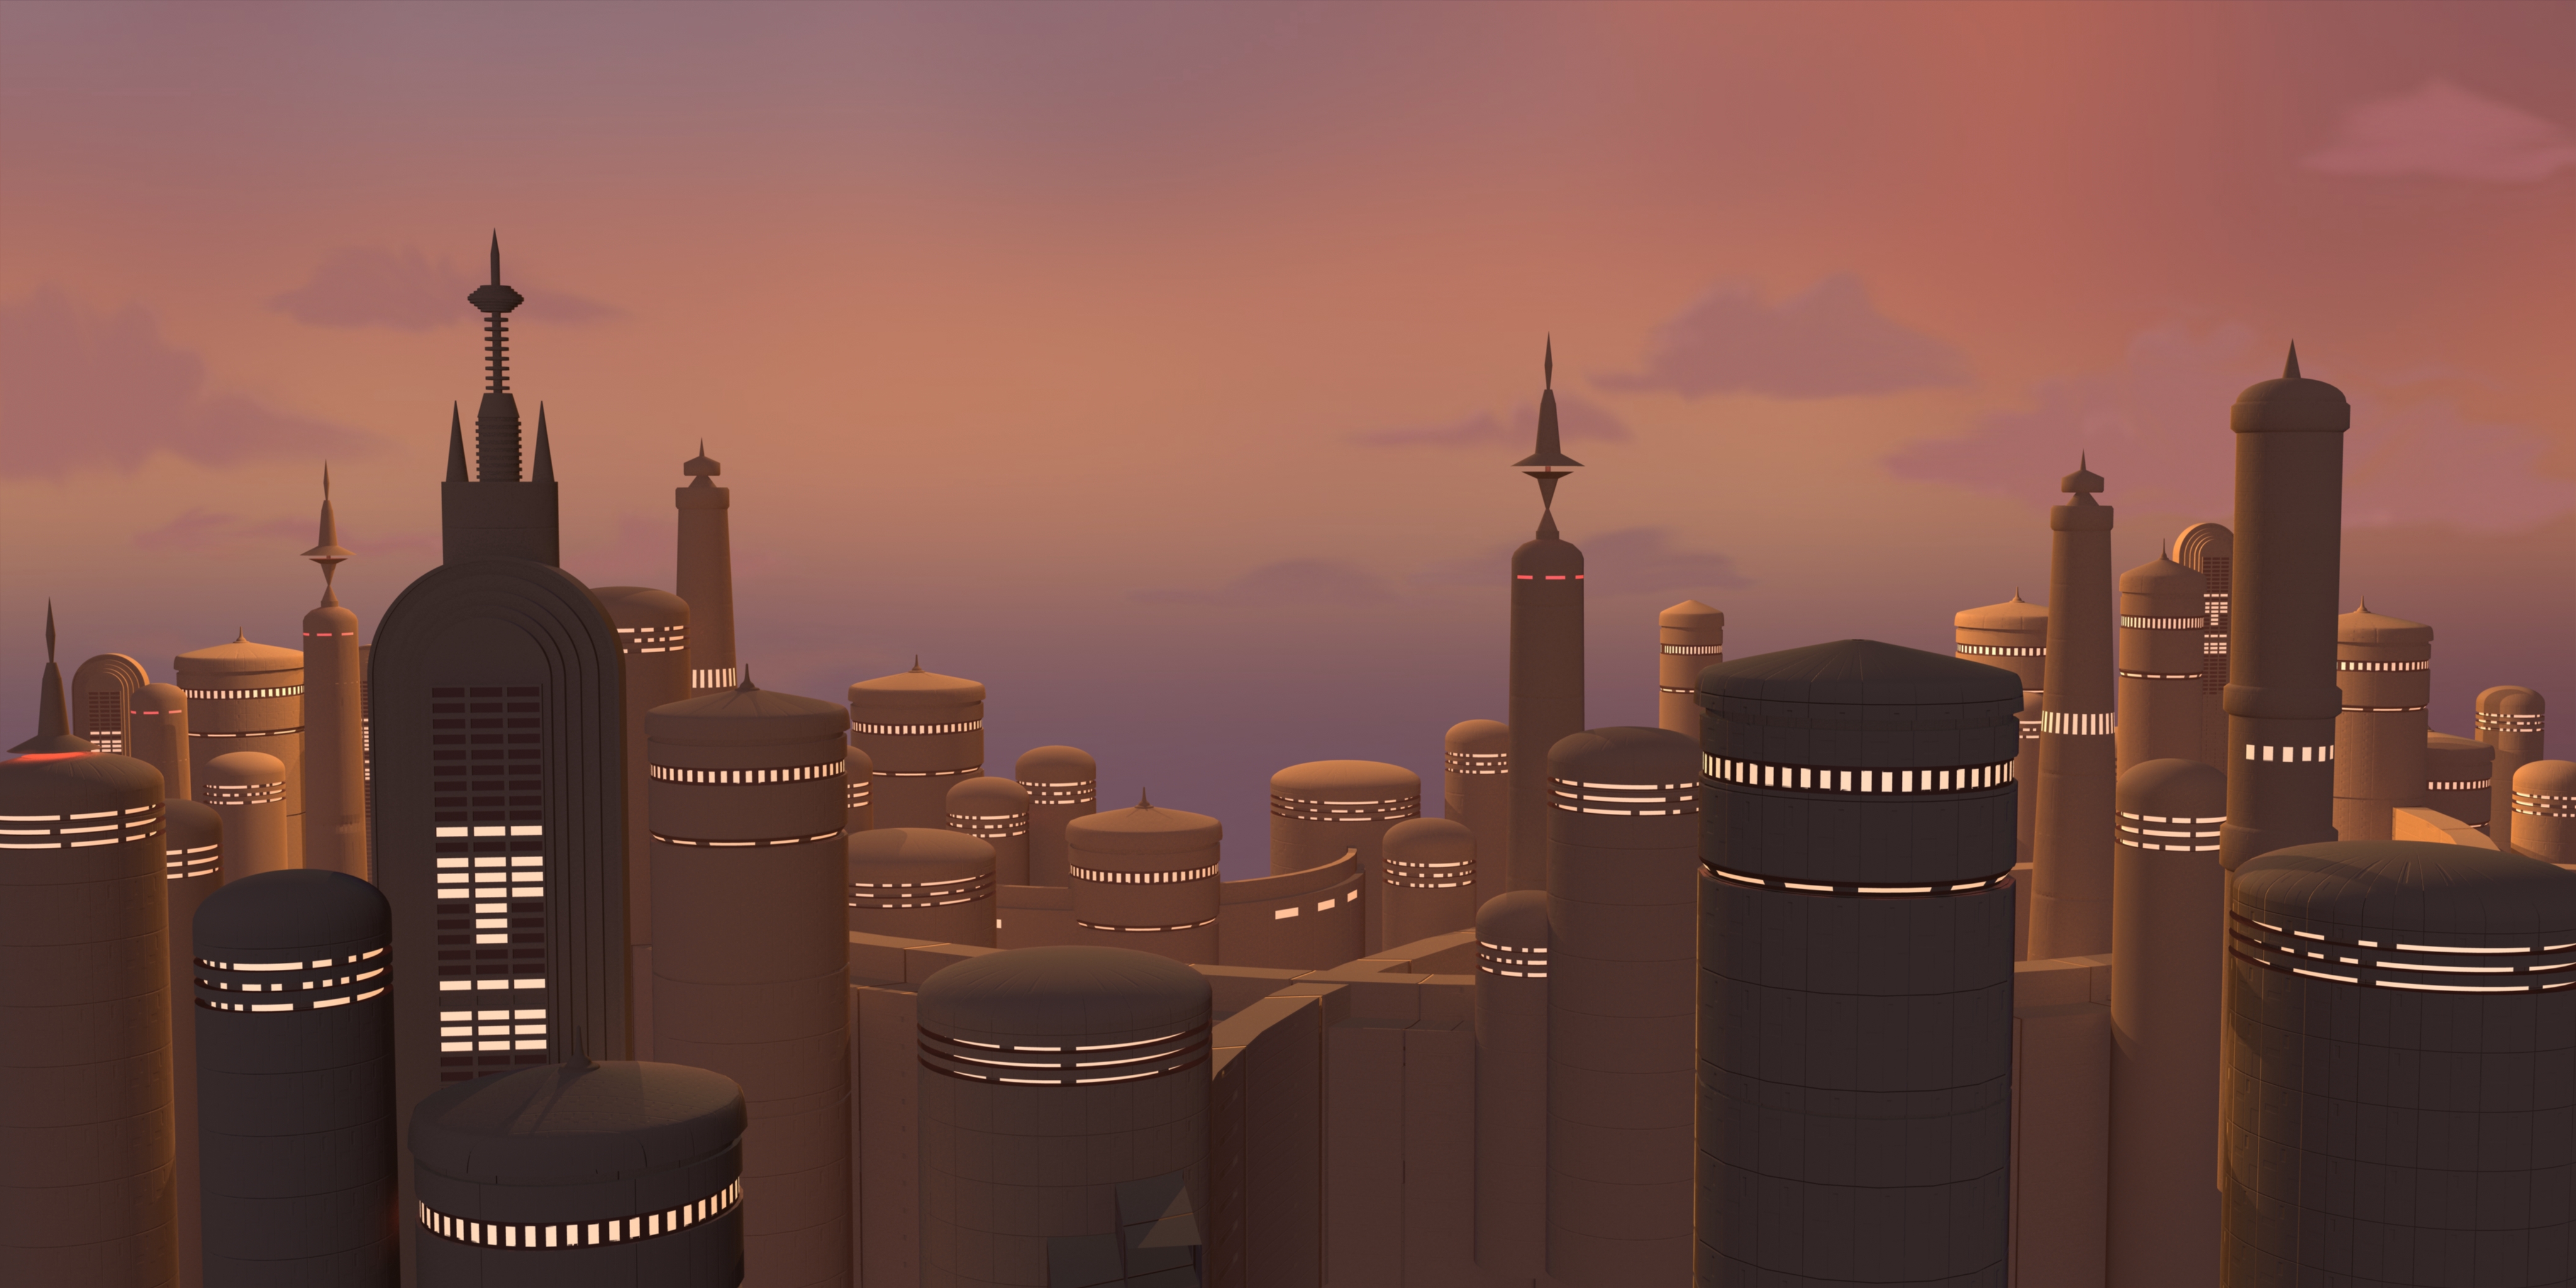
Using 3d software to create the background image that will be incoprporated in the Bespin diorama as a lightbox. Will act as a backdrop and lightsource for the millennium falcon sitting on it's platform.
Labels:
led,
light box,
millennium falcon,
scale model,
Star Wars
Tuesday, May 9, 2017
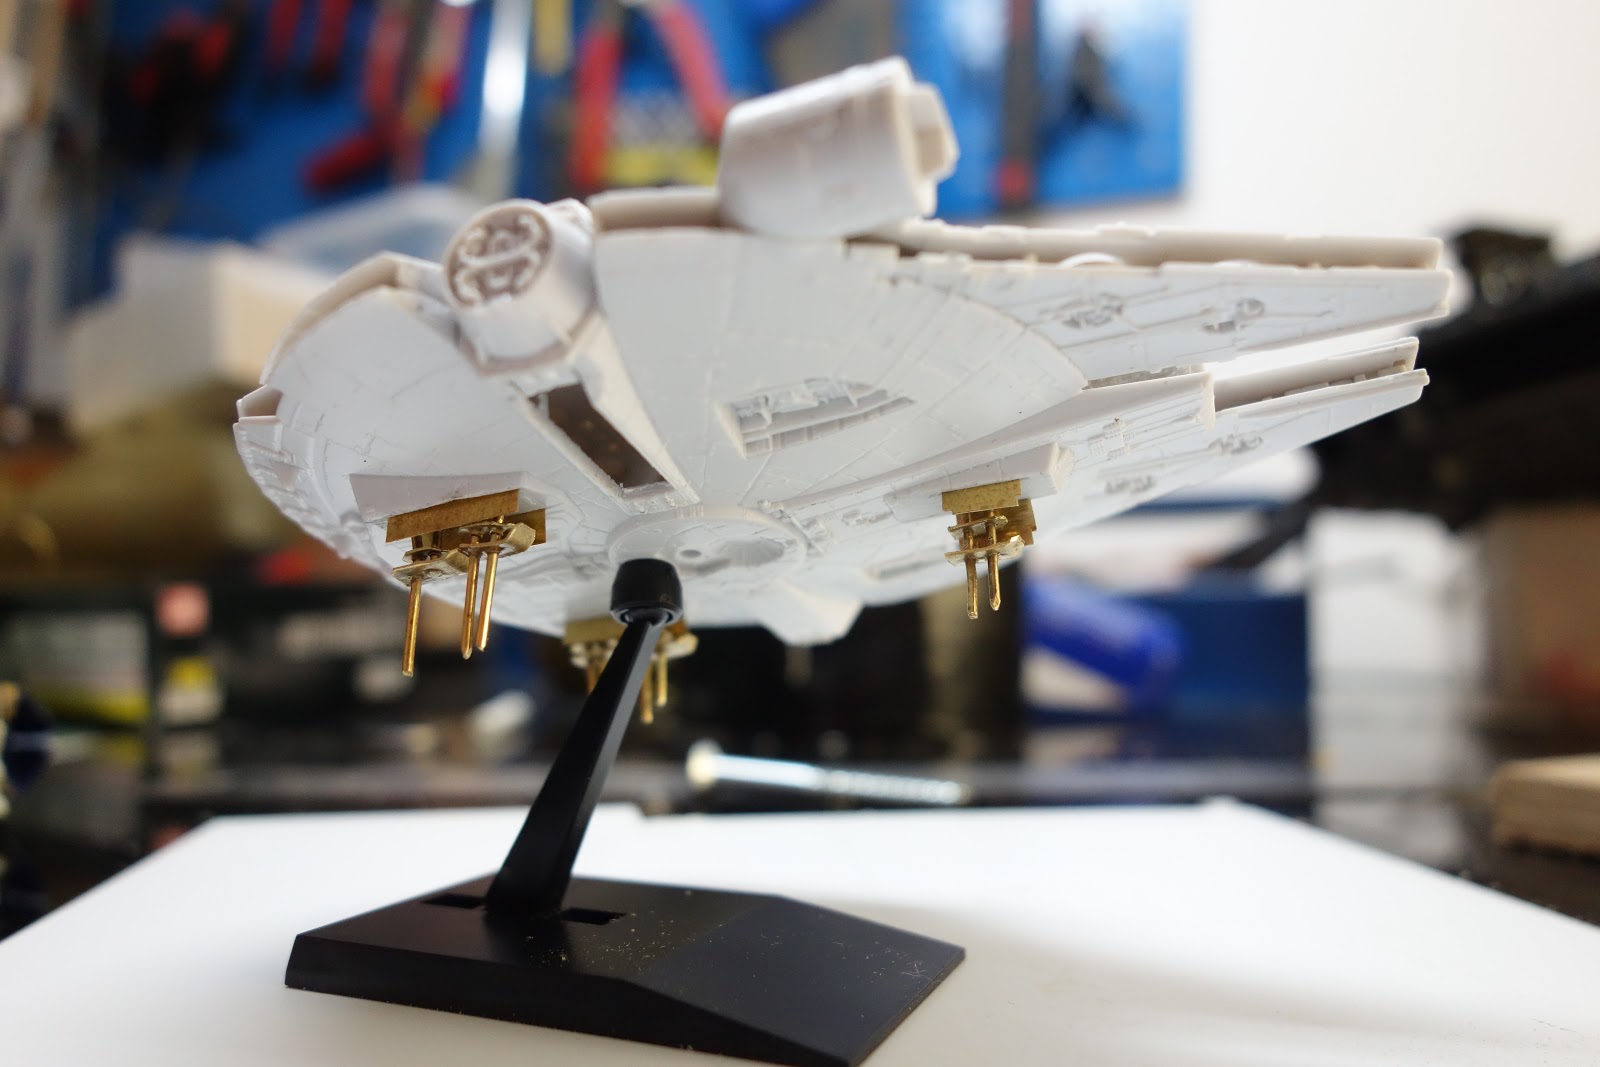
Tiny Bandai Millennium Falcon Build I
I've started a new scale model build as a youtube video series. In part 1 I'm starting to add landing gears to the tiny model and to my amazement find small enough optic fibers (and a matching 0.25 mm drill bit) to attempt lighting this true small but very detailed minature.
Labels:
Bandai,
brass,
led,
millennium falcon,
scale model,
Star Wars,
youtube
Boat Update V
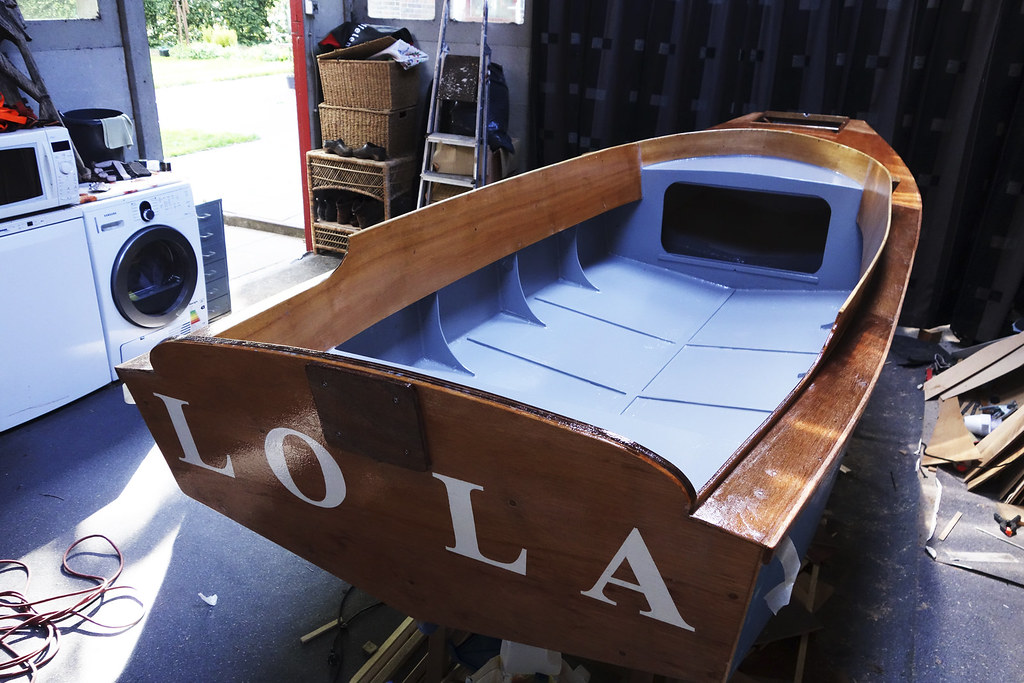
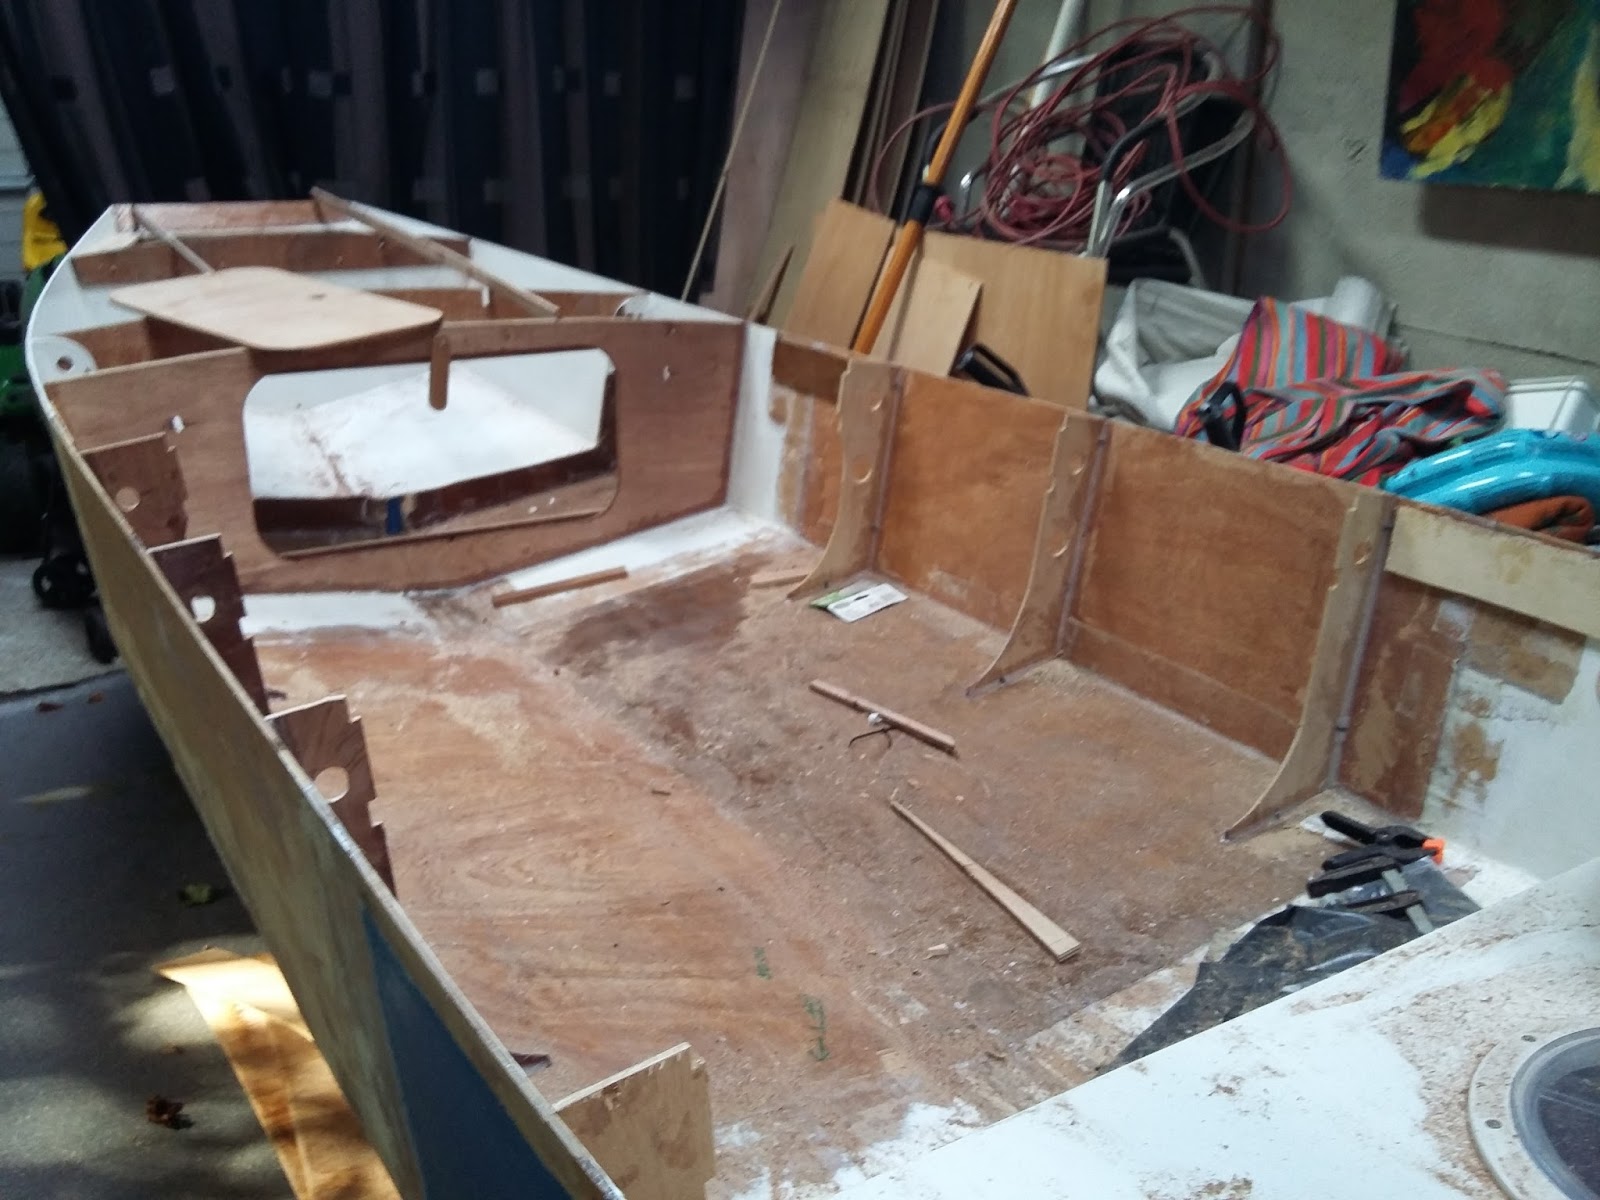
I've finally started painting the boat. Allthough the deck is far from perfect, I decided it would be nicer to show the wood instead of hiding it with paint. So the deck and coamings are in clear varnish. Interior in grey. Before that I reinforced the cockpit bottom with some slats. Still working on some deck fittings, the cleats mainly. Plan is to launch the boat in two weeks!
Tuesday, April 18, 2017
DIY USB Anchor Light and Foldable Anchor Ball for a Small Boat
These little side projects are so much fun. By law you need a anchor light for the night and an anchor ball for the day, if you're using the anchor. But since my boat is just a small one it becomes very important to keep these things light and easy to stow away.
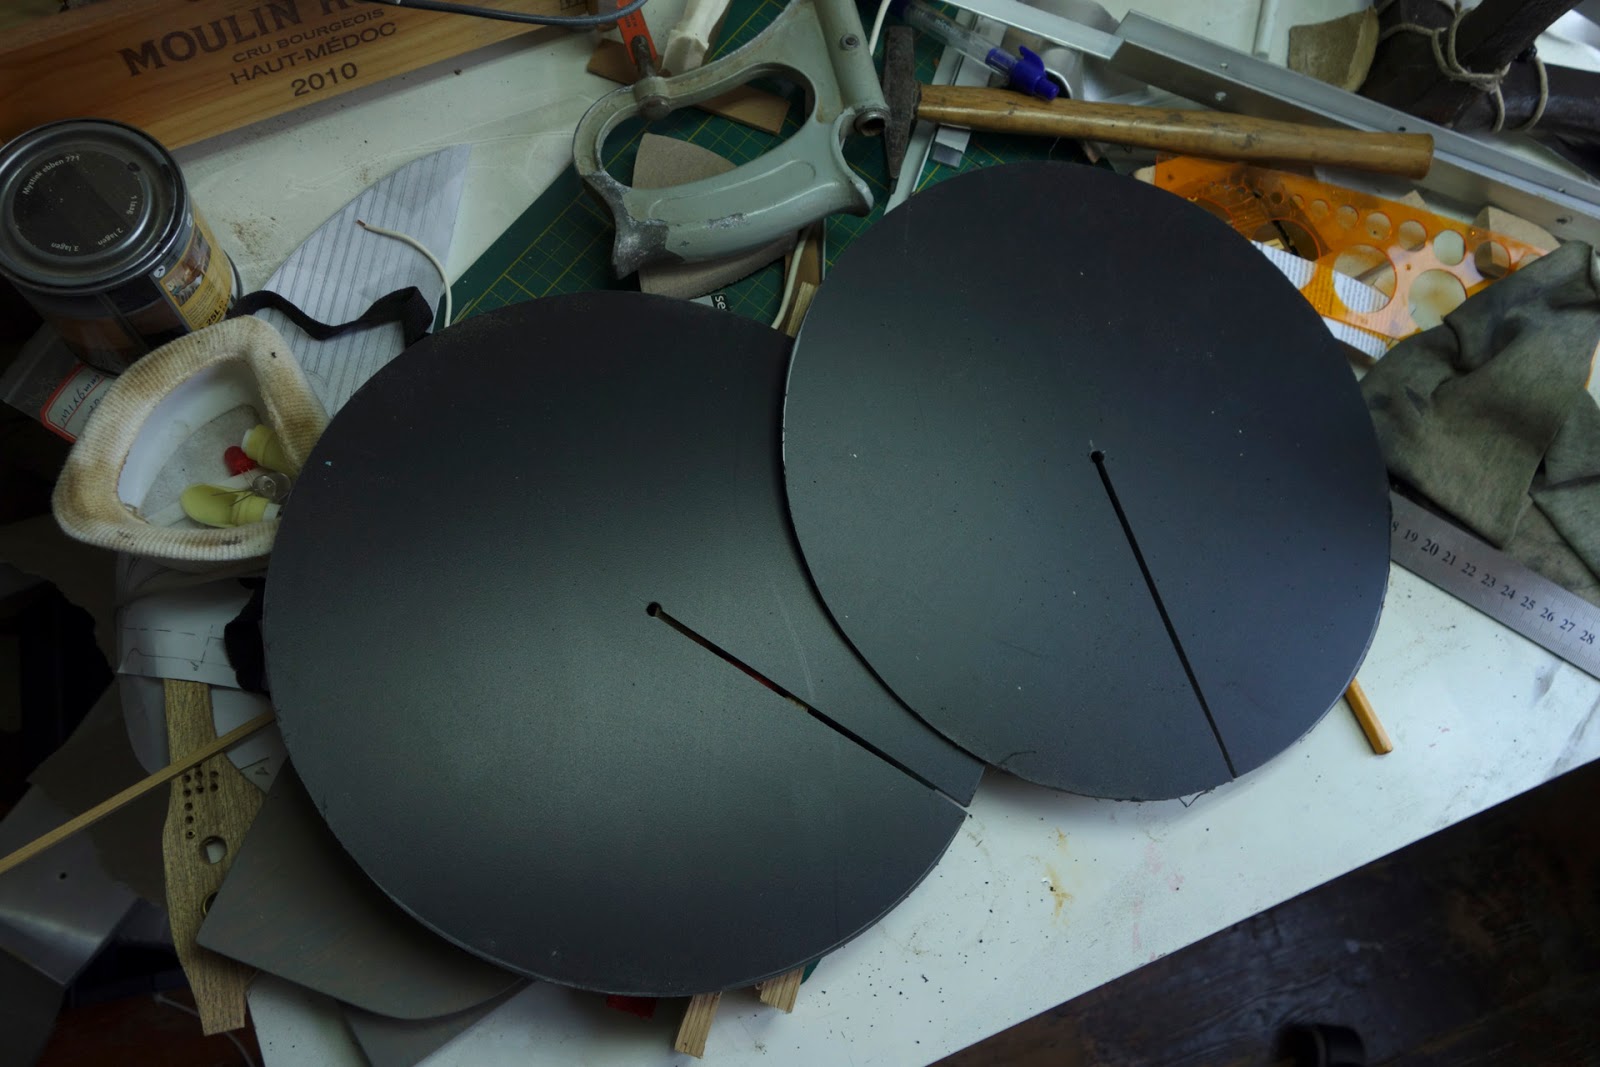
The anchor ball was quite easy to make. It's two black plastic holes with a slit cut to the center so they join together to make a ball. It folds flat and I've drilled holes in them to attach it to my flag pole.
The anchor light was a bit of a headache. First I looked around for quite a while to find a small but bright light in a housing that allows the light to be seen from 360 degrees around. I finally found such light on Ebay. It's powered with a standard USB connector, 5 volts. Which is handy cause I plan to take powerbanks and a solar charger with me on the boat.
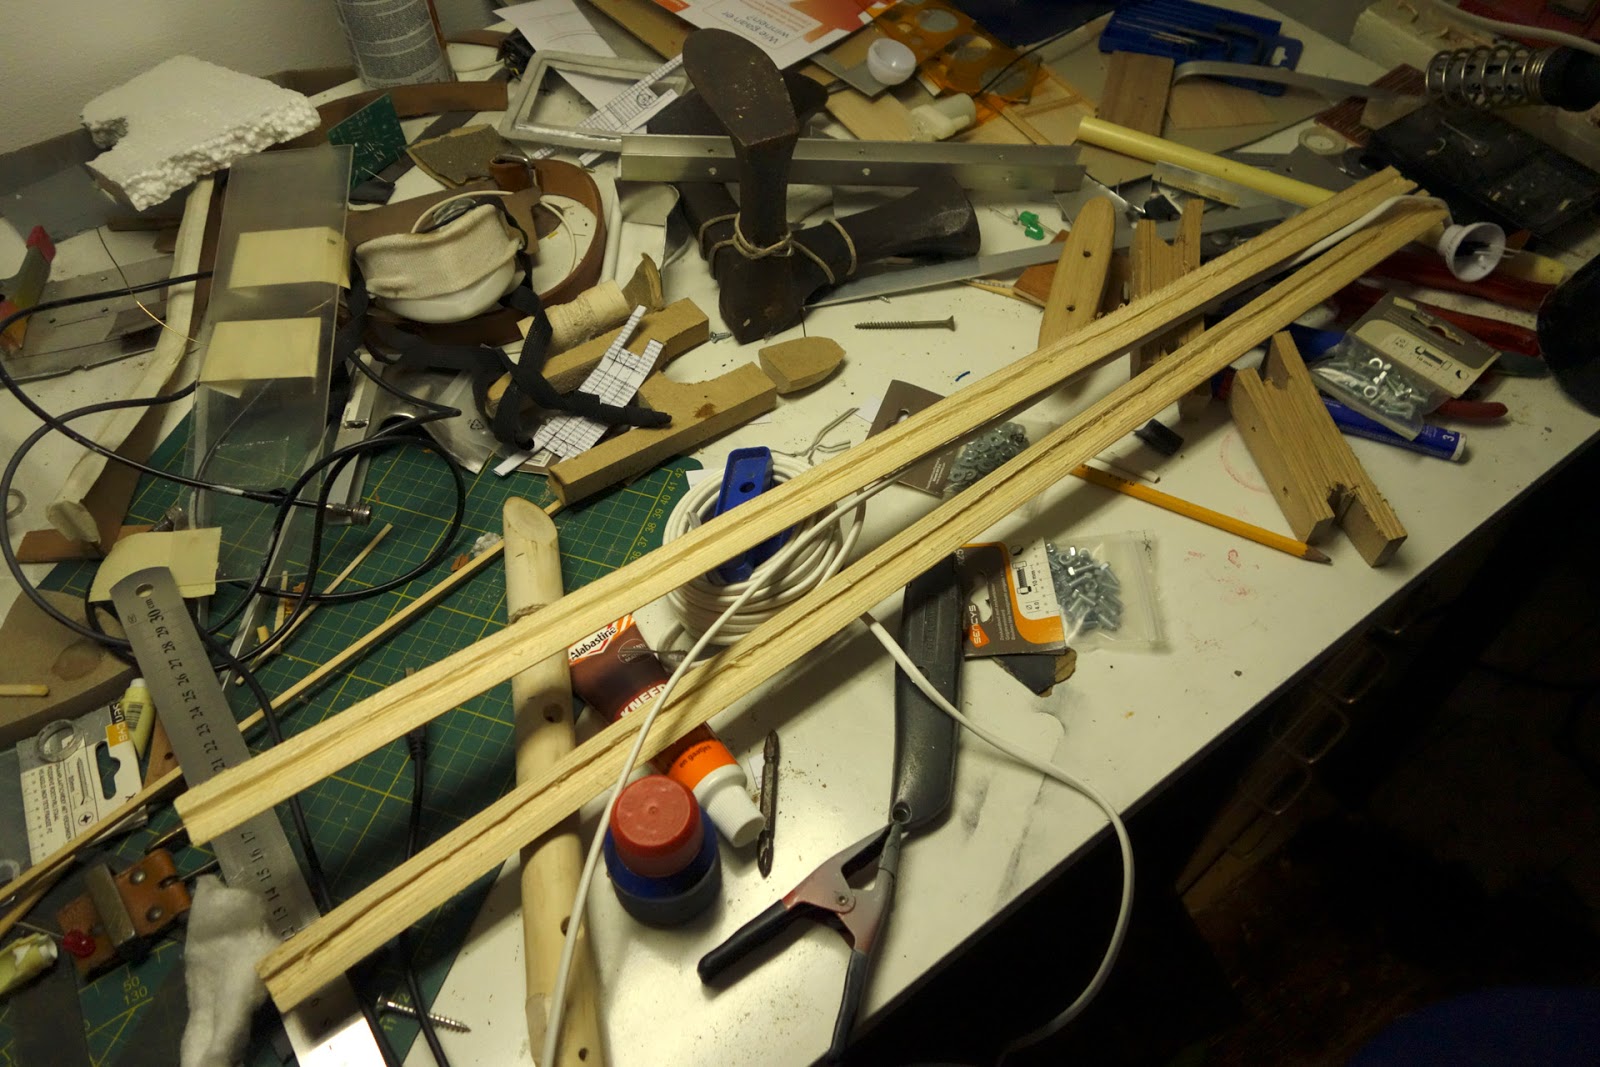
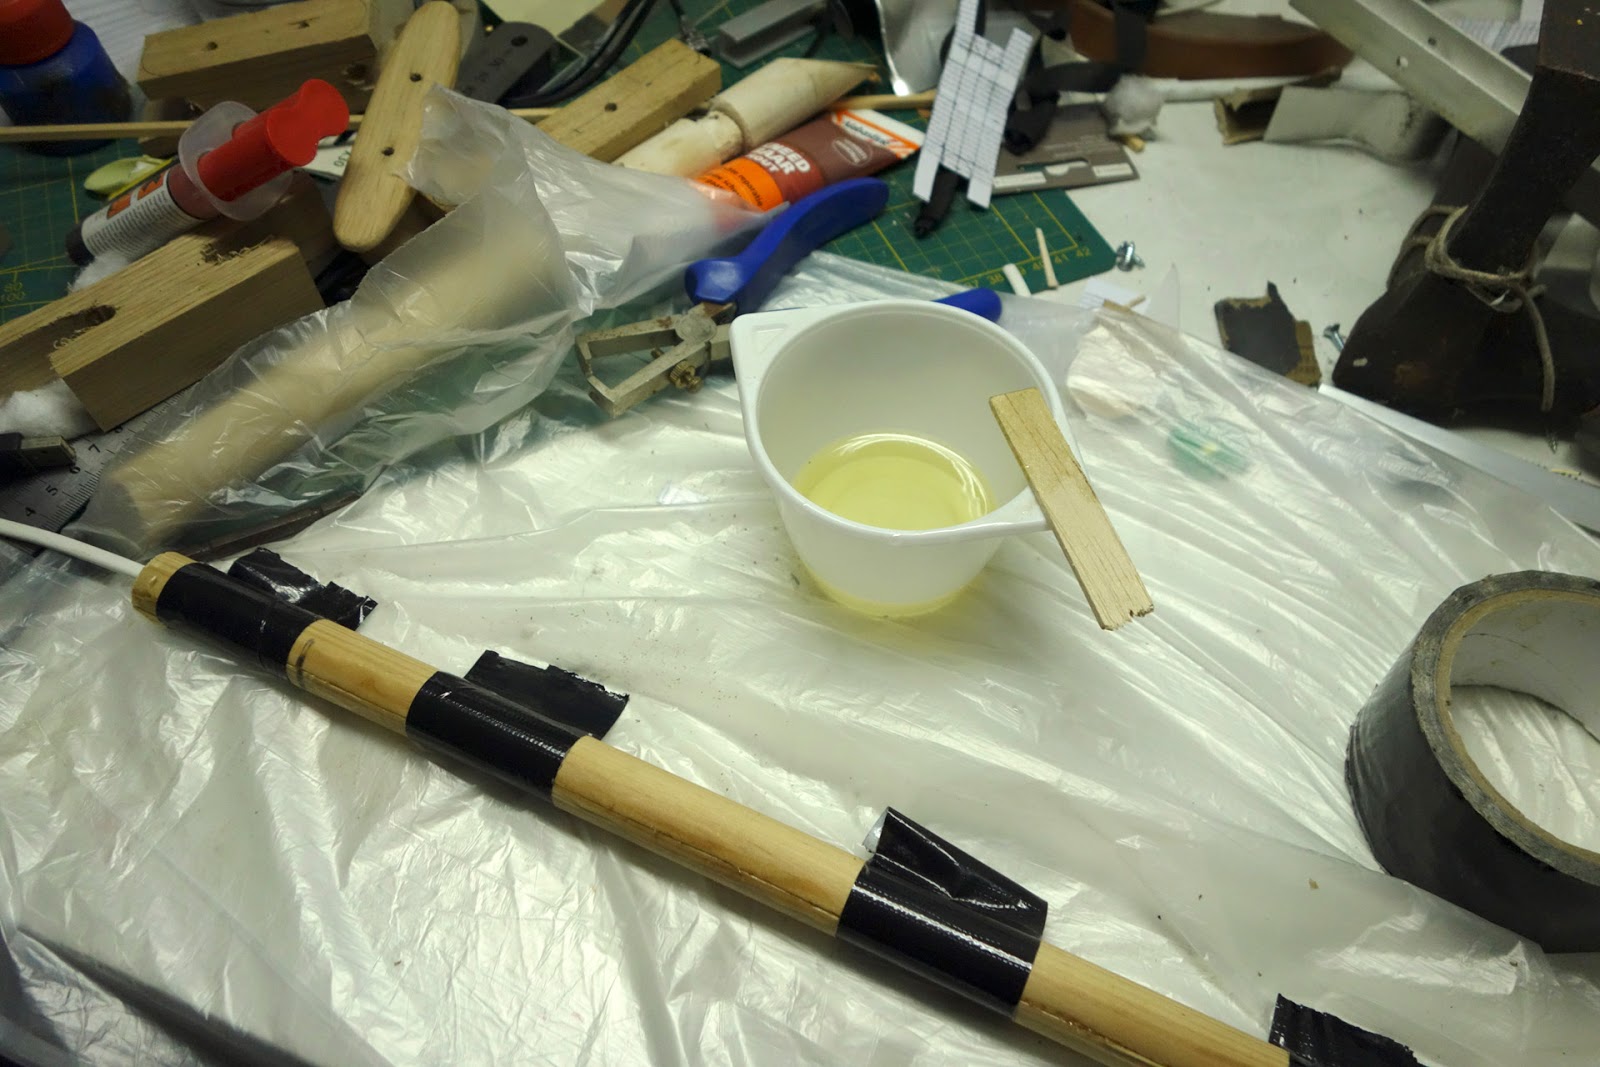
I then cut a wooden rod in half and hollowed out the center for the power cable. Glued back together with epoxy and I have a mast with a small light at the end.
Now all I have to find out is where to put this mast on the boat. It should be removable and not permanently on the deck but I am also very hesitant to cut any holes in the deck. Need to think about that some more.
In the meantime check out the photo's of the build and the result.
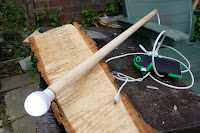
The anchor ball was quite easy to make. It's two black plastic holes with a slit cut to the center so they join together to make a ball. It folds flat and I've drilled holes in them to attach it to my flag pole.
The anchor light was a bit of a headache. First I looked around for quite a while to find a small but bright light in a housing that allows the light to be seen from 360 degrees around. I finally found such light on Ebay. It's powered with a standard USB connector, 5 volts. Which is handy cause I plan to take powerbanks and a solar charger with me on the boat.
I then cut a wooden rod in half and hollowed out the center for the power cable. Glued back together with epoxy and I have a mast with a small light at the end.
Now all I have to find out is where to put this mast on the boat. It should be removable and not permanently on the deck but I am also very hesitant to cut any holes in the deck. Need to think about that some more.
In the meantime check out the photo's of the build and the result.
Thursday, March 30, 2017
Boat Update IV
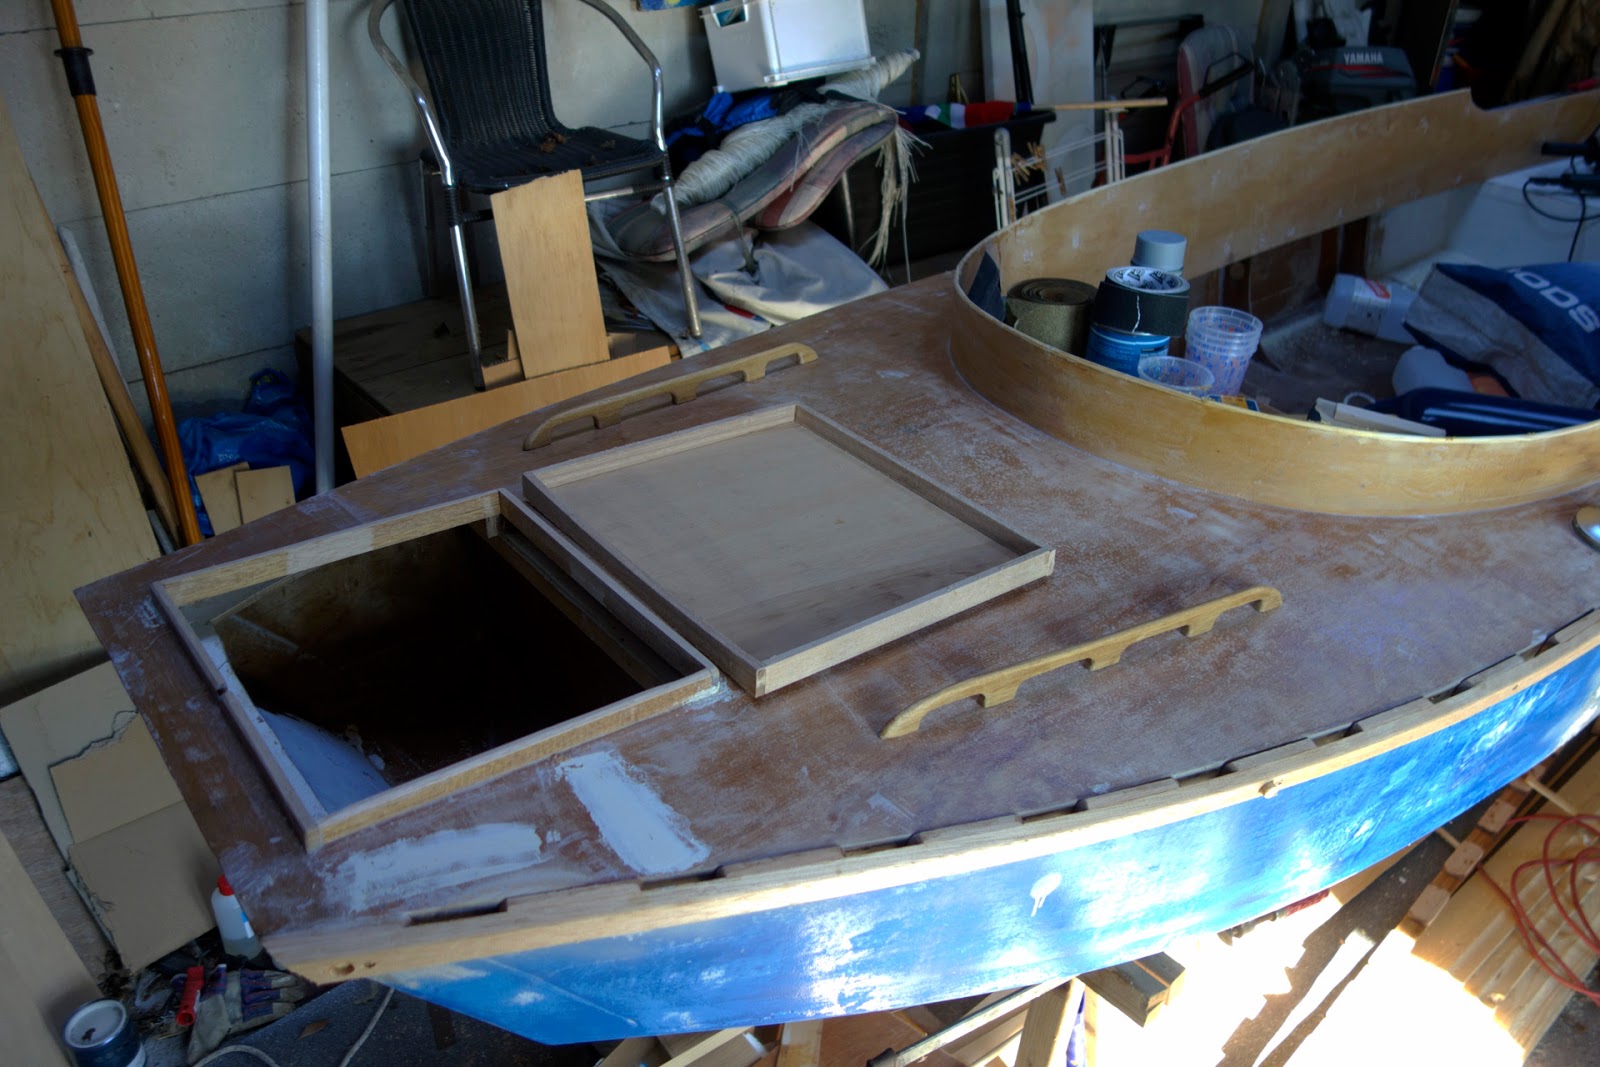
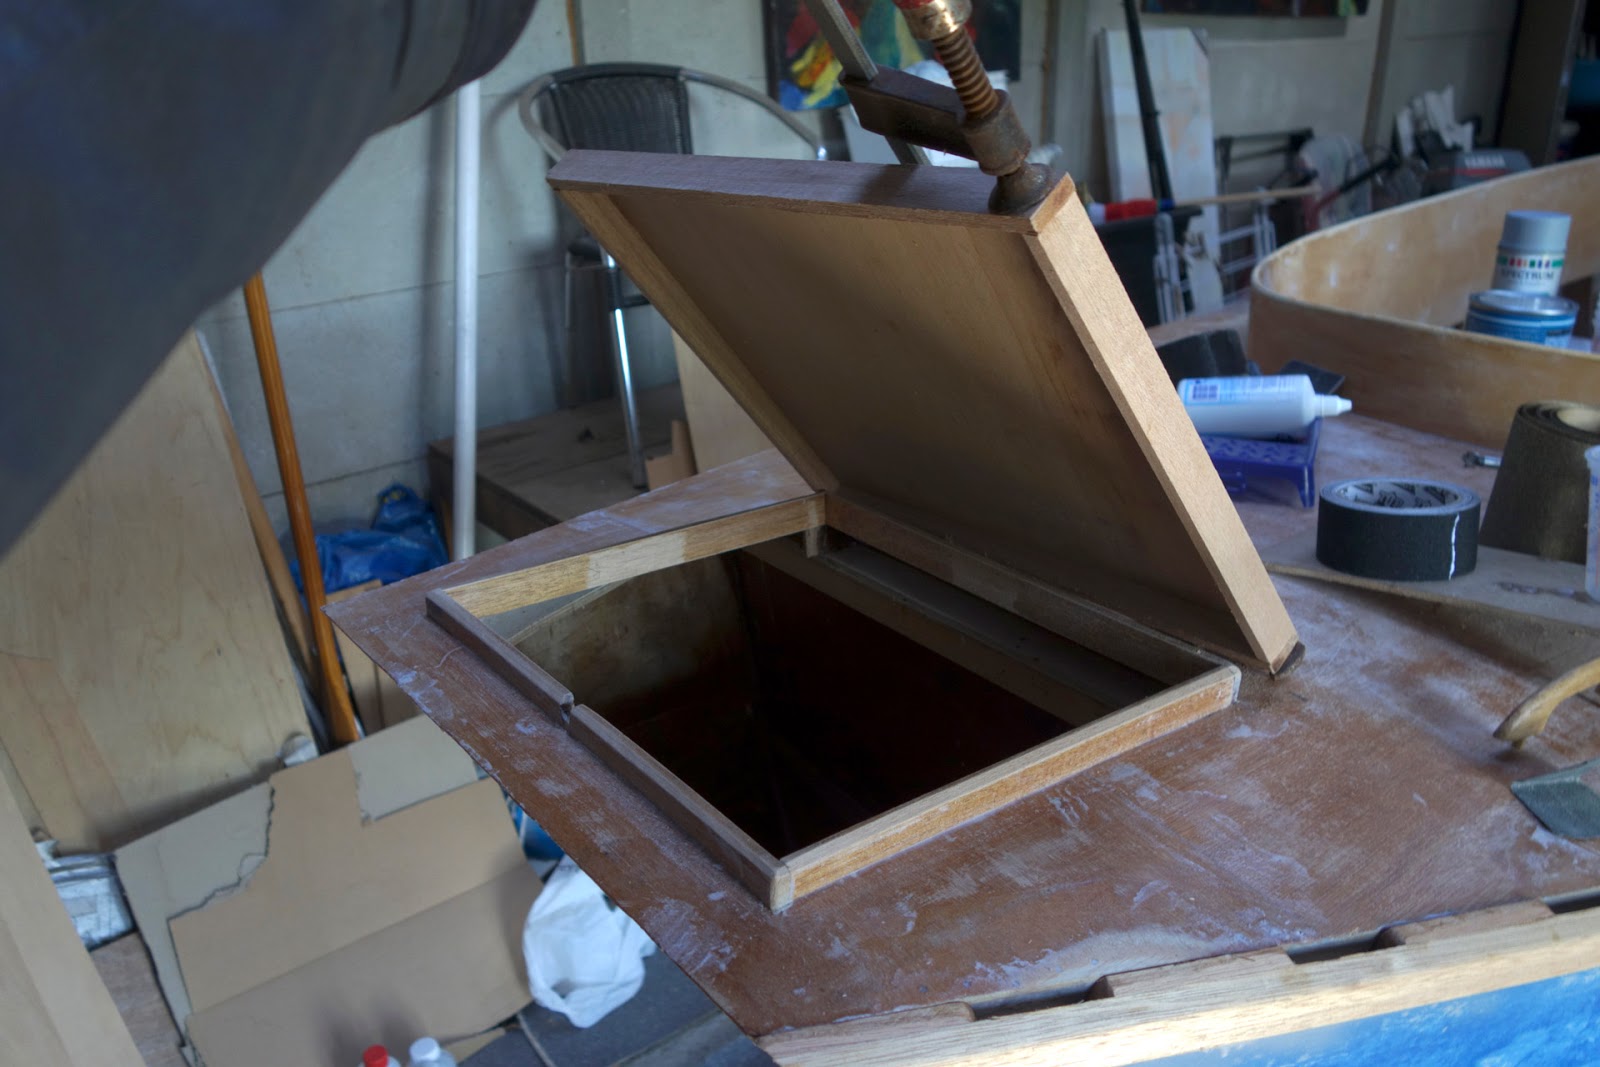
I'm currently working on the coaming top, half round wood to protect the plywood. I totally underestimated this, it was really hard to bend this half inch piece of wood into the half round shape. Have lots of sanding and filling to do. A better and faster result was creating the anchor locker. I was so pleased when I actually made the hatch and it fitted perfectly. First I made the frame that covers the anchor locker deck frame and then made a piece of plywood to fit exactly into that frame, no small feat for an amateur like me. But I was cheering when it came out so nice. :)
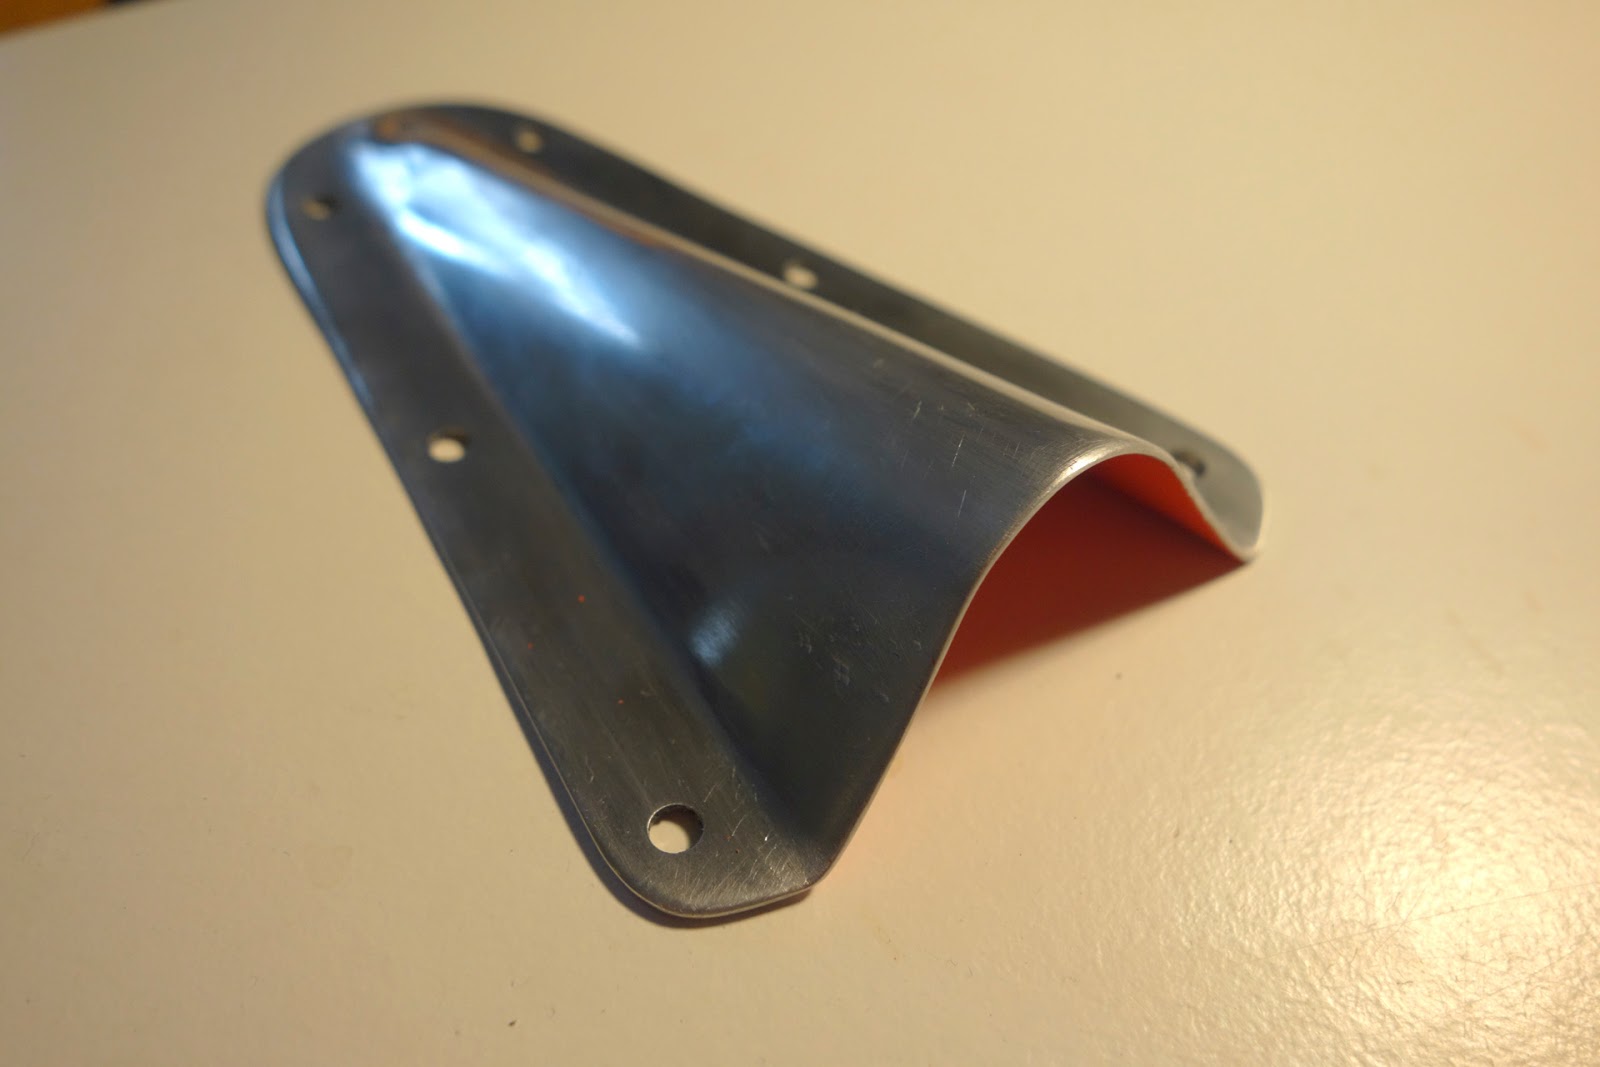
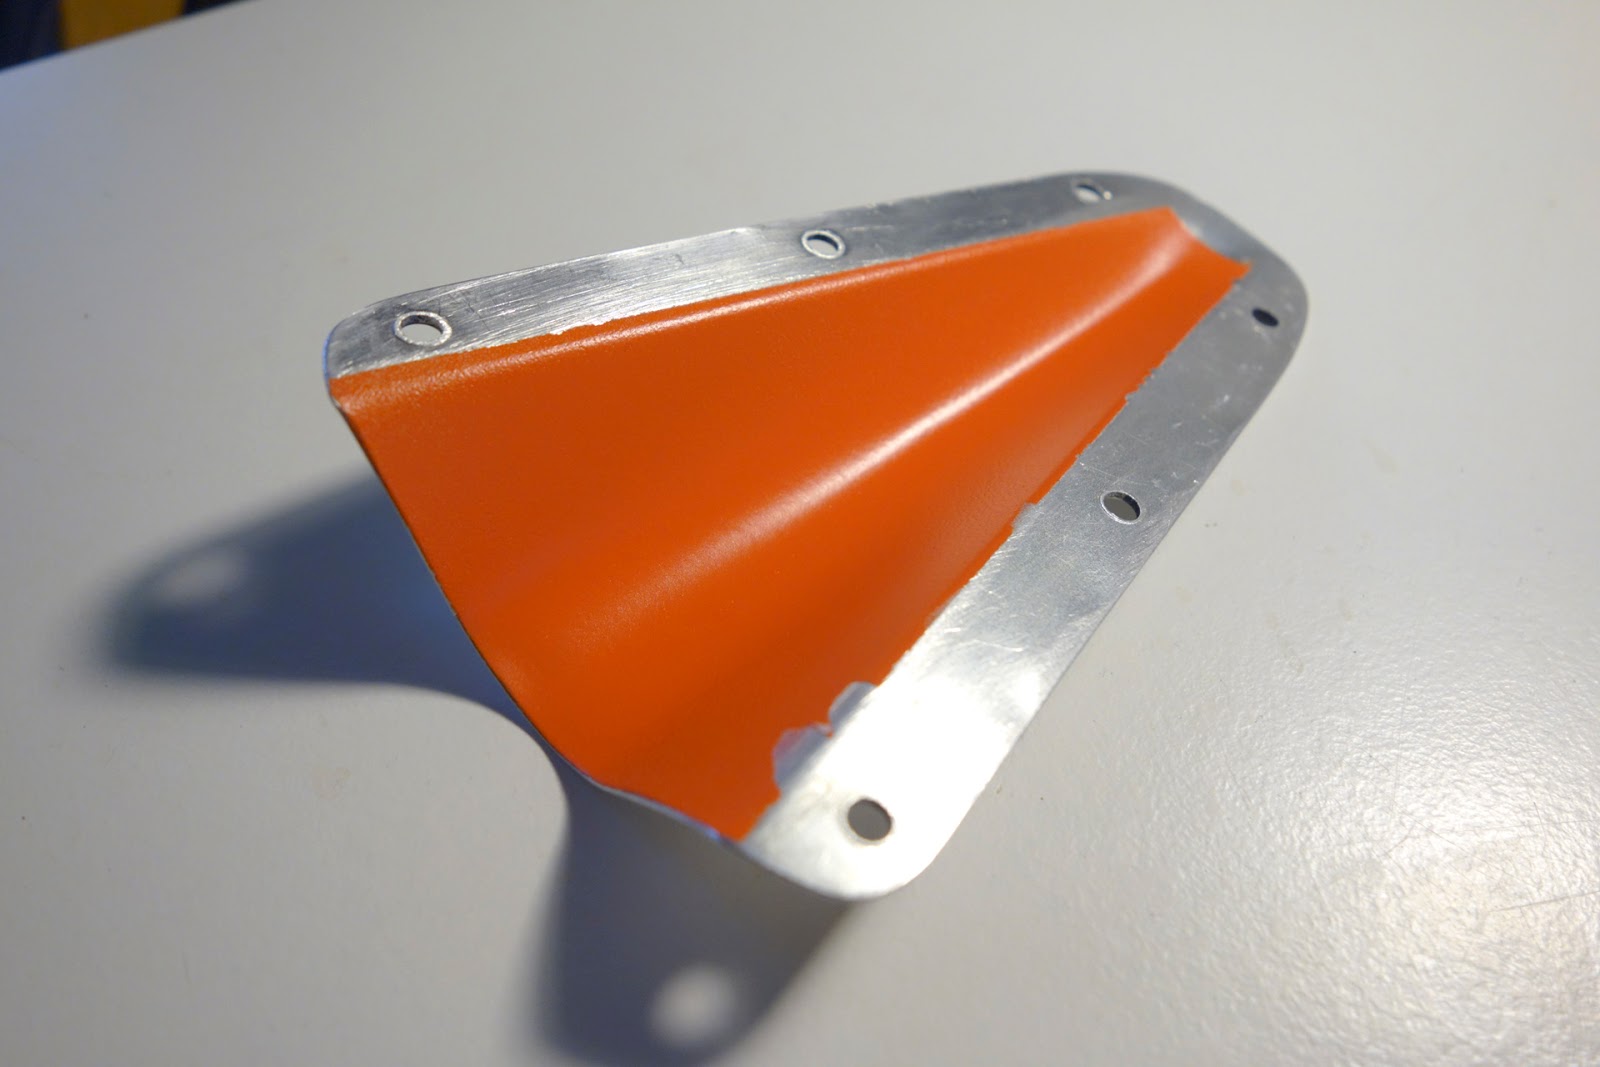
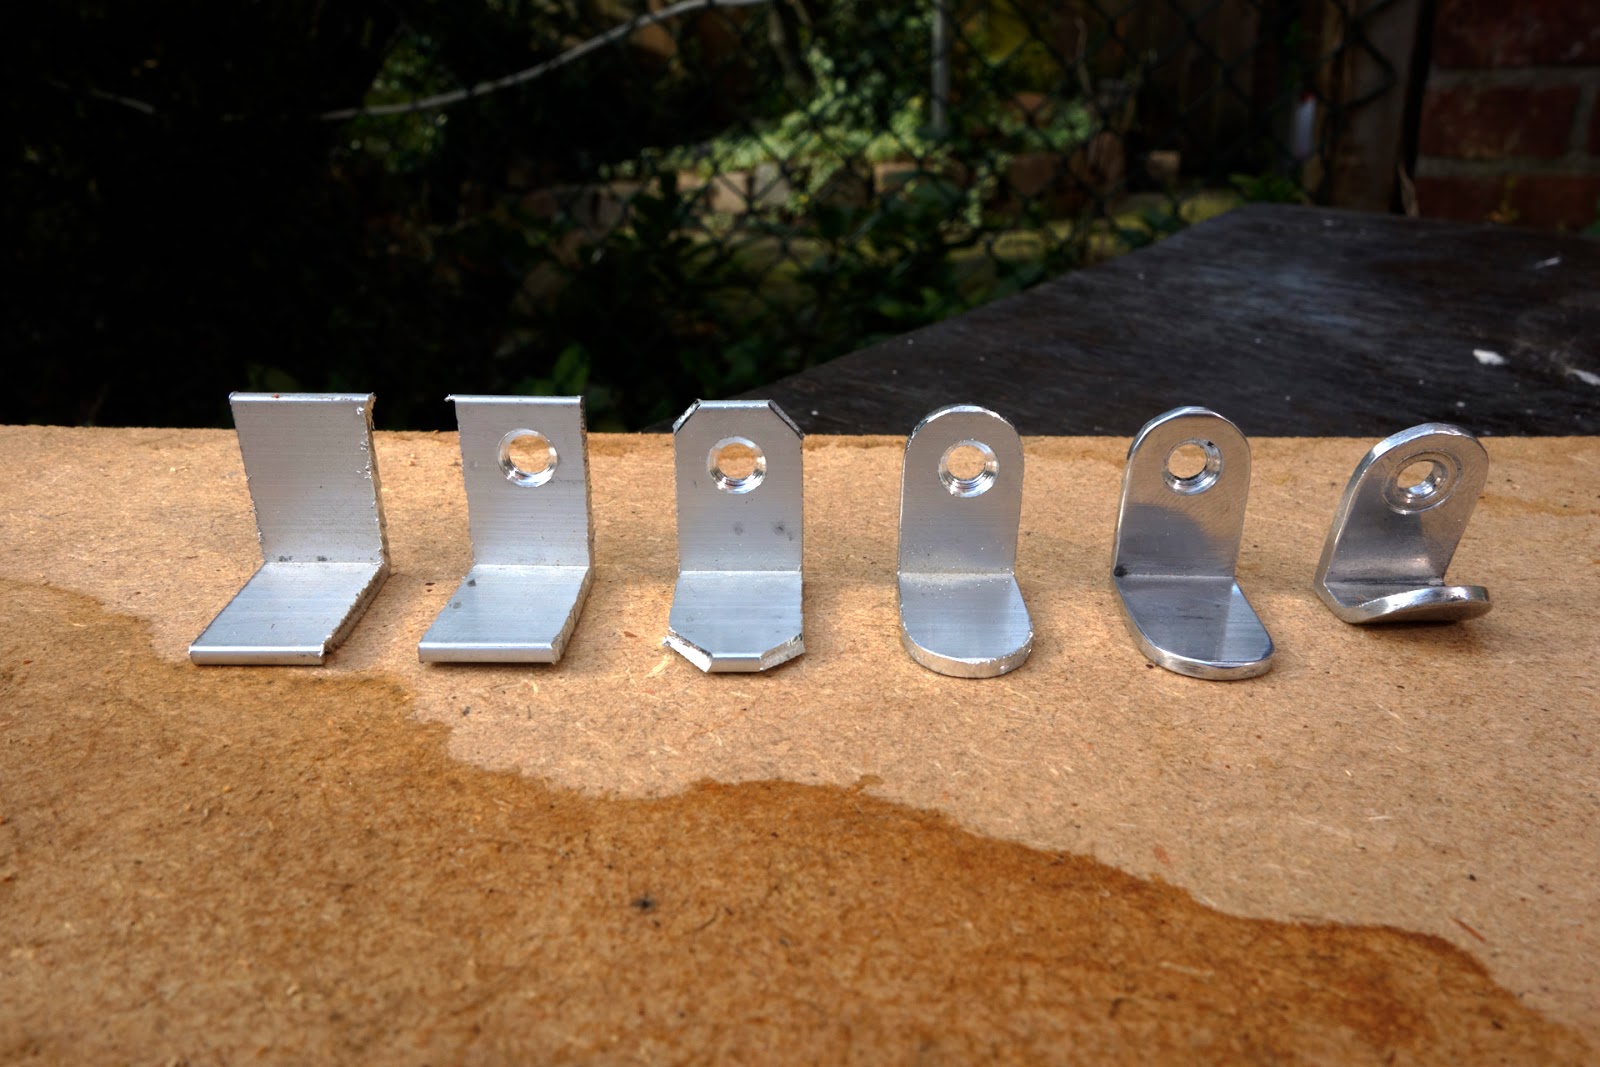
I am already thinking about some kind of boat tent or cover for spending the night or protection from rain. I need to hold some cloth around the cockpit. And I would need some small hooks on the outside of the coaming to hold bungee cord that holds the cloth down. I couldn't find any of this sort of hardware anywhere. The closest I found were these small plastic J-hooks that are fitted on kayaks. So I decided to make my own out of aluminium. And then it got me thinking, what else can I make out of aluminium? So I made a deck vent, I don't really need one, but they look cool. I hammered a wooden pole into a sheet of aluminium and bent the edges in a vise. Drilled holes, sanded it and polished it. Looks like the real deal with a sort of homemade quality to it.
Soon I'll be starting to think about paint.
I am already thinking about some kind of boat tent or cover for spending the night or protection from rain. I need to hold some cloth around the cockpit. And I would need some small hooks on the outside of the coaming to hold bungee cord that holds the cloth down. I couldn't find any of this sort of hardware anywhere. The closest I found were these small plastic J-hooks that are fitted on kayaks. So I decided to make my own out of aluminium. And then it got me thinking, what else can I make out of aluminium? So I made a deck vent, I don't really need one, but they look cool. I hammered a wooden pole into a sheet of aluminium and bent the edges in a vise. Drilled holes, sanded it and polished it. Looks like the real deal with a sort of homemade quality to it.
Soon I'll be starting to think about paint.
Saturday, February 25, 2017
Thursday, February 9, 2017
How To Destroy a Y-Wing
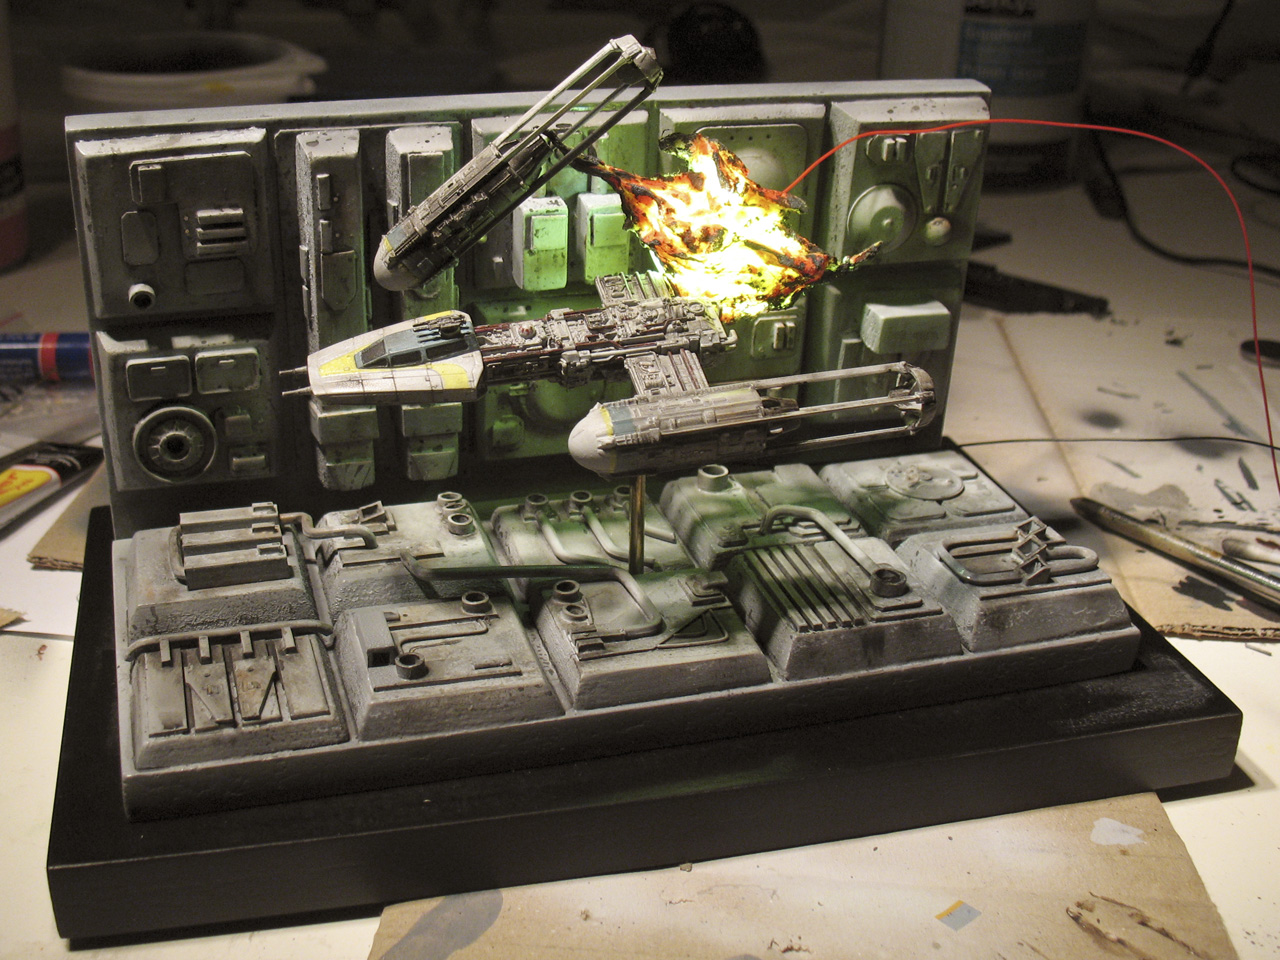
In my latest youtube series I'm building a Star Wars Deathstar Trench diorama with a Y-wing exploding, just as we saw in the first Star Wars movie (A New Hope). For me what was interesting about this was all the elements coming together, the model, the diorama, the lighting and painting. Because these Bandai models are so small it's less time consuming to do all of this. I don't know how much time I spent on this sofar, but I don't expect it to exceed 100 hours.
The diorama was pretty straightforward, built using pieces of wood and parts from a tank kit. The Y-wing model because it is so incredibly detailed was easy to build. However, the explosion part was a real headache, I tried all kinds of materials, foam, caulk, styrofoam, cotton. I finally got the best results soaking cotton in wallpaper glue and sculpting a cloud like shape.
If you'd like to follow me build this, please watch the youtube series:
Friday, December 23, 2016
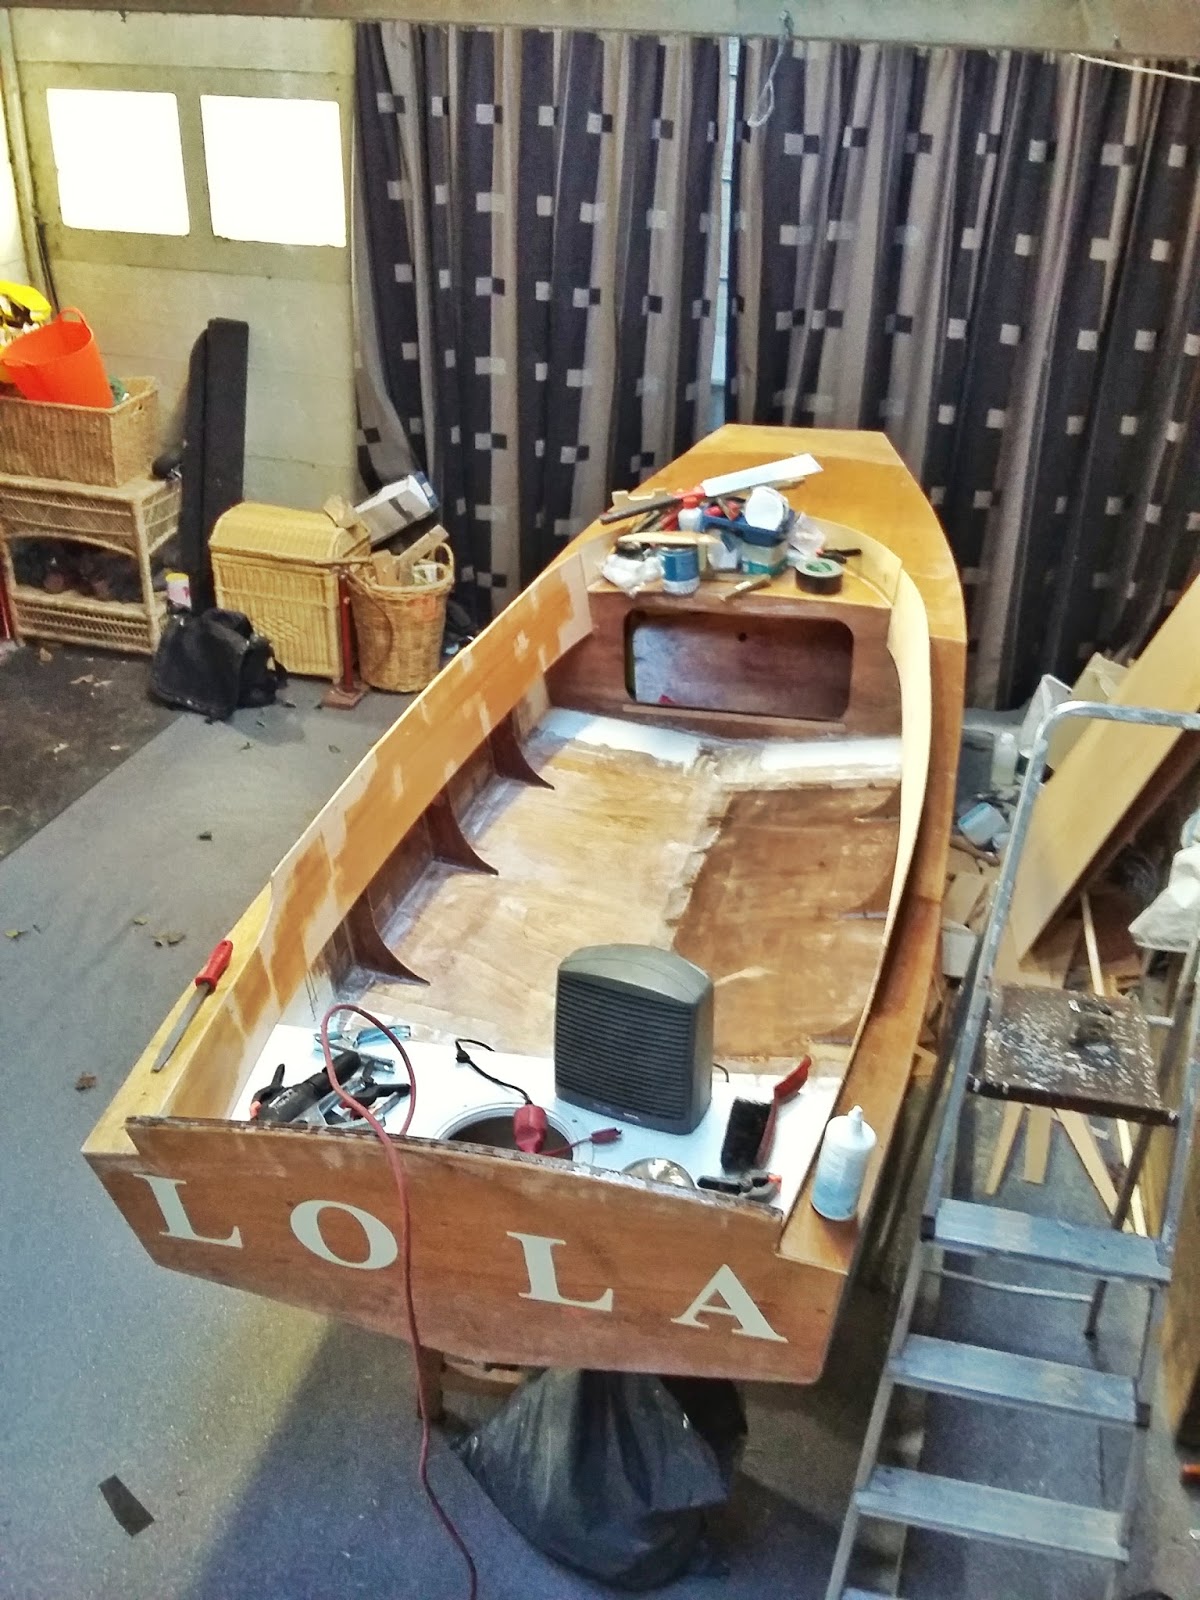
Boat Update III
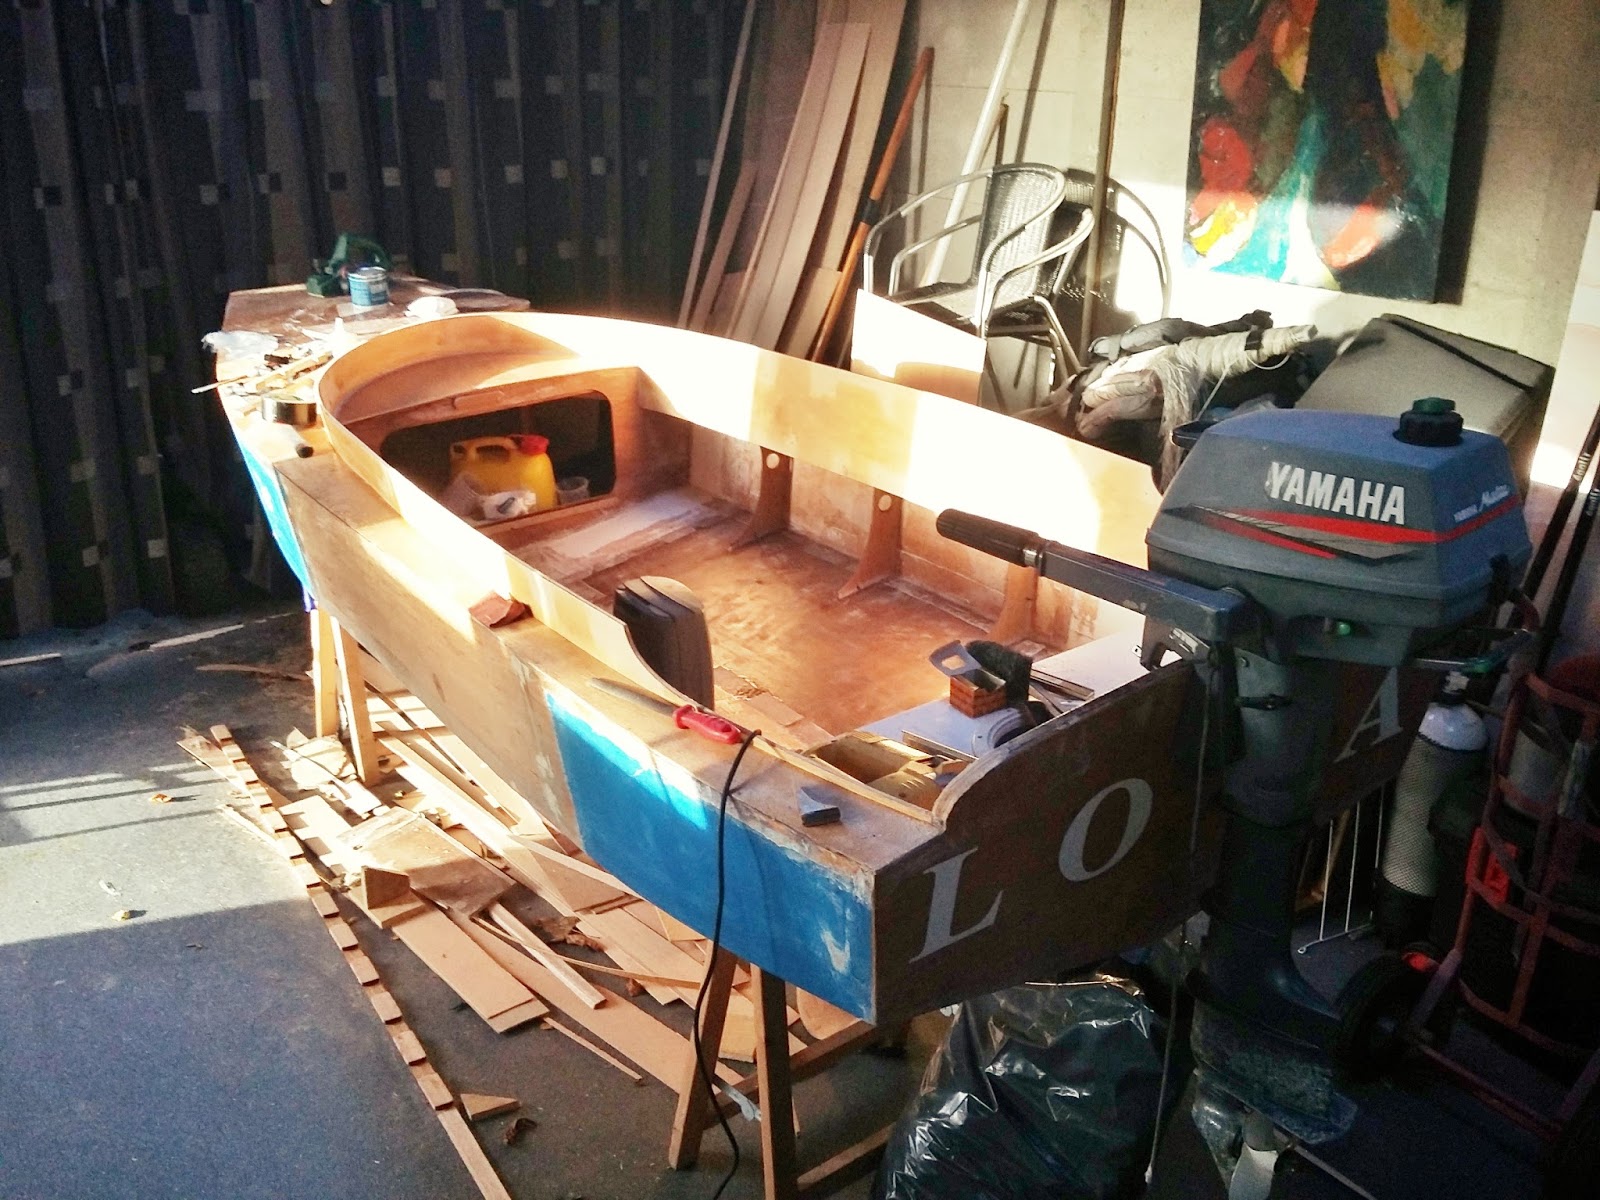
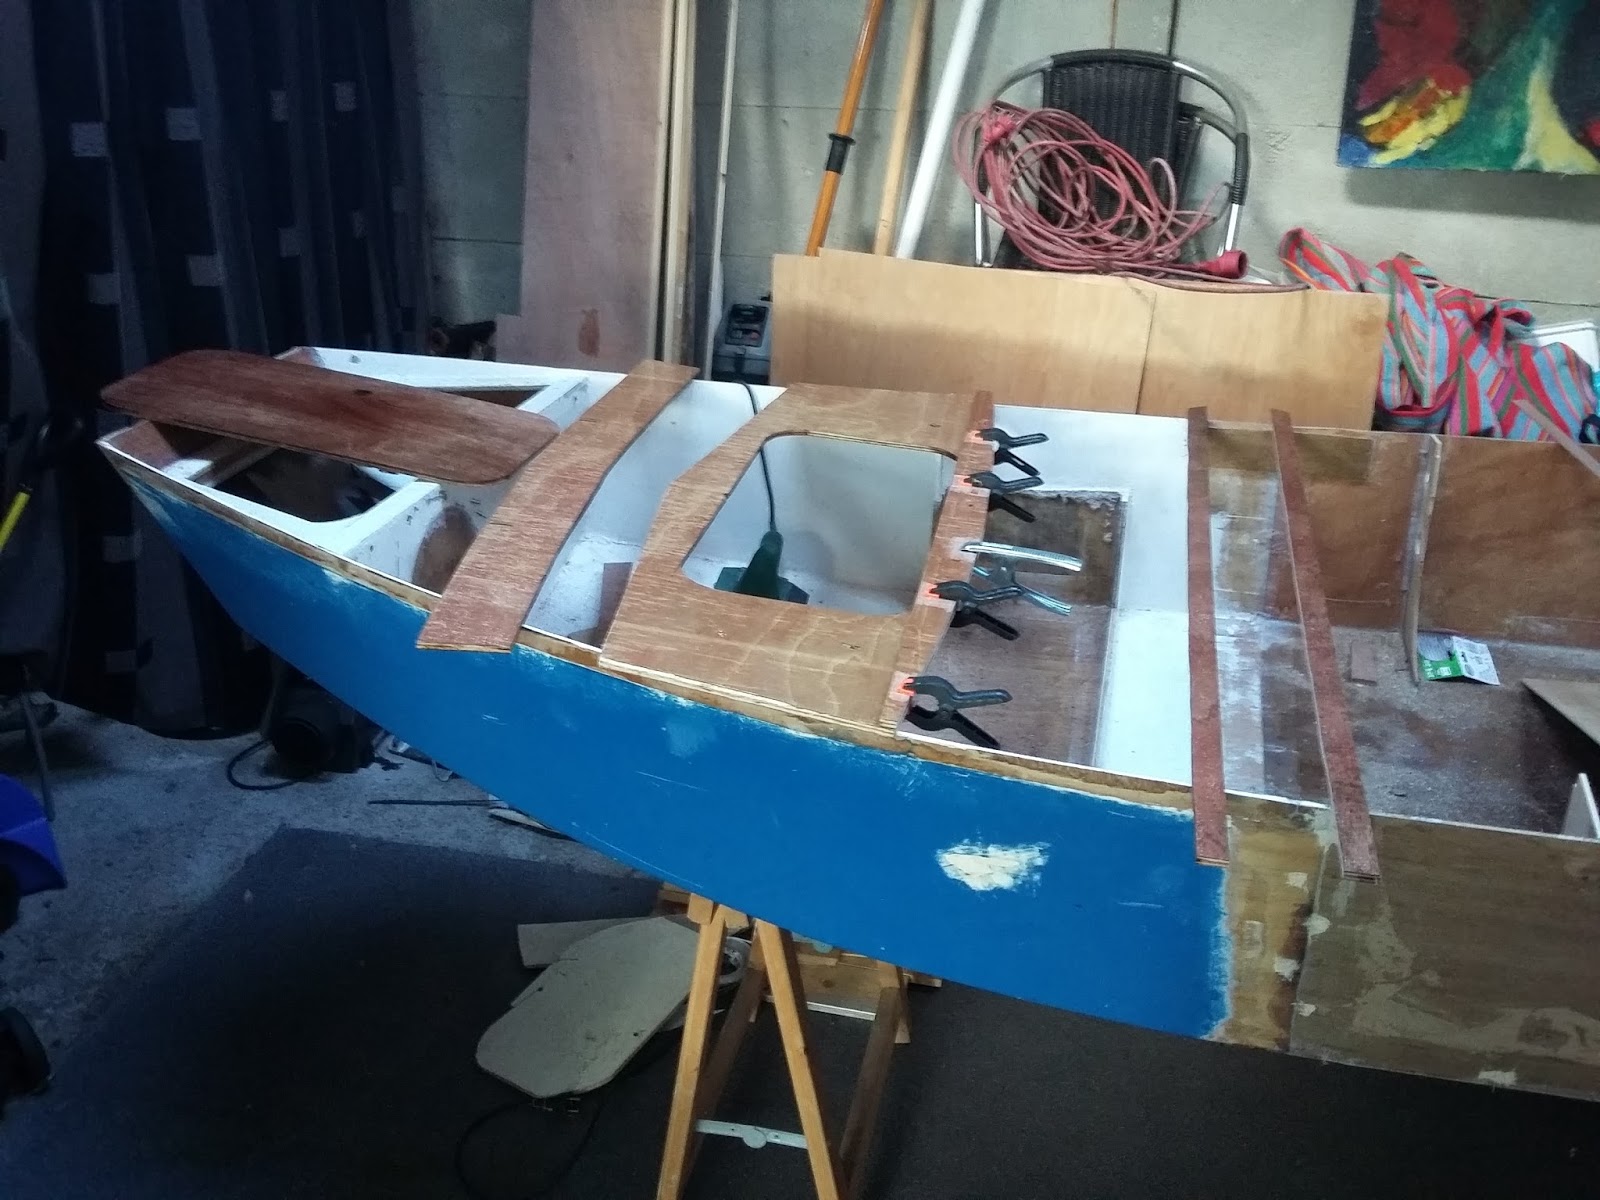
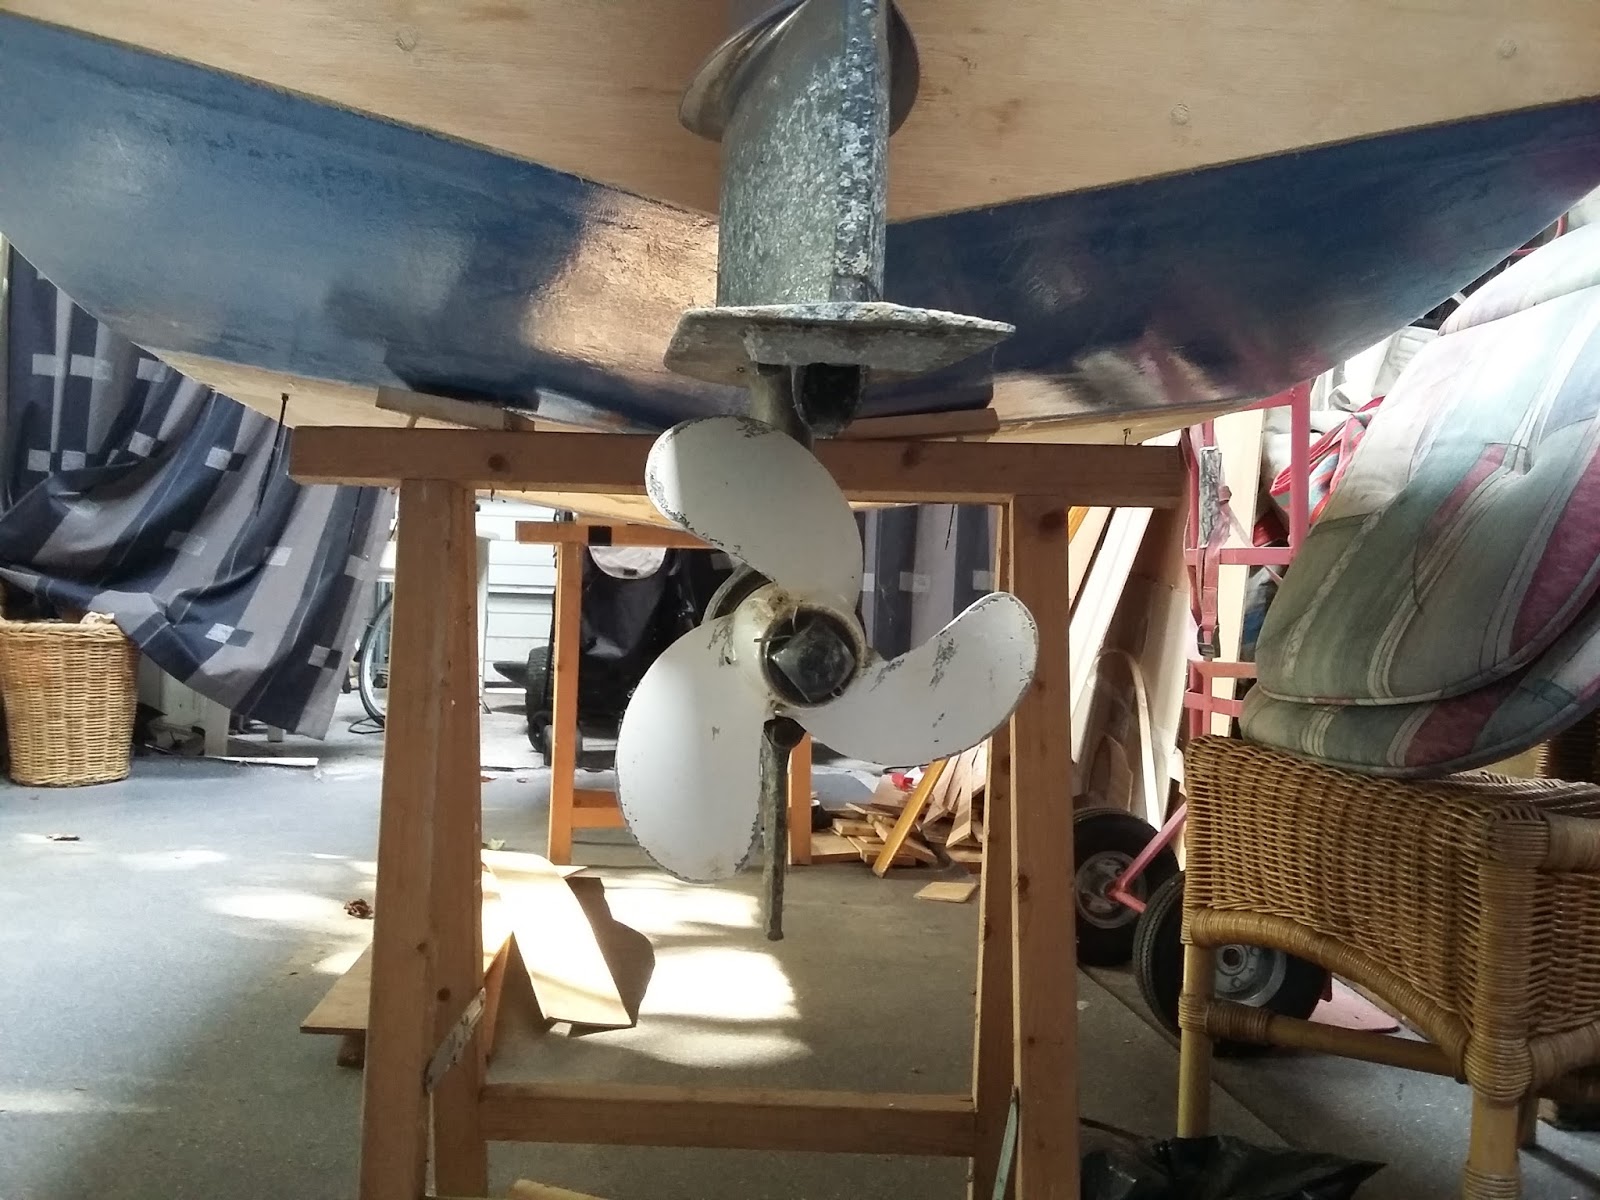
Winter is slowing the work on the boat a bit down. Epoxy doesn't set in low temperatures and the shed I'm using doesn't have heating. I did use a small electric heater but it's difficult to get the temperature up. As you can see I have all the main work done, side decks, fore deck and coaming. It's all a matter of fairing and filling up holes now. After that, paint and varnish :) In the second photo you can still see what the old boat used to be (the blue parts) and the new part set in between. Also, the outboard fitted to check it's low enough in the water. Can't wait to try her out.
Monday, October 10, 2016
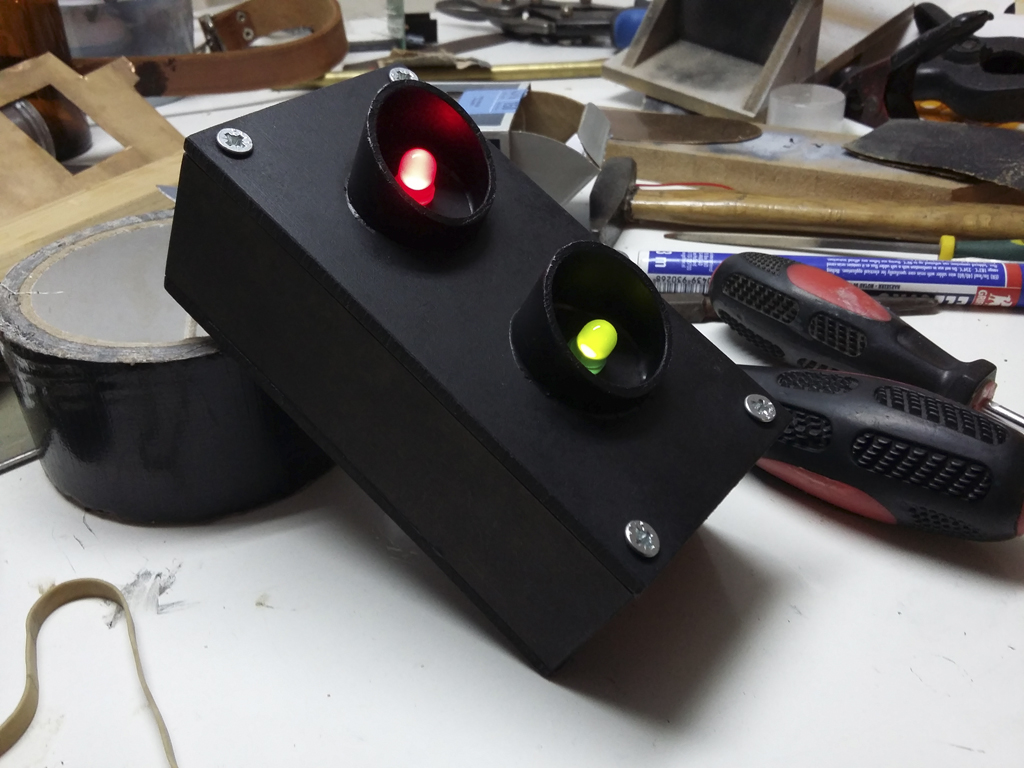
DIY Traffic Light For Kid's Bedroom
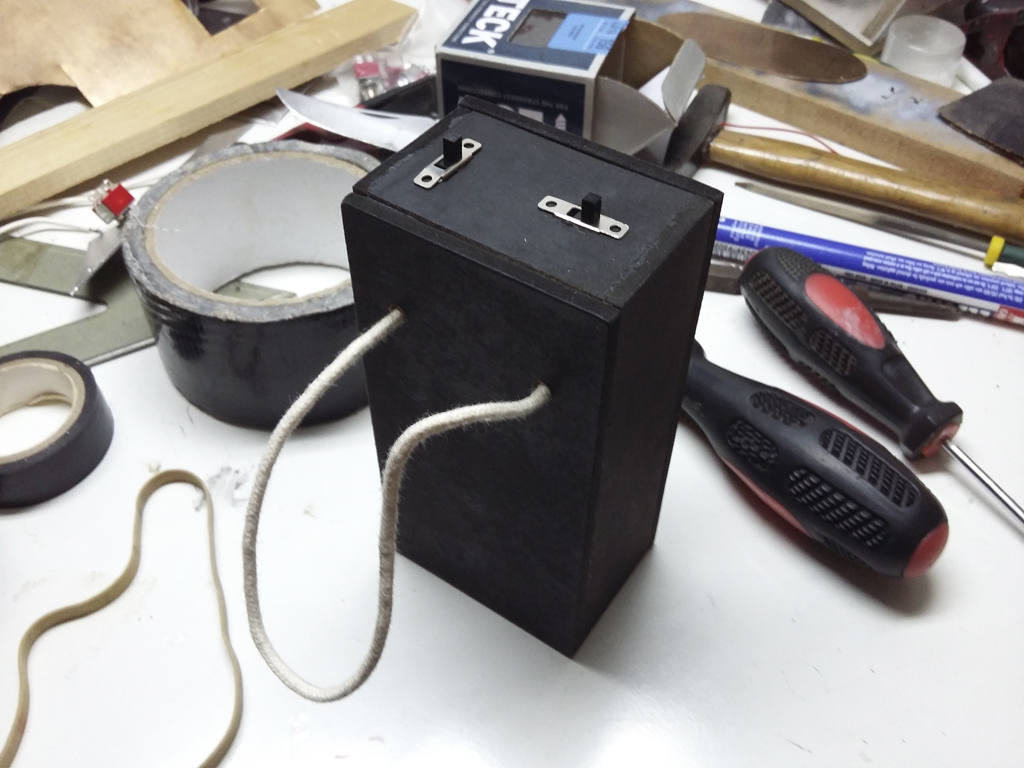
My cousin turned 8 years old and for his birthday he wanted something that could prevent his mom or anyone from entering his room without permission. Specifically, he wanted a stoplight. Naturally this appealed to my diy brain and I started working on it. I had no plan, I just wanted to make a wooden box with a red and green light, a batteryholder and a switch. Unfortunately I didn't have the right switch available so I had to mount separate switches for the red and green light. My cousin didn't bother with such technical details :)
Tuesday, October 4, 2016
Boat Update
The weather is getting colder here, autumn is upon is and thus limited time to work with epoxy. Managed to get a lot of work done, the outer hull is sealed and ready for paint, the interior needs one more coat of epoxy. After all the itchy sanding I finally had a chance to start working on the cockpit coaming, the edge around the cockpit and I like how it looks :)
Saturday, September 17, 2016
Boat Work Update
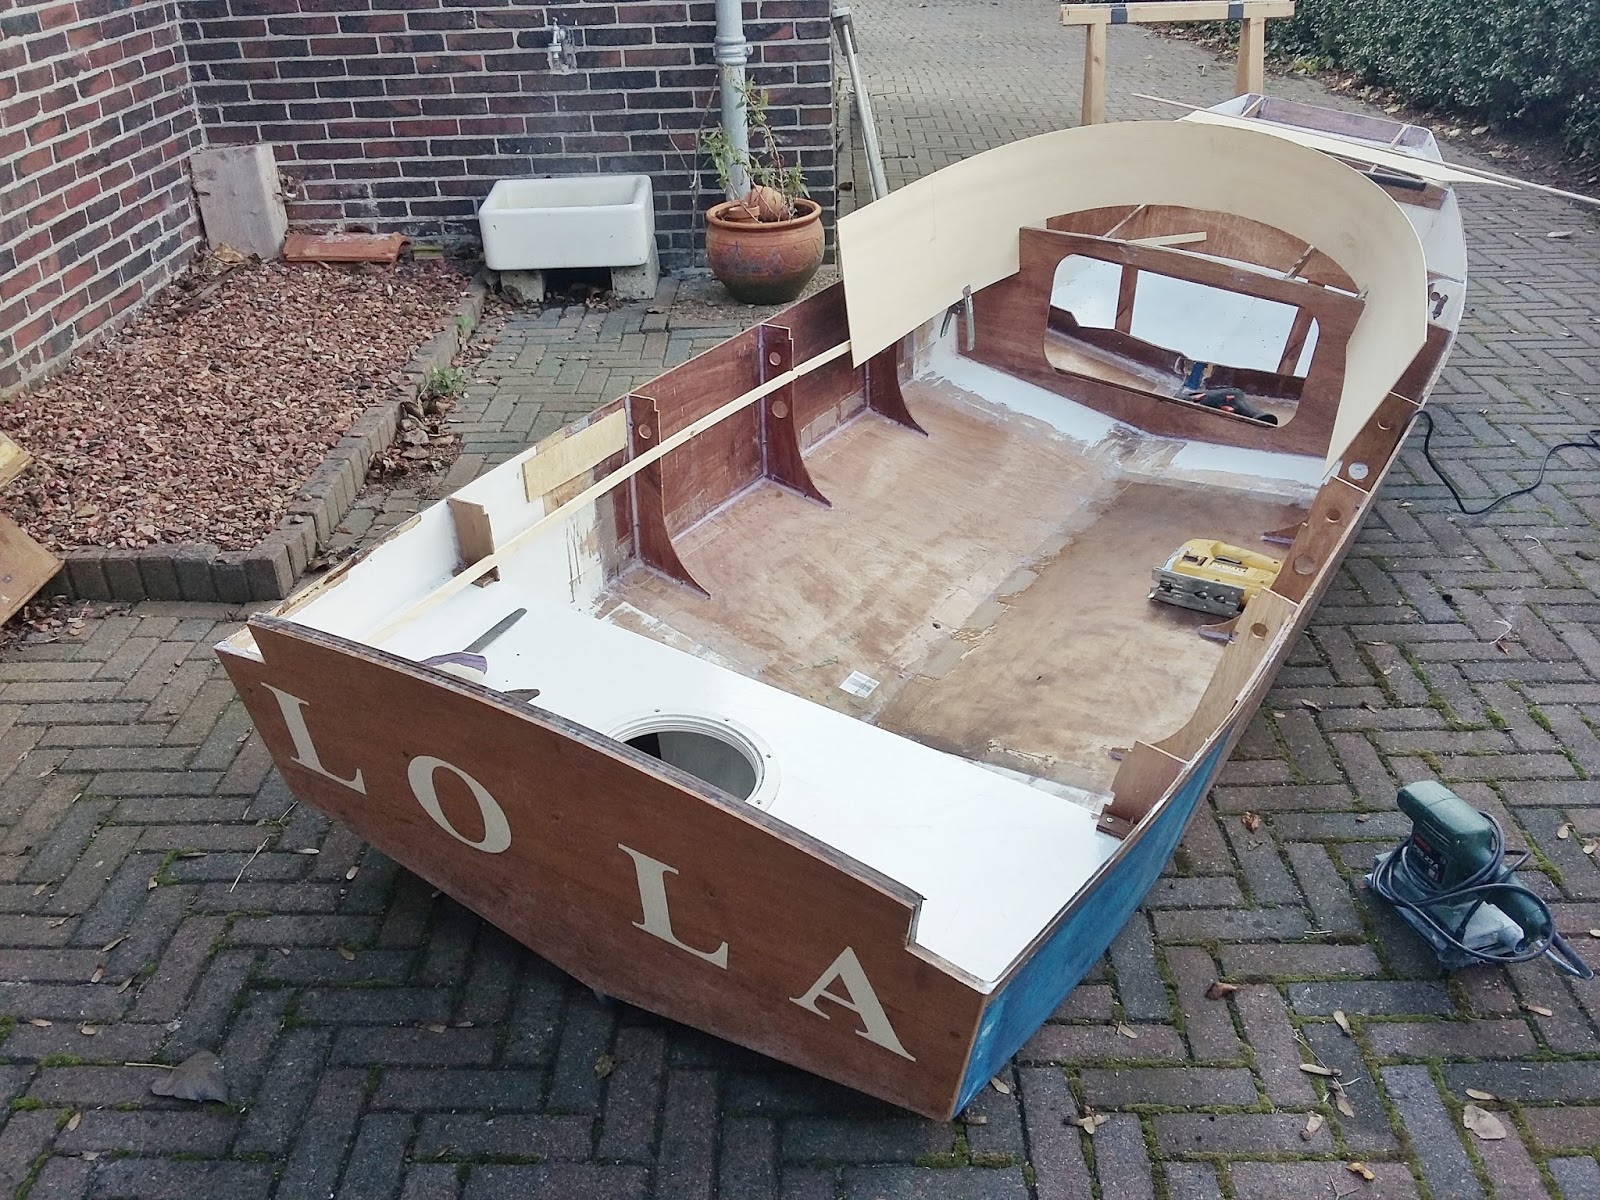
So I've cut my boat in half, added a new middle section, and now I'm working on making it one piece again. It's taking much more time than I expected, as usual. I made frames to support the new construction and recently started to add supports for the deck that will cover the front of the boat. The main part of this covered area will be used as flotation in case the boat get's swamped. Between the open cockpit and the flotation area is room for storage and you can see the opening for an access hatch I made.
The cockpit will be surrounded by a coaming, or a ledge, lean against when you sit. And I've made a new transom, a thicker one that can support the outboard engine. Still a lot to do, sanding, epoxy and fiberglass on the outside of the hull, paint, etc etc. And I will be making my own navigation lights. I hope to make some video's about those in the next couple of weeks. I'm making all of this up as I go, so tension is starting to build, I have no idea how this new boat will behave. For instance, it is quite narrow at 110 cm. It will be interesting to see how the length of the boat, 360 cm (12 feet) will behave with an outboard on top of the transom. Keeping my fingers crossed until launch day :)
Sunday, June 19, 2016
Saturday, June 11, 2016
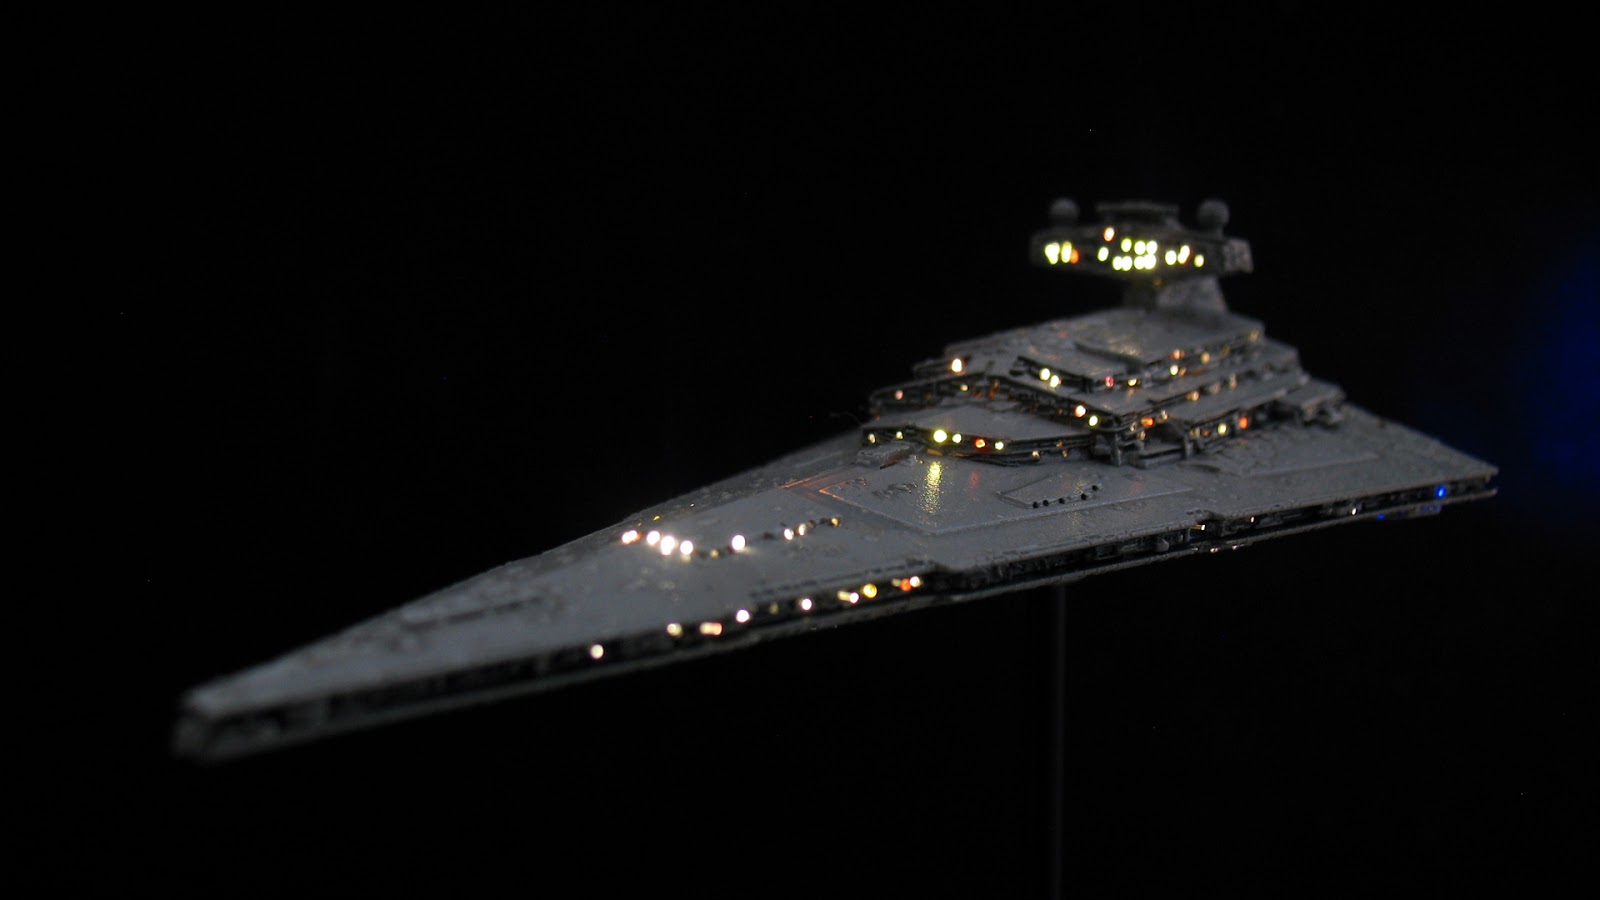
Bandai Star Wars Box Sized Star Destroyer Video Build
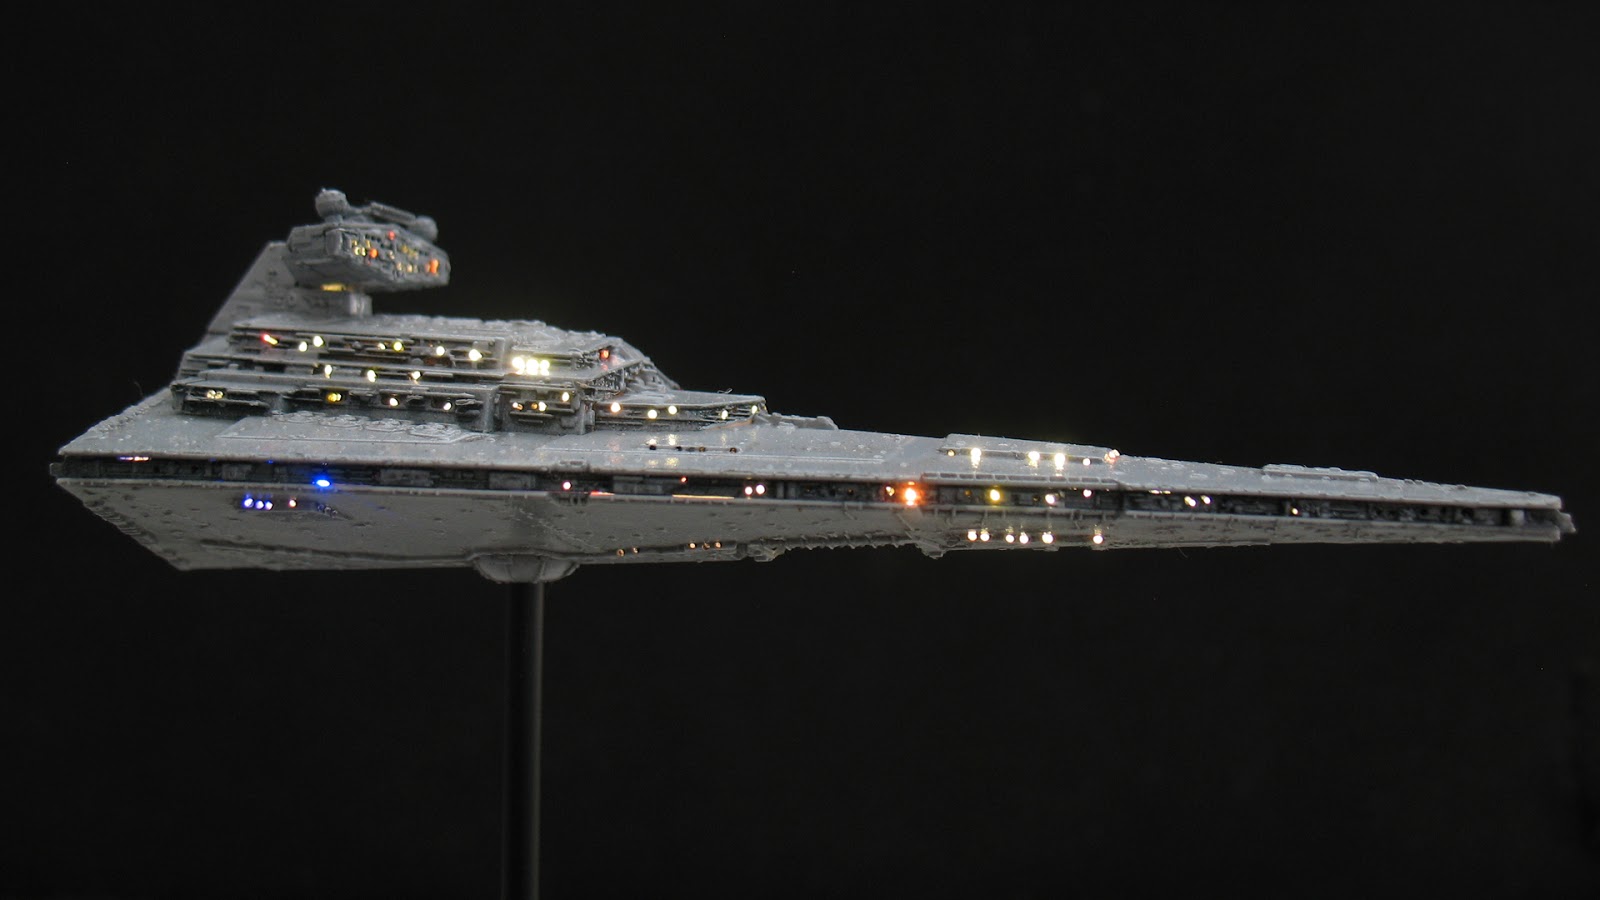
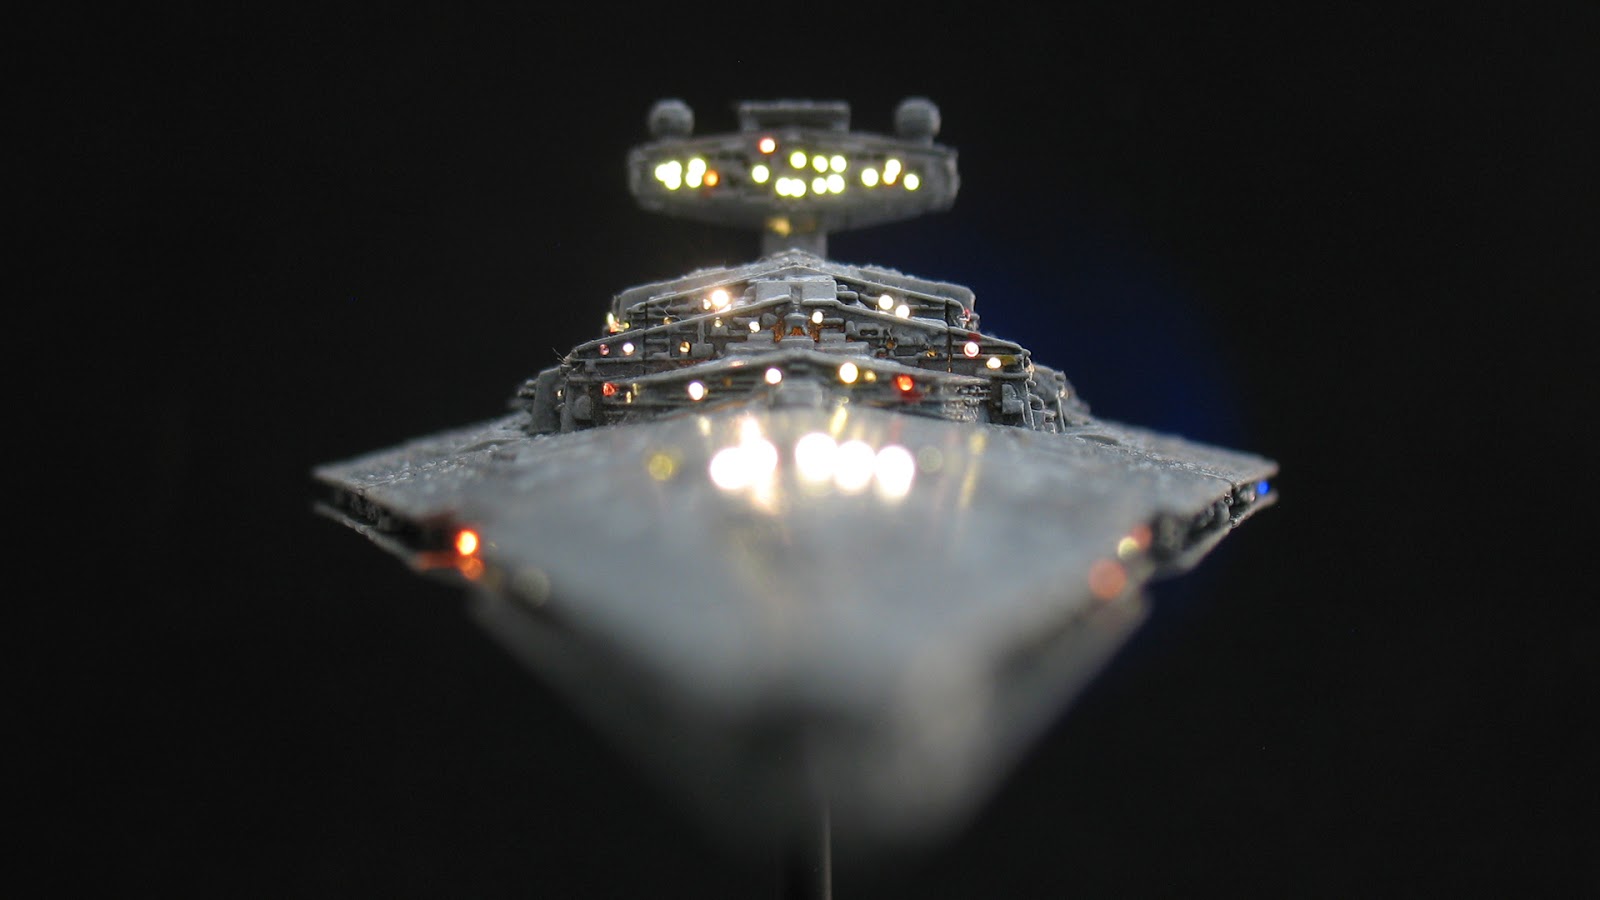
I'm currently making video's of this tiny (110 mm) Star Wars scale model build with lighting, check it out here: Bar's Projects Youtube Channel
Tuesday, April 12, 2016
Is Cutting a Boat in Half a Good Idea?
I built a small sailboat some years ago but it wasn't very usefeul. Cause it was too small for me. So I was thinking of building a new boat, from scratch. But then I thought, wait a minute, why not just make the boat I have a little bit bigger? There's all sorts of issues with that idea but nevertheless I'm going to try it against better judgment :) Here's the start of that project, after I had cut the boat in half, using stitch and glue technique to extend the boat by 4 feet. You will see in this blog in the coming months wether this was a good idea or not.
Friday, April 8, 2016
Friday, April 1, 2016
Wednesday, January 20, 2016
Friday, July 31, 2015
A Knife Handle
A friend asked me to put a wooden handle on this knife but keep the blade as it is (for sentimental reasons).
Friday, May 1, 2015
French Miner's Pocket Knife Part 4: Finished
Putting everything together is a lot of fun and also a bit nervewrecking as I have spent quite some hours on this one.
The spine is now flush with the handle and sanded smooth. Putting the blade on it requires putting tension on the spring (the spine) so that the blade can be locked open or closed. The last thing to do construction wise is to hammer the pins down. As it turned out I left the pins too long and bent the pins. Very disappointing but this is a lesson to remember for next time!
Now all there is left to do is coat the knife with linseed oil and it's done! The oil does a lot, it gives the grey-light color of the ashw ood a deep brown orange shine.
Later I sharpened the blade as well, it's pretty sharp. Really pleased with the result and will sure continue making some other french knives. Thanks for watching and enjoy the final shots of this knife.
The spine is now flush with the handle and sanded smooth. Putting the blade on it requires putting tension on the spring (the spine) so that the blade can be locked open or closed. The last thing to do construction wise is to hammer the pins down. As it turned out I left the pins too long and bent the pins. Very disappointing but this is a lesson to remember for next time!
Now all there is left to do is coat the knife with linseed oil and it's done! The oil does a lot, it gives the grey-light color of the ashw ood a deep brown orange shine.
Later I sharpened the blade as well, it's pretty sharp. Really pleased with the result and will sure continue making some other french knives. Thanks for watching and enjoy the final shots of this knife.
Labels:
epoxy,
folding knive,
handmade,
knife,
pocket knife,
project,
stainless,
wood
Thursday, April 30, 2015
French Miner's Pocket Knife Part 3
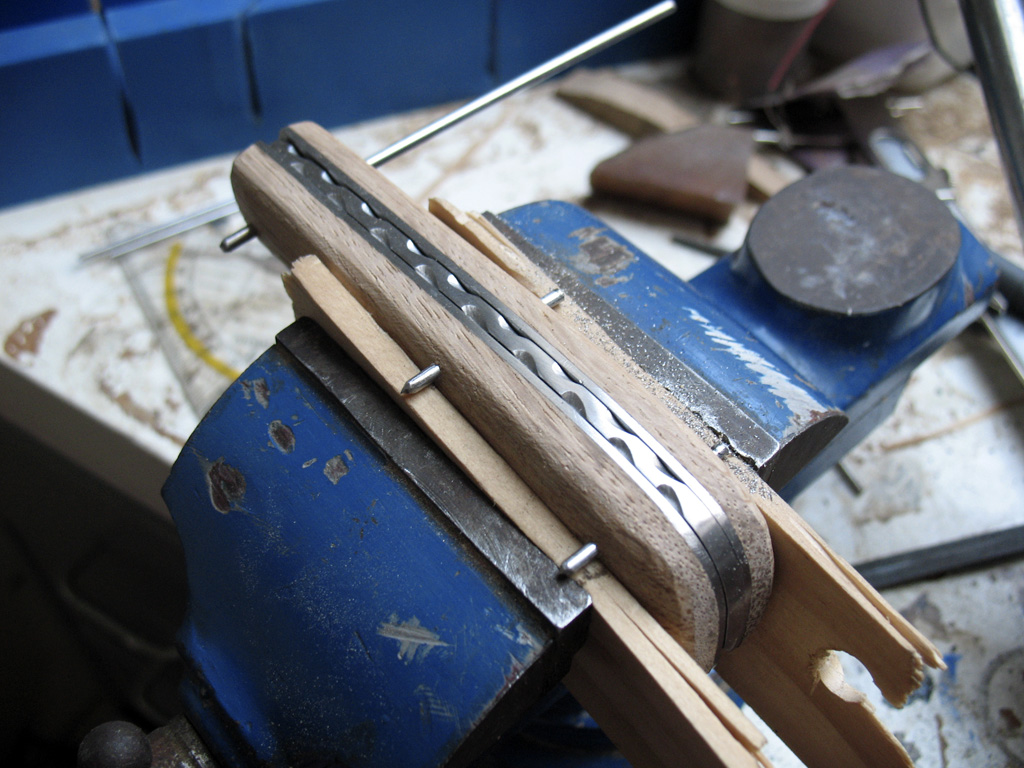
The wood has cured to the stainless steel parts, now I have to shape the wood. I used a grinding disk and hand viles. The grinding disk goes fast but it burns the wood so I use it to begin with and finish with the hand viles. At a certain point you get closer to the metal parts and the two start to merge together. I then drill holes for the metal pins and I can now begin to test fit it together to see how the overall shape will turn out. It's still too thick, more wood has to be removed for it to fit nice and comfortably in my hand.
When I get close to the final shape I wet the wood and grain will show up and protrude, you let it dry and sand off the fibers that are sticking out for a smoother finish. From now on I can just use sandpaper. I'm not worried about the top part, the spine of teh knife, it will probably need some viling to get the metal spine to sit flush with the handle pieces.
In the next part we will put everything together and finish the knife with a coat of linseed oil.
When I get close to the final shape I wet the wood and grain will show up and protrude, you let it dry and sand off the fibers that are sticking out for a smoother finish. From now on I can just use sandpaper. I'm not worried about the top part, the spine of teh knife, it will probably need some viling to get the metal spine to sit flush with the handle pieces.
In the next part we will put everything together and finish the knife with a coat of linseed oil.
Subscribe to:
Posts (Atom)