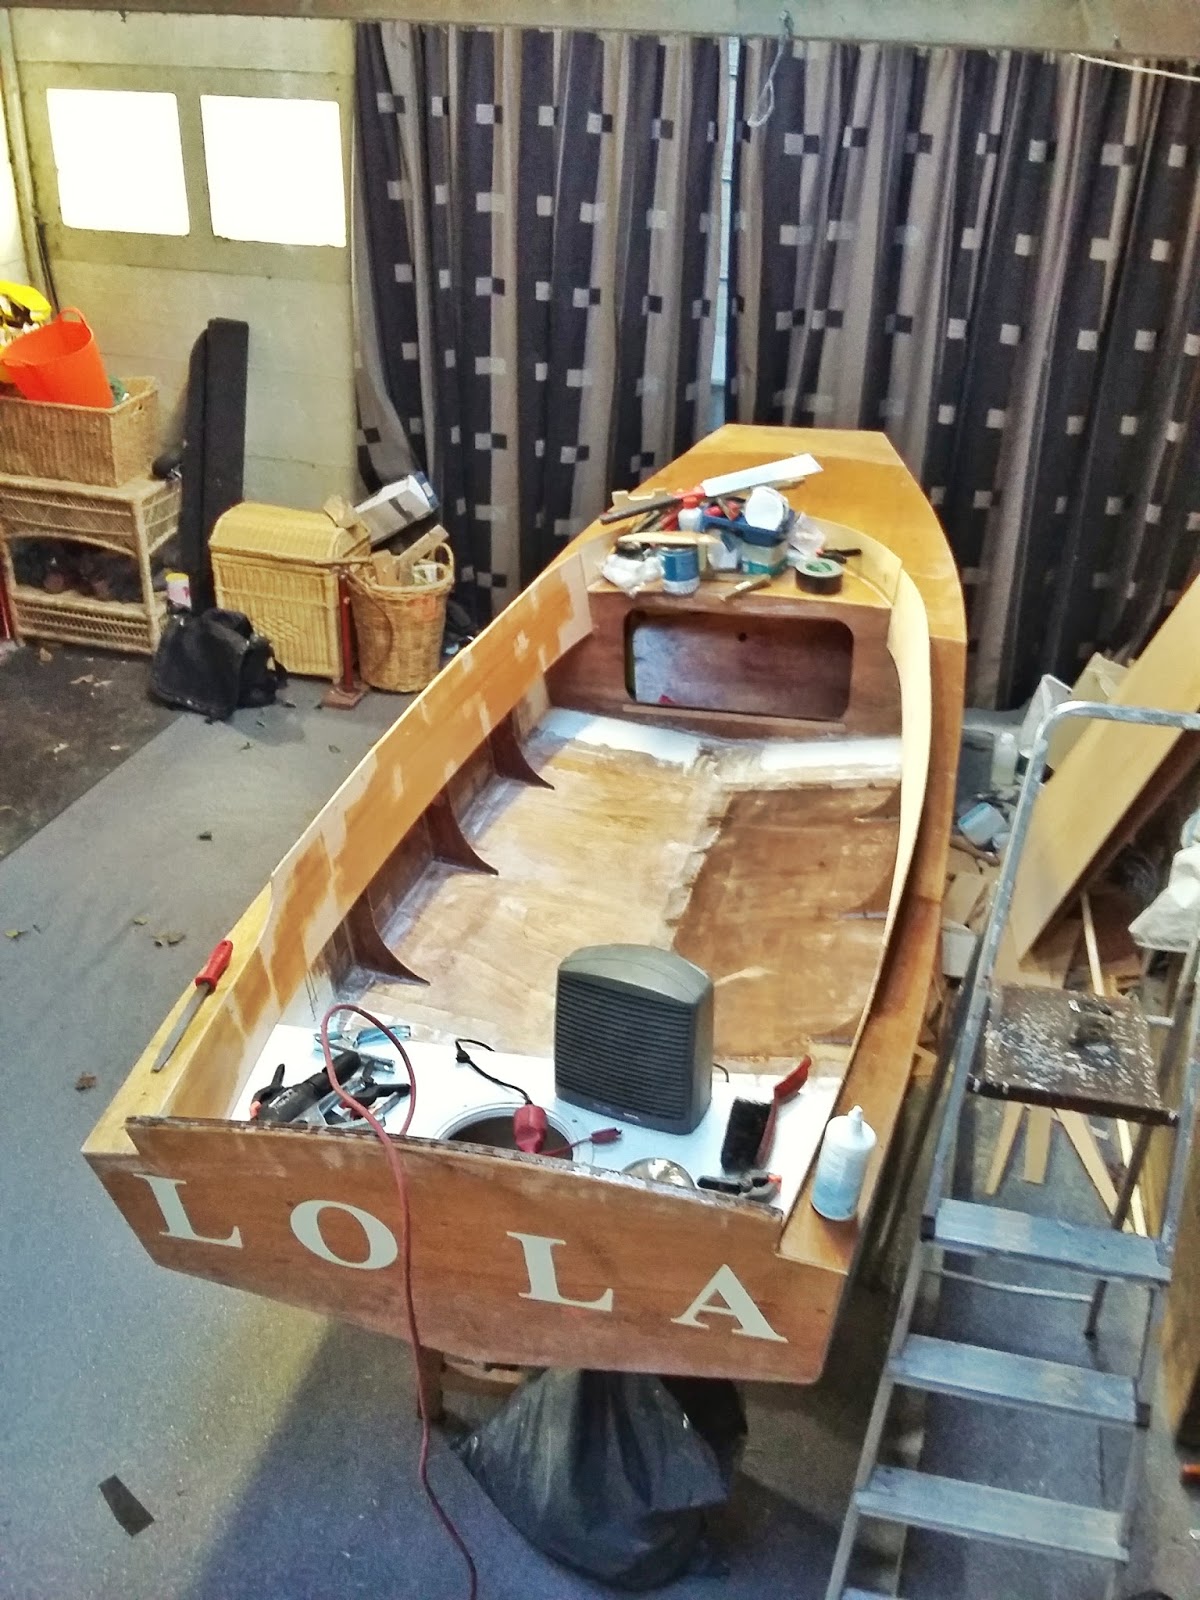
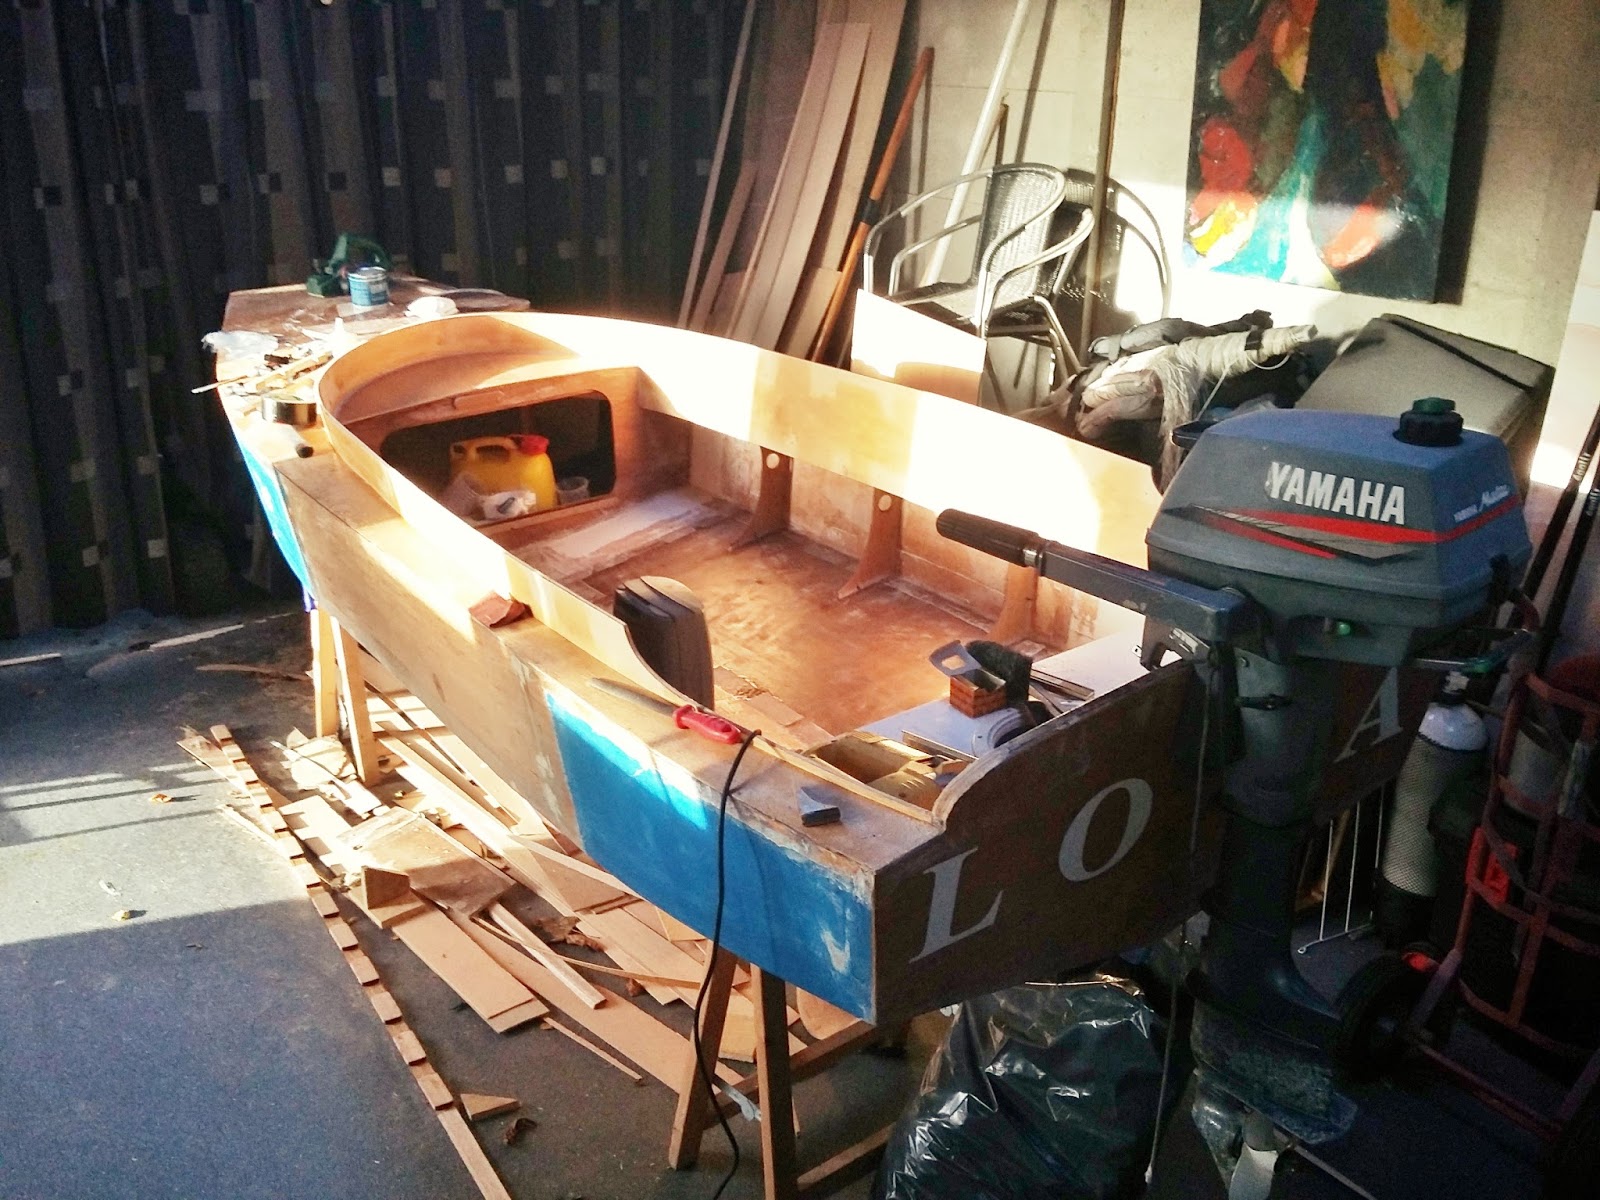
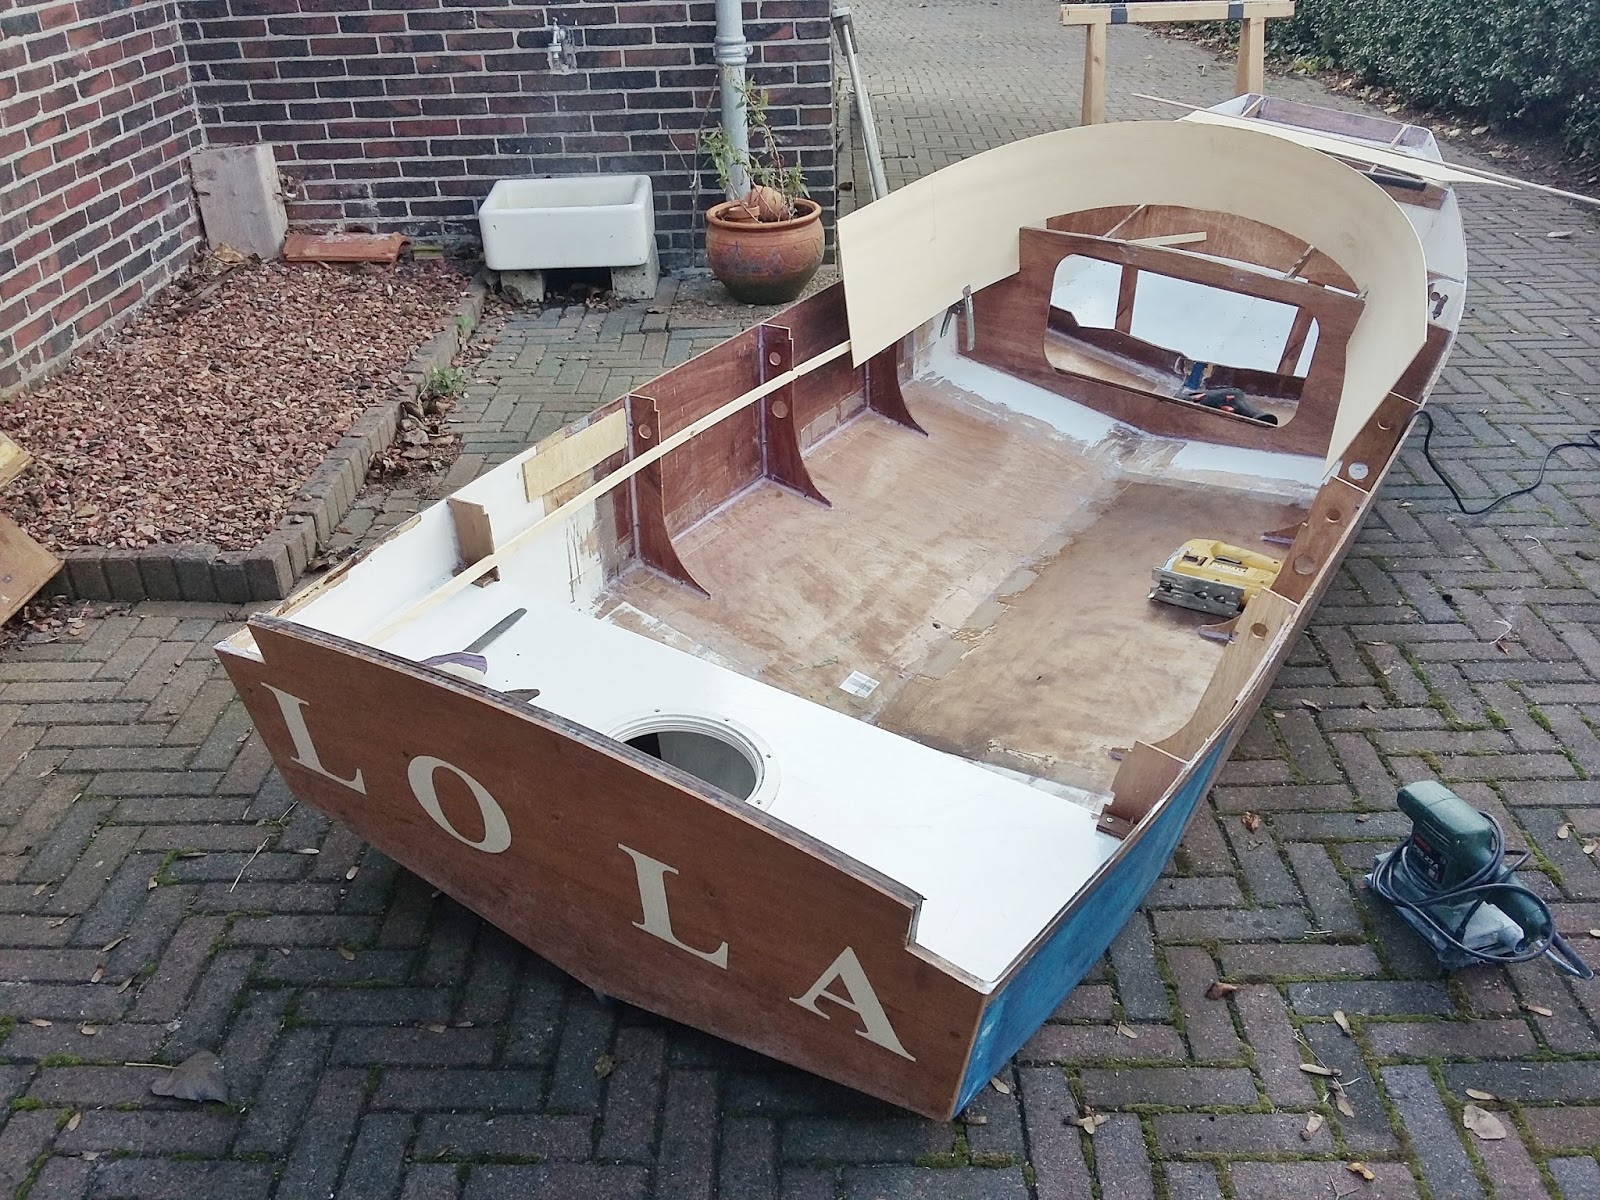
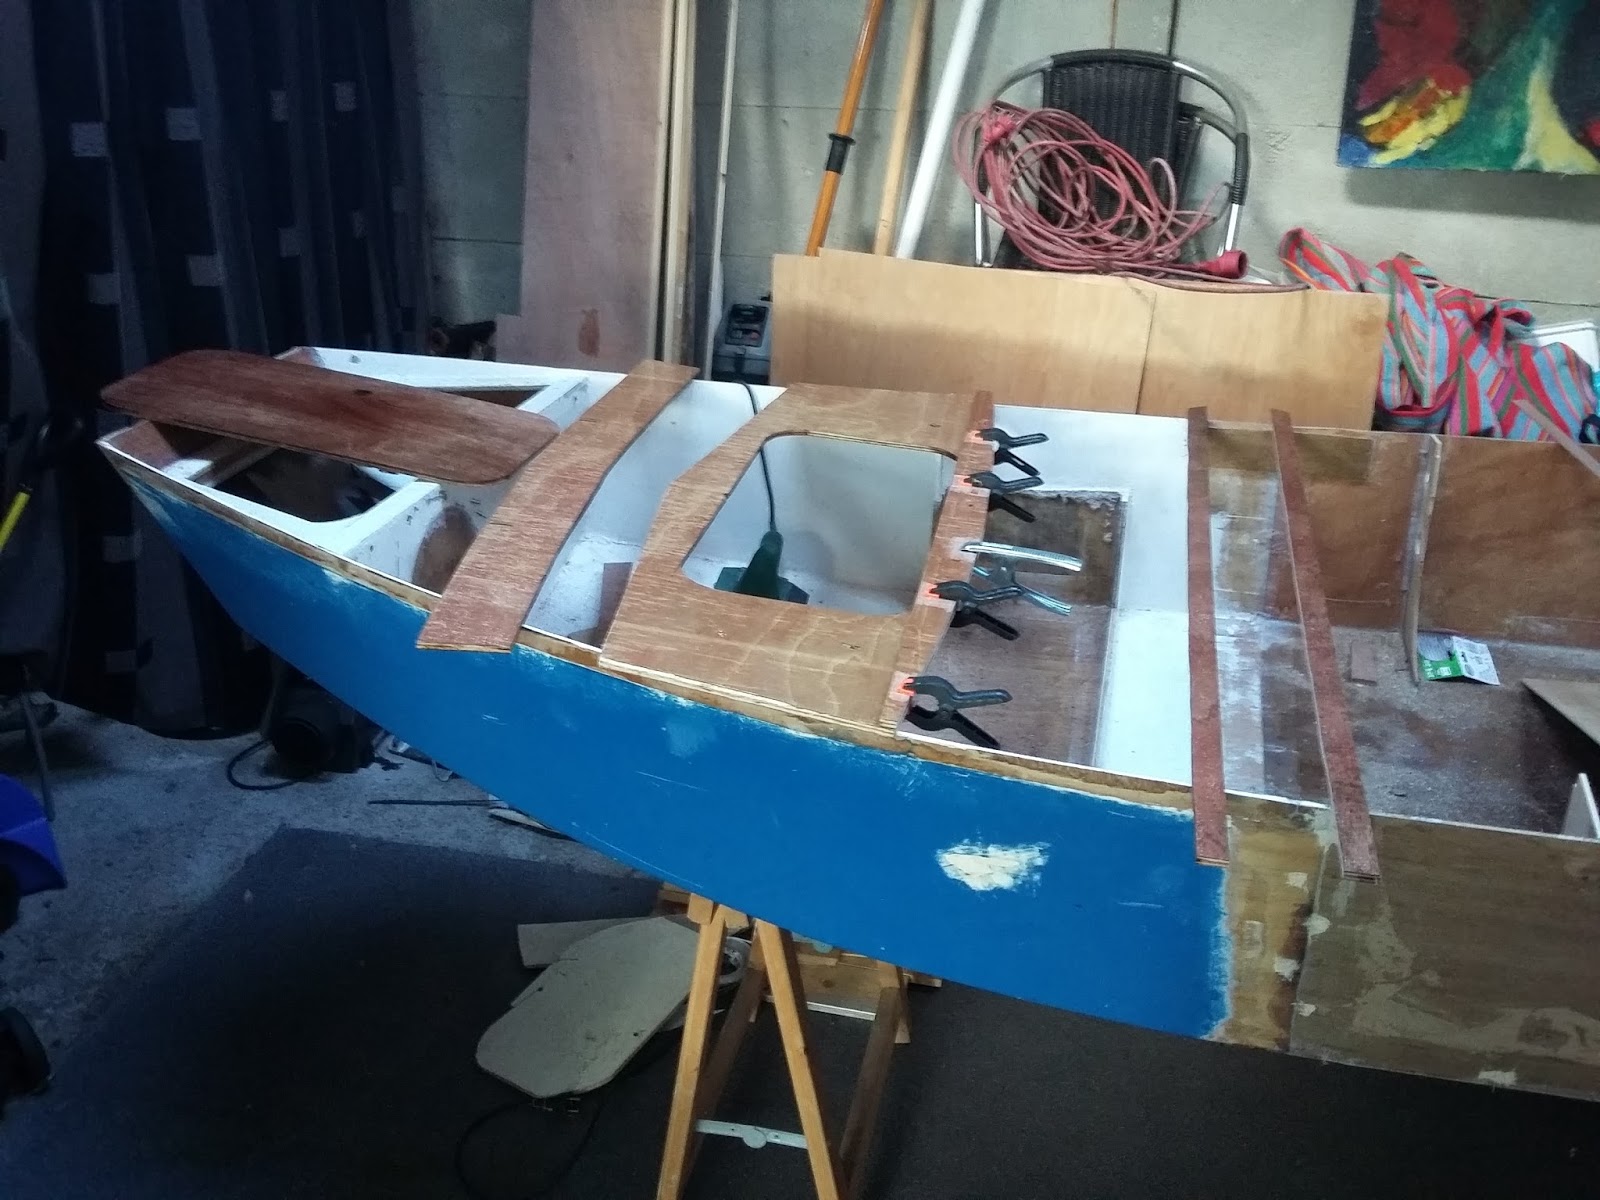
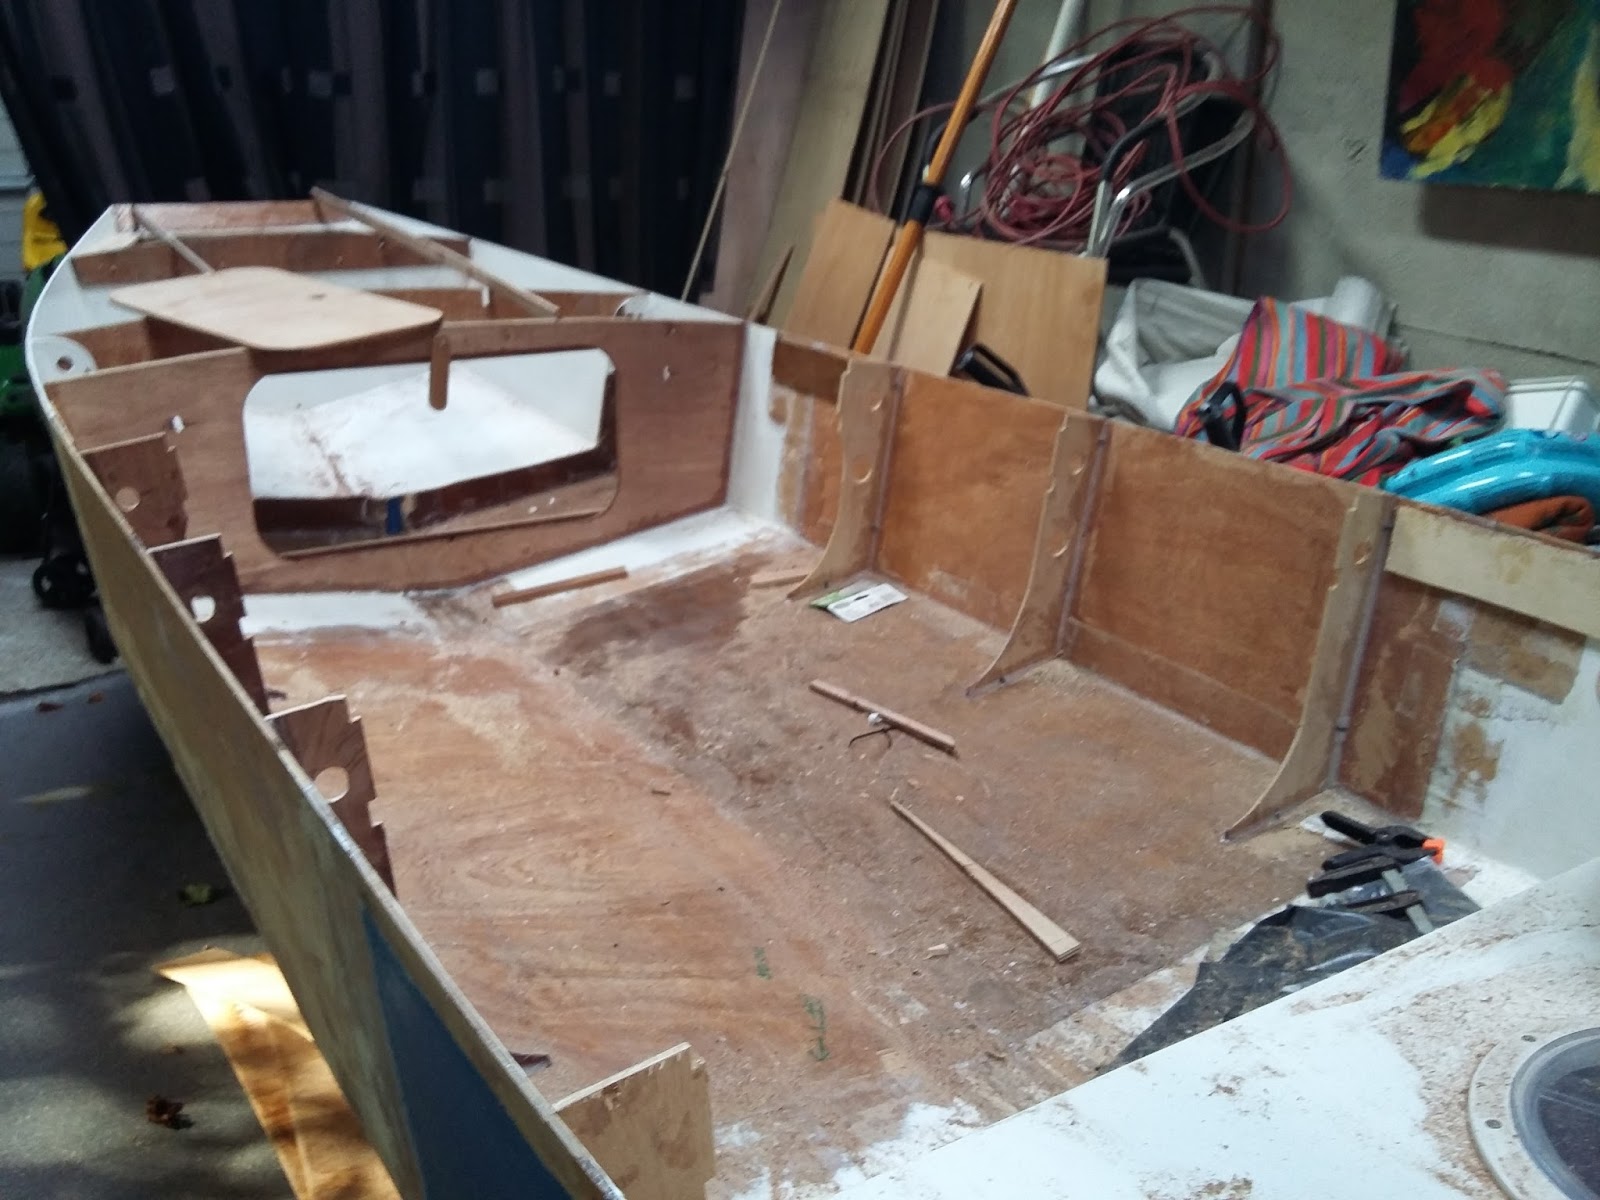
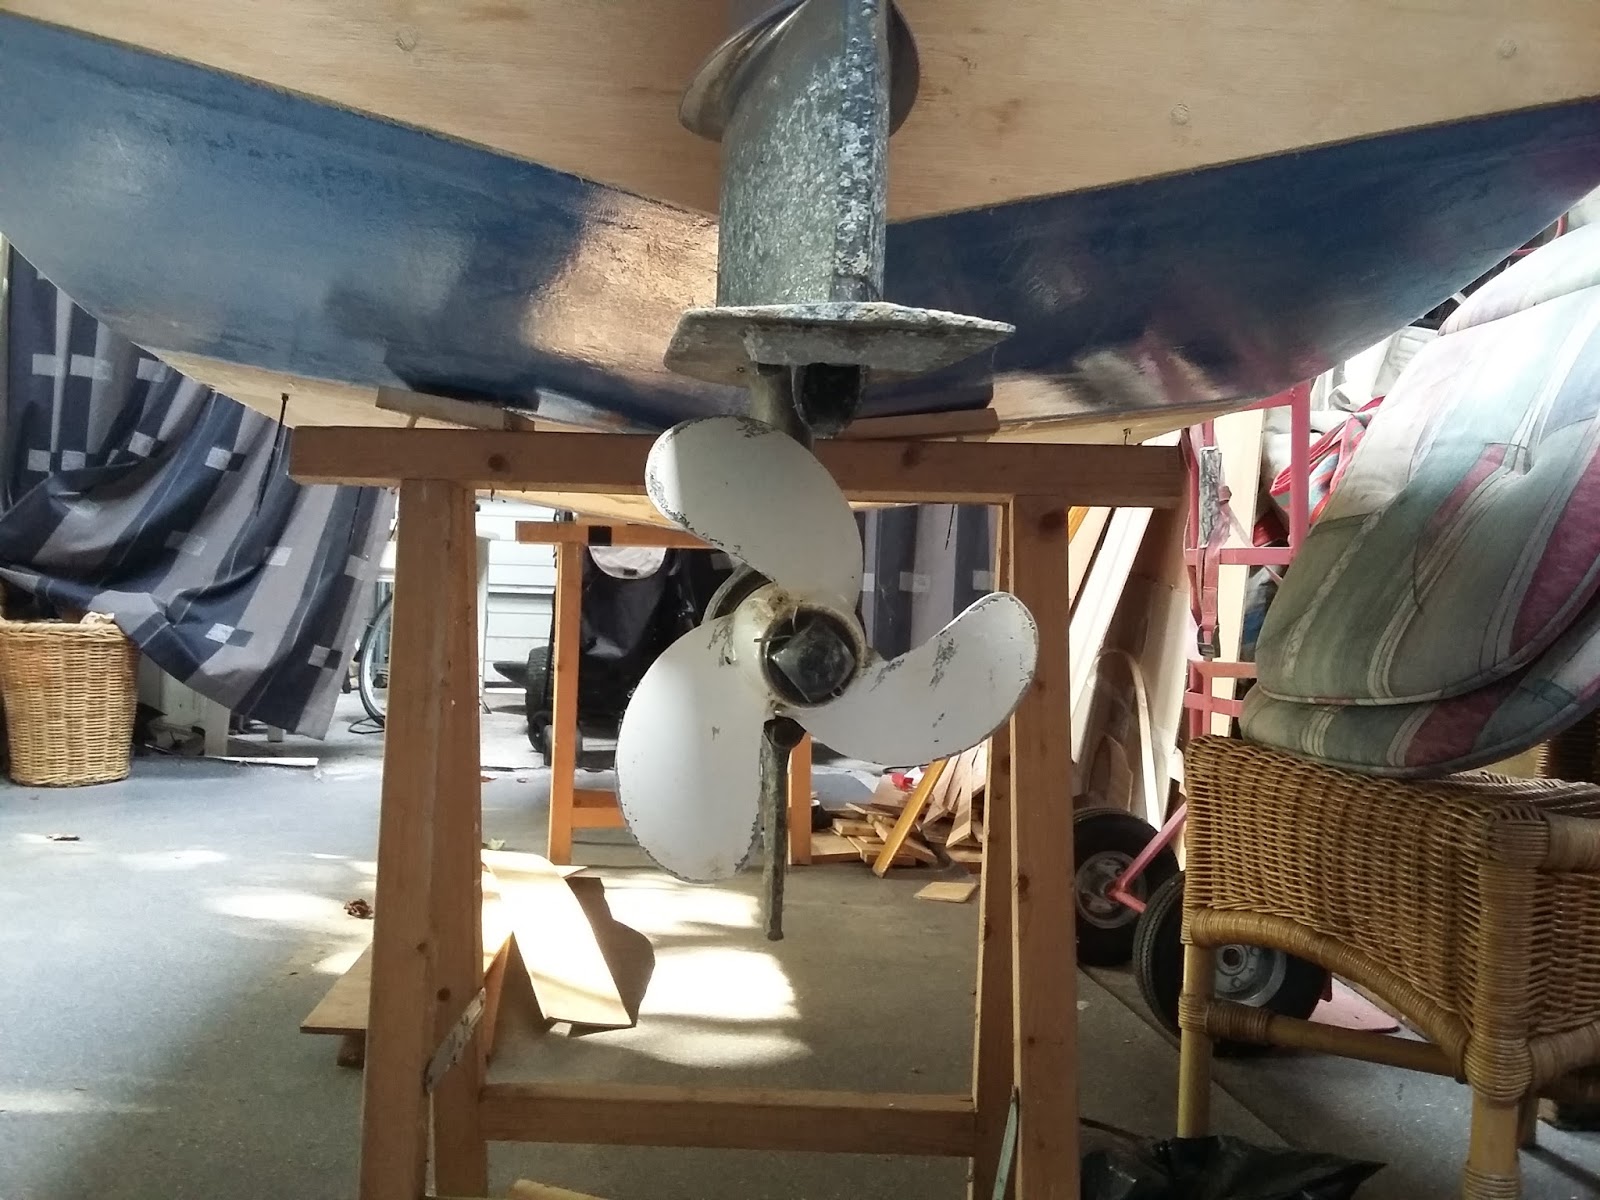
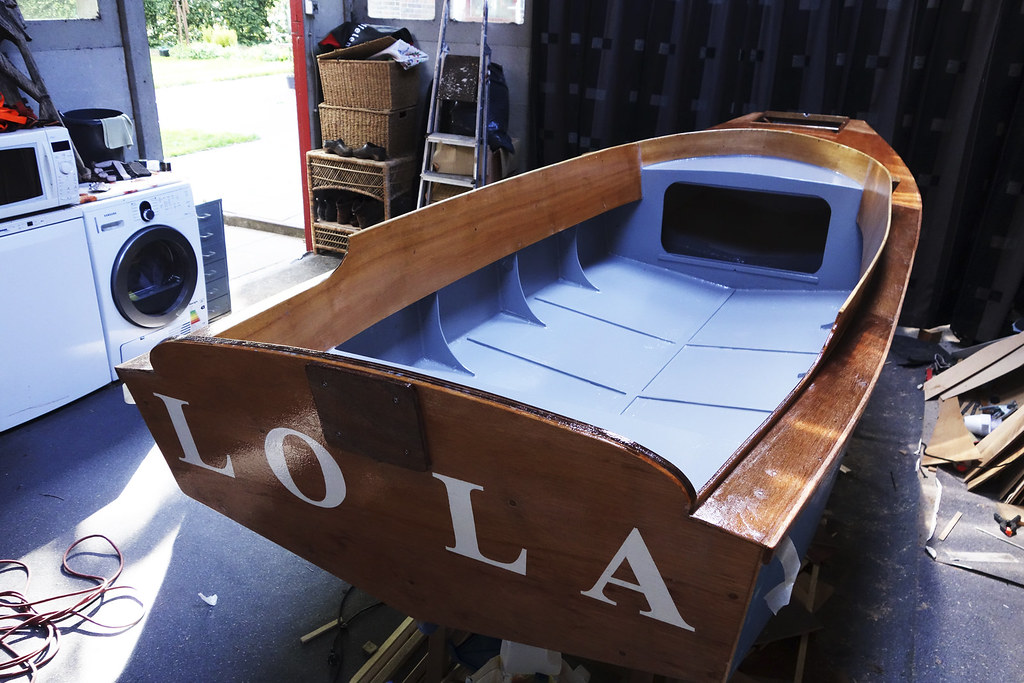
I've finally started painting the boat. Allthough the deck is far from perfect, I decided it would be nicer to show the wood instead of hiding it with paint. So the deck and coamings are in clear varnish. Interior in grey. Before that I reinforced the cockpit bottom with some slats. Still working on some deck fittings, the cleats mainly. Plan is to launch the boat in two weeks!
Showing posts with label epoxy. Show all posts
Tuesday, May 9, 2017
Tuesday, April 18, 2017
DIY USB Anchor Light and Foldable Anchor Ball for a Small Boat
These little side projects are so much fun. By law you need a anchor light for the night and an anchor ball for the day, if you're using the anchor. But since my boat is just a small one it becomes very important to keep these things light and easy to stow away.
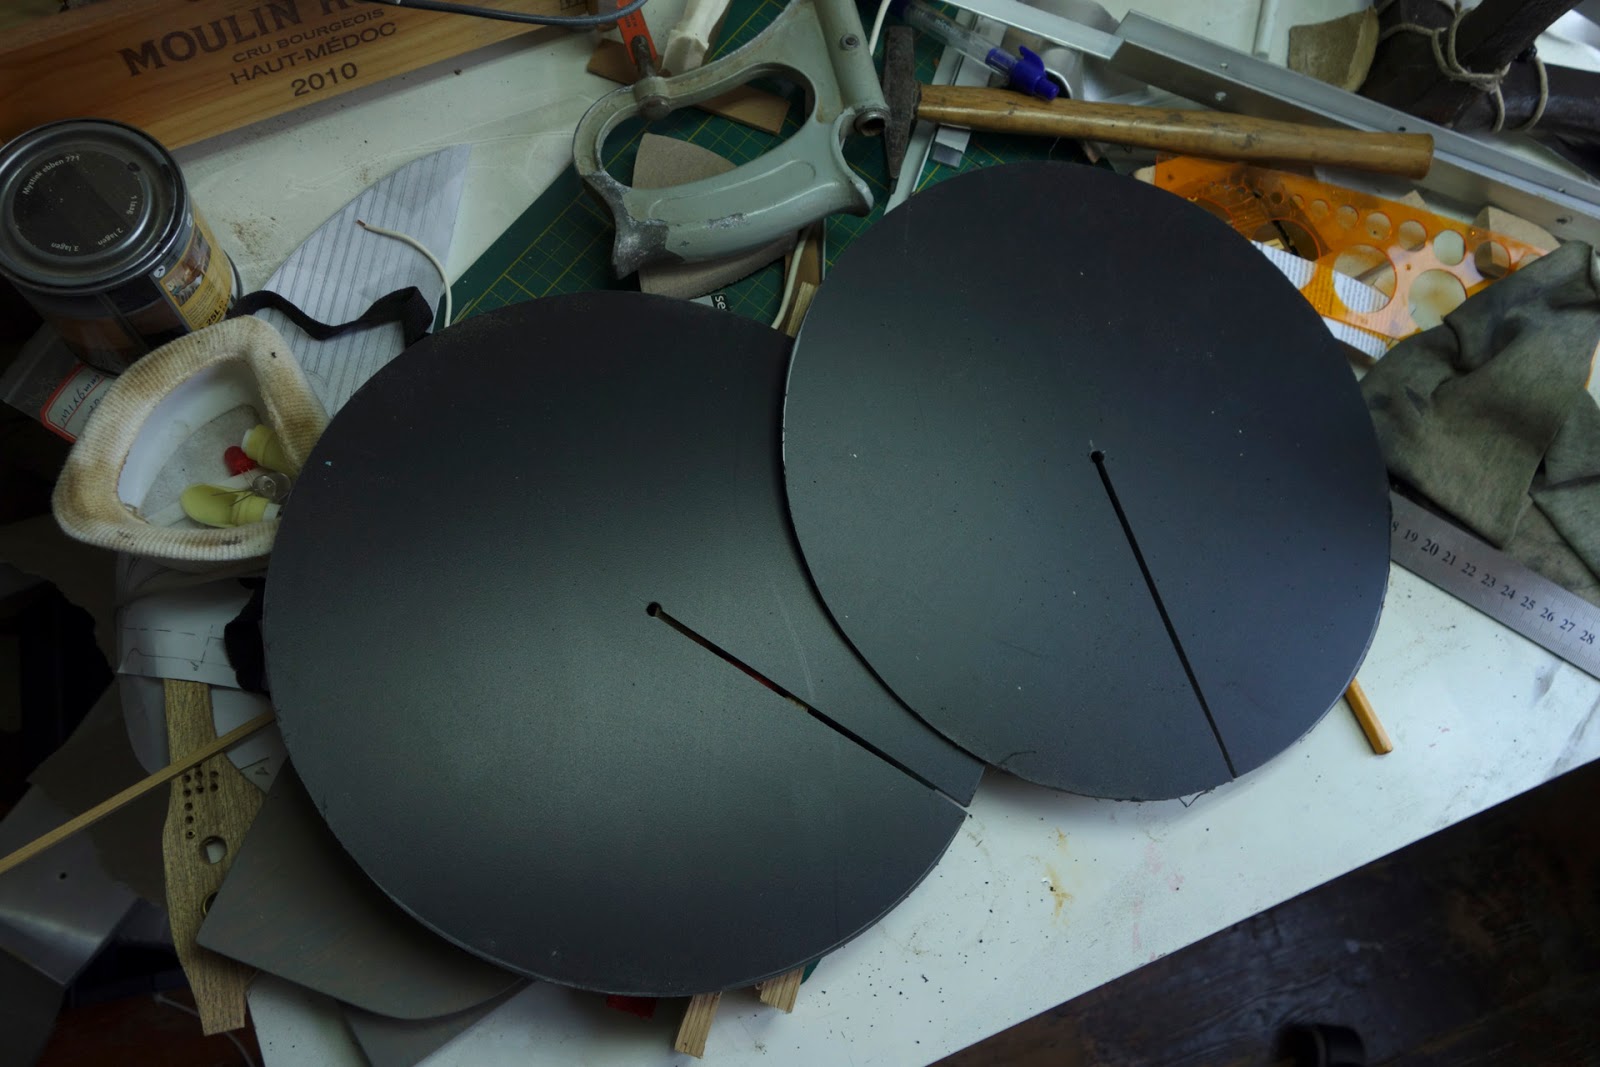
The anchor ball was quite easy to make. It's two black plastic holes with a slit cut to the center so they join together to make a ball. It folds flat and I've drilled holes in them to attach it to my flag pole.
The anchor light was a bit of a headache. First I looked around for quite a while to find a small but bright light in a housing that allows the light to be seen from 360 degrees around. I finally found such light on Ebay. It's powered with a standard USB connector, 5 volts. Which is handy cause I plan to take powerbanks and a solar charger with me on the boat.
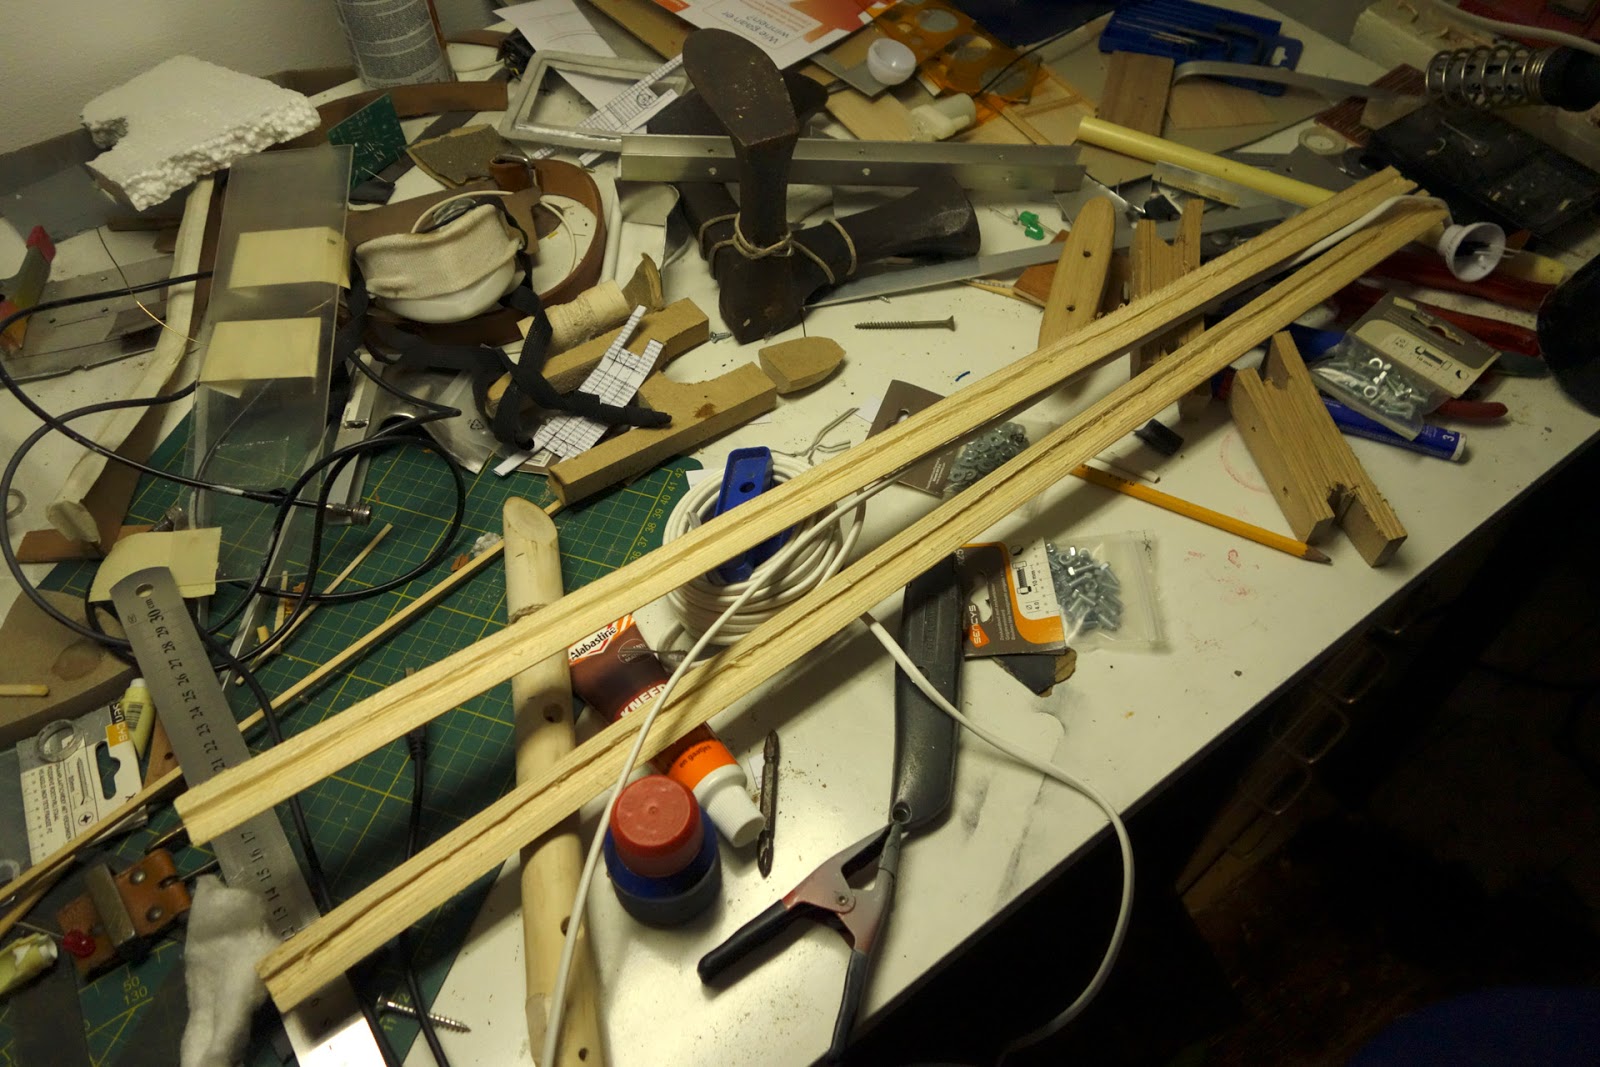
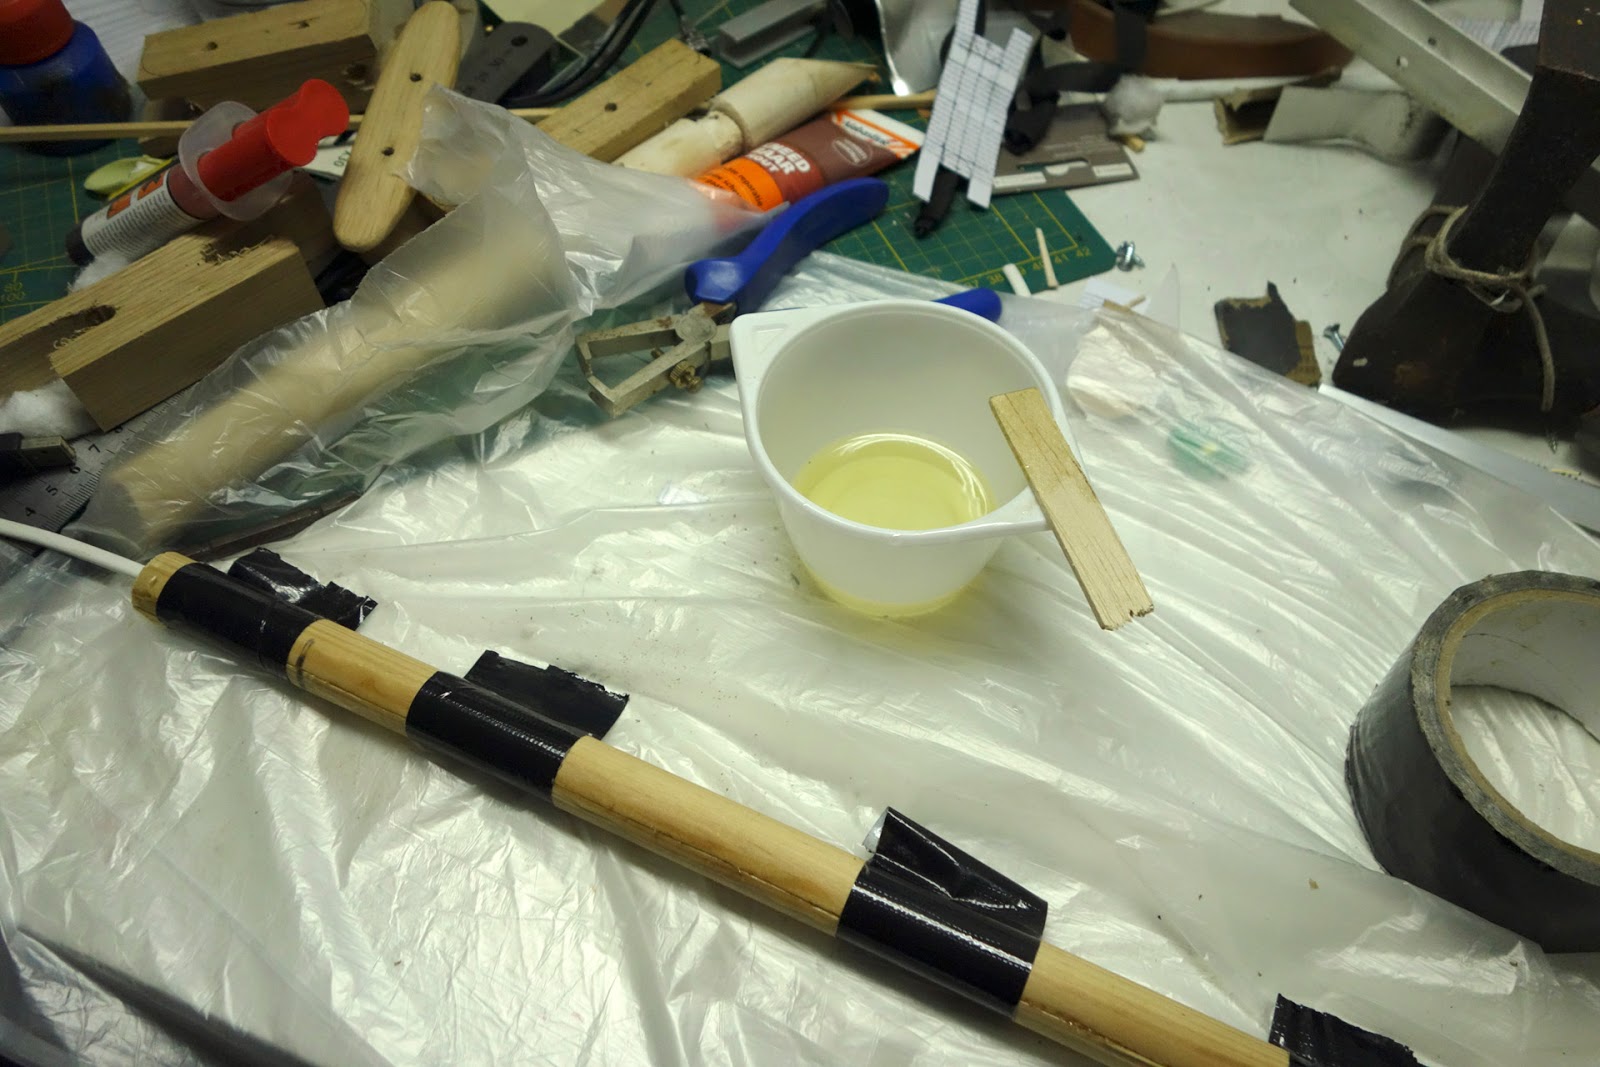
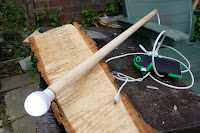
I then cut a wooden rod in half and hollowed out the center for the power cable. Glued back together with epoxy and I have a mast with a small light at the end.
Now all I have to find out is where to put this mast on the boat. It should be removable and not permanently on the deck but I am also very hesitant to cut any holes in the deck. Need to think about that some more.
In the meantime check out the photo's of the build and the result.
The anchor ball was quite easy to make. It's two black plastic holes with a slit cut to the center so they join together to make a ball. It folds flat and I've drilled holes in them to attach it to my flag pole.
The anchor light was a bit of a headache. First I looked around for quite a while to find a small but bright light in a housing that allows the light to be seen from 360 degrees around. I finally found such light on Ebay. It's powered with a standard USB connector, 5 volts. Which is handy cause I plan to take powerbanks and a solar charger with me on the boat.
I then cut a wooden rod in half and hollowed out the center for the power cable. Glued back together with epoxy and I have a mast with a small light at the end.
Now all I have to find out is where to put this mast on the boat. It should be removable and not permanently on the deck but I am also very hesitant to cut any holes in the deck. Need to think about that some more.
In the meantime check out the photo's of the build and the result.
Friday, December 23, 2016
Boat Update III
Winter is slowing the work on the boat a bit down. Epoxy doesn't set in low temperatures and the shed I'm using doesn't have heating. I did use a small electric heater but it's difficult to get the temperature up. As you can see I have all the main work done, side decks, fore deck and coaming. It's all a matter of fairing and filling up holes now. After that, paint and varnish :) In the second photo you can still see what the old boat used to be (the blue parts) and the new part set in between. Also, the outboard fitted to check it's low enough in the water. Can't wait to try her out.
Tuesday, October 4, 2016
Boat Update
The weather is getting colder here, autumn is upon is and thus limited time to work with epoxy. Managed to get a lot of work done, the outer hull is sealed and ready for paint, the interior needs one more coat of epoxy. After all the itchy sanding I finally had a chance to start working on the cockpit coaming, the edge around the cockpit and I like how it looks :)
Saturday, September 17, 2016
Boat Work Update
So I've cut my boat in half, added a new middle section, and now I'm working on making it one piece again. It's taking much more time than I expected, as usual. I made frames to support the new construction and recently started to add supports for the deck that will cover the front of the boat. The main part of this covered area will be used as flotation in case the boat get's swamped. Between the open cockpit and the flotation area is room for storage and you can see the opening for an access hatch I made.
The cockpit will be surrounded by a coaming, or a ledge, lean against when you sit. And I've made a new transom, a thicker one that can support the outboard engine. Still a lot to do, sanding, epoxy and fiberglass on the outside of the hull, paint, etc etc. And I will be making my own navigation lights. I hope to make some video's about those in the next couple of weeks. I'm making all of this up as I go, so tension is starting to build, I have no idea how this new boat will behave. For instance, it is quite narrow at 110 cm. It will be interesting to see how the length of the boat, 360 cm (12 feet) will behave with an outboard on top of the transom. Keeping my fingers crossed until launch day :)
Friday, May 1, 2015
French Miner's Pocket Knife Part 4: Finished
Putting everything together is a lot of fun and also a bit nervewrecking as I have spent quite some hours on this one.
The spine is now flush with the handle and sanded smooth. Putting the blade on it requires putting tension on the spring (the spine) so that the blade can be locked open or closed. The last thing to do construction wise is to hammer the pins down. As it turned out I left the pins too long and bent the pins. Very disappointing but this is a lesson to remember for next time!
Now all there is left to do is coat the knife with linseed oil and it's done! The oil does a lot, it gives the grey-light color of the ashw ood a deep brown orange shine.
Later I sharpened the blade as well, it's pretty sharp. Really pleased with the result and will sure continue making some other french knives. Thanks for watching and enjoy the final shots of this knife.
The spine is now flush with the handle and sanded smooth. Putting the blade on it requires putting tension on the spring (the spine) so that the blade can be locked open or closed. The last thing to do construction wise is to hammer the pins down. As it turned out I left the pins too long and bent the pins. Very disappointing but this is a lesson to remember for next time!
Now all there is left to do is coat the knife with linseed oil and it's done! The oil does a lot, it gives the grey-light color of the ashw ood a deep brown orange shine.
Later I sharpened the blade as well, it's pretty sharp. Really pleased with the result and will sure continue making some other french knives. Thanks for watching and enjoy the final shots of this knife.
Labels:
epoxy,
folding knive,
handmade,
knife,
pocket knife,
project,
stainless,
wood
Thursday, April 30, 2015
French Miner's Pocket Knife Part 3
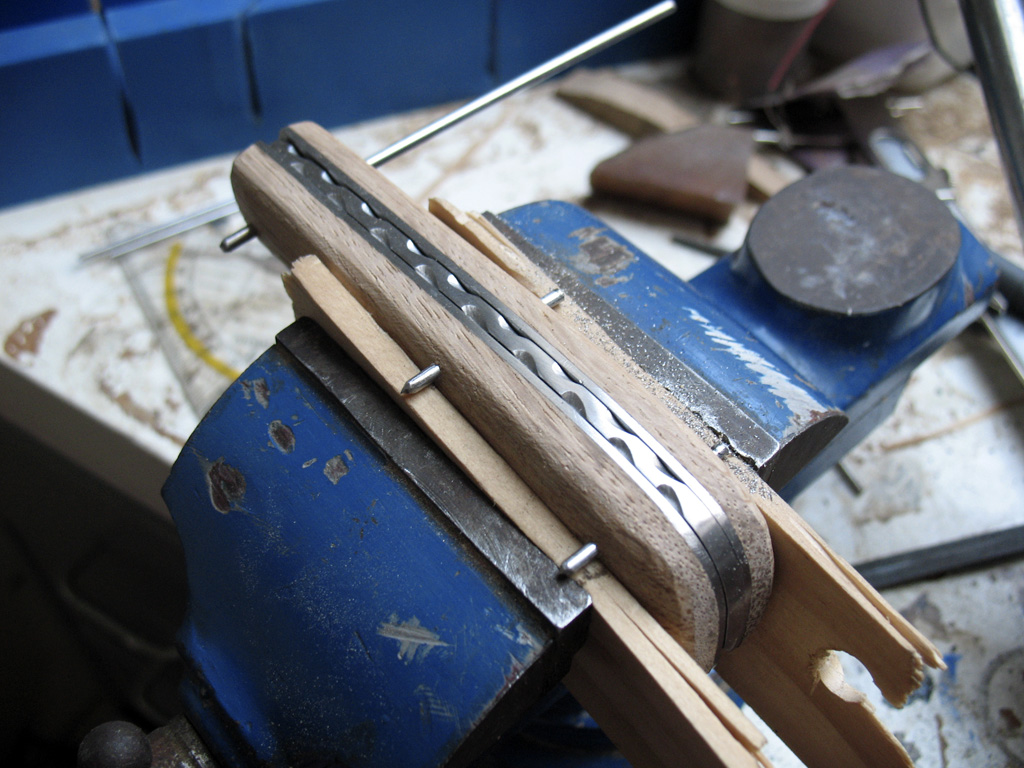
The wood has cured to the stainless steel parts, now I have to shape the wood. I used a grinding disk and hand viles. The grinding disk goes fast but it burns the wood so I use it to begin with and finish with the hand viles. At a certain point you get closer to the metal parts and the two start to merge together. I then drill holes for the metal pins and I can now begin to test fit it together to see how the overall shape will turn out. It's still too thick, more wood has to be removed for it to fit nice and comfortably in my hand.
When I get close to the final shape I wet the wood and grain will show up and protrude, you let it dry and sand off the fibers that are sticking out for a smoother finish. From now on I can just use sandpaper. I'm not worried about the top part, the spine of teh knife, it will probably need some viling to get the metal spine to sit flush with the handle pieces.
In the next part we will put everything together and finish the knife with a coat of linseed oil.
When I get close to the final shape I wet the wood and grain will show up and protrude, you let it dry and sand off the fibers that are sticking out for a smoother finish. From now on I can just use sandpaper. I'm not worried about the top part, the spine of teh knife, it will probably need some viling to get the metal spine to sit flush with the handle pieces.
In the next part we will put everything together and finish the knife with a coat of linseed oil.
Wednesday, April 29, 2015
French Miner's Pocket knife Part 2
The next step in creating the handle for the pocket knife was to glue the wood pieces to the metal pieces using epoxy. Then leave it alone for at least a day to fully cure.
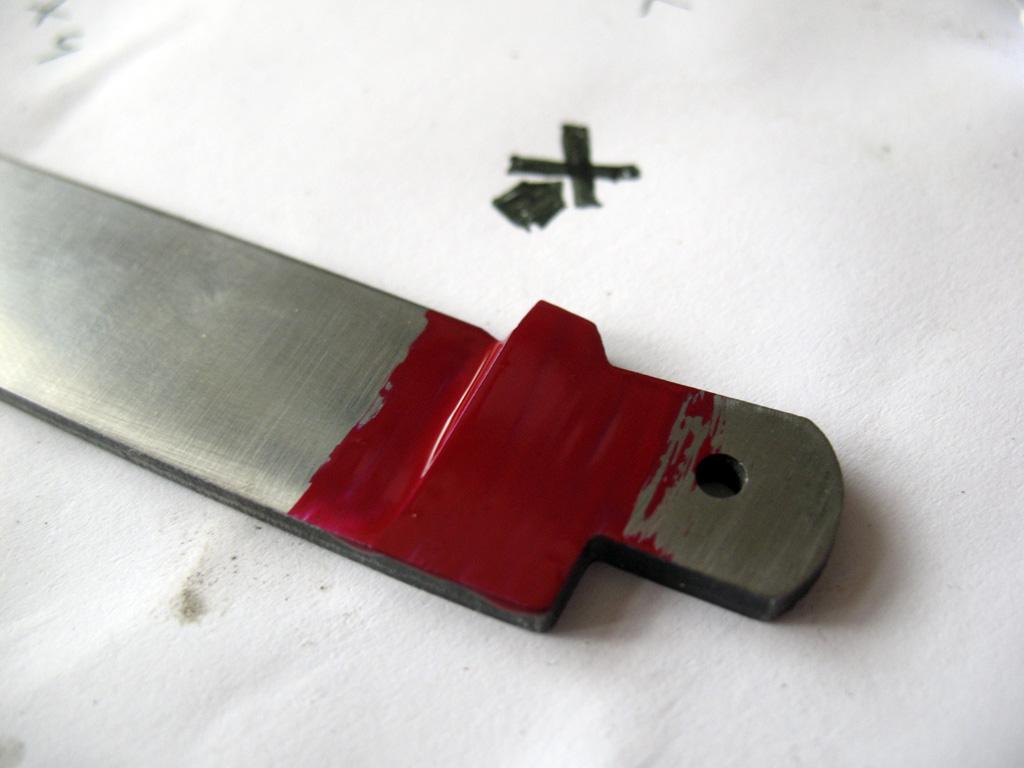
In the meantime I etched a logo on the blade using electricity and an acid-salt solution. Nail polish is used to protect the steel and the logo was created by removing nail polish with a pencil or small scredriver.
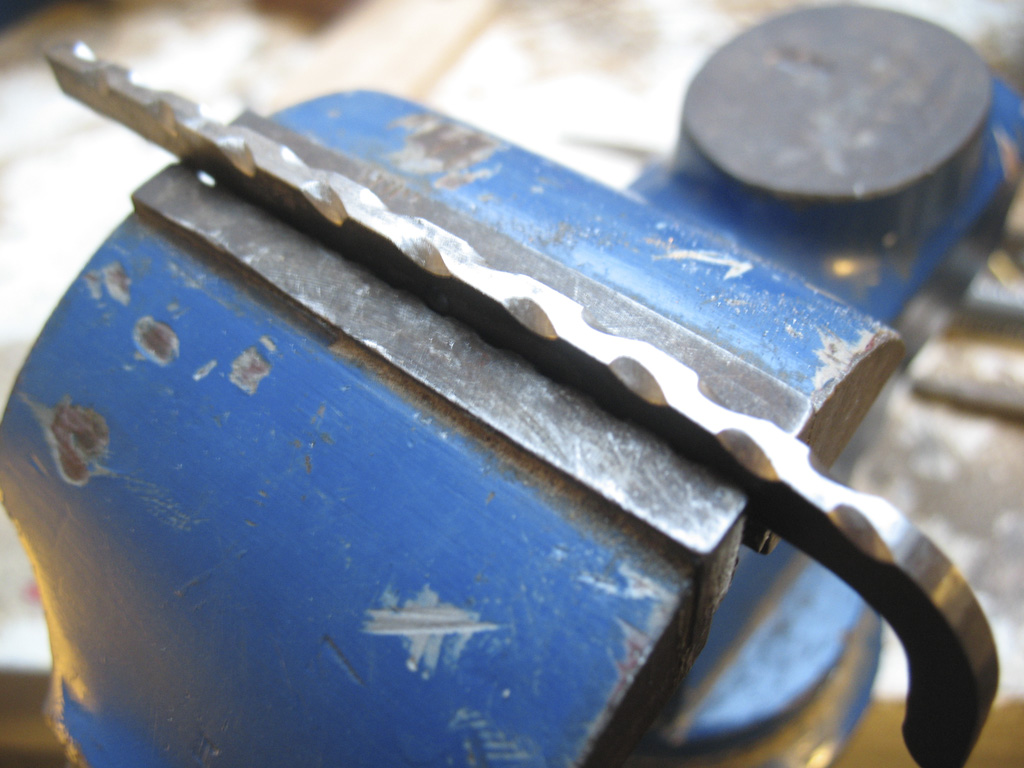
I have seen knives that have the spine viled with decorative designs so I decided to give that a go as well. Carefully measuring the spine and putting marks where to vile. There's no "undoing" when you start this.
Next step will be to shape the handle and drill the holes for the steel rods that will keep everything together.
In the meantime I etched a logo on the blade using electricity and an acid-salt solution. Nail polish is used to protect the steel and the logo was created by removing nail polish with a pencil or small scredriver.
I have seen knives that have the spine viled with decorative designs so I decided to give that a go as well. Carefully measuring the spine and putting marks where to vile. There's no "undoing" when you start this.
Next step will be to shape the handle and drill the holes for the steel rods that will keep everything together.
Saturday, April 6, 2013
New Try at Knife Handle
I've just finished another knife handle. It's a plain vegetable knife from the supermarket but this time it's all about the handle. Compared to previous ones this one is quite fancy. It has a wooden part and an epoxy part. Also known as Micarta in the business, I made this myself: layers of fabric soaked in epoxy create a wonderful and tough handle material, semi translucent like ivory or bone. Another first is the brass pin in the shape of a bullseye, layered brass and red plastic tubes fused together with epoxy. Hope you enjoy it.
Thursday, December 13, 2012
Getting Serious About Knives
I've been trying to make handles for a couple of household knives and found it both a lot of fun and very frustrating. Since I'm completely new to this it's obvious I will make mistakes. Nonetheless I feel I have to get it right this time since I have now a professional looking knive, imported from the USA, with a 1/8th inch thick blade, not like the flimsy kitchen knives I used before. Here's a picture of what I have sofar. The idea is to glue the handle in place with epoxy and hammer 3 wooden pieces of round wood through the holes at the same time, that should keep it all together. Then file down the sticks flush to the handle. There's a lot of stuff to keep in mind; don't spill any glue, don't hammer the wooden sticks to pieces and make sure it all lines up. And also, try sanding stainless steel when you make a scratch, its a pain. If anyone has any hints let me know.
Subscribe to:
Posts (Atom)