
Friday, July 31, 2015
A Knife Handle
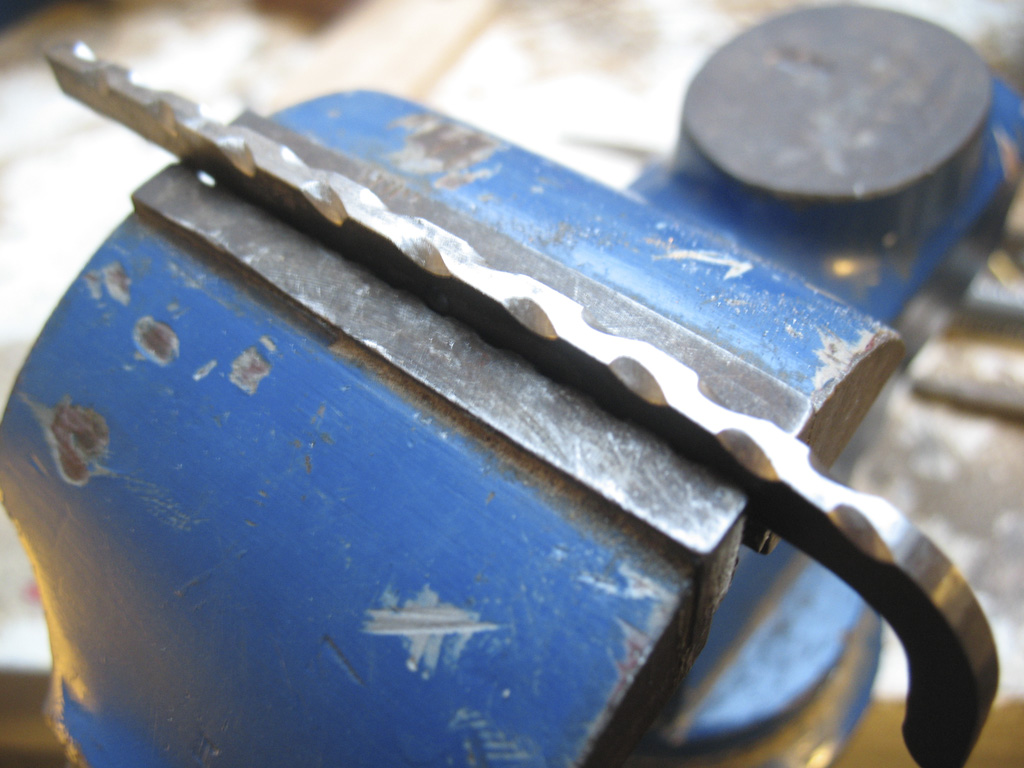
A friend asked me to put a wooden handle on this knife but keep the blade as it is (for sentimental reasons).

Friday, May 1, 2015
French Miner's Pocket Knife Part 4: Finished
Putting everything together is a lot of fun and also a bit nervewrecking as I have spent quite some hours on this one.


The spine is now flush with the handle and sanded smooth. Putting the blade on it requires putting tension on the spring (the spine) so that the blade can be locked open or closed. The last thing to do construction wise is to hammer the pins down. As it turned out I left the pins too long and bent the pins. Very disappointing but this is a lesson to remember for next time!
Now all there is left to do is coat the knife with linseed oil and it's done! The oil does a lot, it gives the grey-light color of the ashw ood a deep brown orange shine.
Later I sharpened the blade as well, it's pretty sharp. Really pleased with the result and will sure continue making some other french knives. Thanks for watching and enjoy the final shots of this knife.
Thursday, April 30, 2015
French Miner's Pocket Knife Part 3
The wood has cured to the stainless steel parts, now I have to shape the wood. I used a grinding disk and hand viles. The grinding disk goes fast but it burns the wood so I use it to begin with and finish with the hand viles. At a certain point you get closer to the metal parts and the two start to merge together. I then drill holes for the metal pins and I can now begin to test fit it together to see how the overall shape will turn out. It's still too thick, more wood has to be removed for it to fit nice and comfortably in my hand.


When I get close to the final shape I wet the wood and grain will show up and protrude, you let it dry and sand off the fibers that are sticking out for a smoother finish. From now on I can just use sandpaper. I'm not worried about the top part, the spine of teh knife, it will probably need some viling to get the metal spine to sit flush with the handle pieces.


In the next part we will put everything together and finish the knife with a coat of linseed oil.
When I get close to the final shape I wet the wood and grain will show up and protrude, you let it dry and sand off the fibers that are sticking out for a smoother finish. From now on I can just use sandpaper. I'm not worried about the top part, the spine of teh knife, it will probably need some viling to get the metal spine to sit flush with the handle pieces.
In the next part we will put everything together and finish the knife with a coat of linseed oil.
Wednesday, April 29, 2015
French Miner's Pocket knife Part 2
The next step in creating the handle for the pocket knife was to glue the wood pieces to the metal pieces using epoxy. Then leave it alone for at least a day to fully cure.
In the meantime I etched a logo on the blade using electricity and an acid-salt solution. Nail polish is used to protect the steel and the logo was created by removing nail polish with a pencil or small scredriver.
I have seen knives that have the spine viled with decorative designs so I decided to give that a go as well. Carefully measuring the spine and putting marks where to vile. There's no "undoing" when you start this.
Next step will be to shape the handle and drill the holes for the steel rods that will keep everything together.
Tuesday, April 28, 2015
French Miner's Pocket Knife Part 1
I have done pocket knives before, usually american types and some fake french, chinese made Laguiole knives. But while searching for other knife kits I happily stumbled upon a french website that offered knife kits from various french regions. I like the designs, they look pretty solid, something worthwhile spending your time on making it. So I ordered some and this is the first one I'm showing. It is called a "miner's knife", it's very simple but good quality 12c 27 steel. First, the choice of wood, I had some ash wood still lying around and it fits perfectly cause I don't want a showy knife with expensive wood, I want it to look like a tool. Here's some photos of all the pieces after I roughly shaped the wood to fit the handle.


Leather Watch Case With Lighting Part 4: Finished
It took me about a week in total, mostly evenings, to finish this project. I'm very pleased with it I must say. Could it have been done better? Yes, especially dealing with the faux leather around corners, next time I will have to think about how to do that better. There were still some small jobs to do after it was basically done. For instance, I had to make a cover to hide the battery that powers the lighting. The acrylic sheet had a lot of scratches, which I buffed out mostly at the cost of it being no more shiny. The underside has some velt feet to keep the leather from being scratched. The closing mechanism needed some more adjusting cause I could barely open it. All in all quite some work but it was worth it. Now I can start collecting some watches! :)


Sunday, February 22, 2015
Leather Watch Case With Lighting Part 3
This is another fun part, making a latch for the case. Here's some photos of the bottom part of the latch, I forgot to make photos of the top part because I was so enthousiastic about making it :)
It's a brass plate that's cut in a way so I can fold it along the case edge. Holes are drilled for screws and the brass rod. This brass rod is used to hold a triangular wire that will clasp to the bottom part of the case. The rod is soldered to the brass plate but it also extends into the case wall to give it extra strength.
Then the parts are screwed into place and I filed the bottom rod part of the latch so the triangular piece will slide and hold easily. Very pleased with this result, it's not the cleanest looking thing but I like the handmade quality it has. Next post will show the end result of the watch case!
 | |||
| Fabricating the bottom part of the latch |
It's a brass plate that's cut in a way so I can fold it along the case edge. Holes are drilled for screws and the brass rod. This brass rod is used to hold a triangular wire that will clasp to the bottom part of the case. The rod is soldered to the brass plate but it also extends into the case wall to give it extra strength.
Then the parts are screwed into place and I filed the bottom rod part of the latch so the triangular piece will slide and hold easily. Very pleased with this result, it's not the cleanest looking thing but I like the handmade quality it has. Next post will show the end result of the watch case!
 | |
| The finished latch on the case |
Thursday, February 19, 2015
Leather Watch Case With Lighting Part 2
As soon as the lid was covered in leather I stuck a led strip on the inside and saw how it looked, it's perfect, it highlights the watch and the led strip remains hidden from view.
I continued with applying leather to the case and cut a piece of acryllic glass to fit the window. I will also need to maken some dividers in the case to give the watches each it's indivual place that will hold it in place also. The watches will be supported each with a piece of foam that I need to shape like a wrist. Next post I'll be attaching the lid to the case with hinges and we can start filling the case with dividers.
I continued with applying leather to the case and cut a piece of acryllic glass to fit the window. I will also need to maken some dividers in the case to give the watches each it's indivual place that will hold it in place also. The watches will be supported each with a piece of foam that I need to shape like a wrist. Next post I'll be attaching the lid to the case with hinges and we can start filling the case with dividers.
 |
| Trying out the lighting |
 |
| Lid has glass and lighting installed |
 |
| Almost done covering the case in leather |
Wednesday, February 18, 2015
Leather Watch Case With Lighting Part 1
I've recently got bitten by the watch bug :) Haven't worn a watch since my childhood but after I got me a Casio watch for work I got obesessed with them and ordered some unusual ones on Ebay. Needless to say I need to get a home for my future watch collection. What better way then to make a watch case yourself.
I used a wine gift box, it's about a foot long, 4 inches high. It has a piece of wood that slides to close the box. I glued this in place cause I need the top to be closed. I then cut the box length wise to make the bottom part of the case, about 2 inches high. I then cut the remaining part again to get a thin top. Then a window was cut out through which we will be able to see the watches. Faux leather was then glued to the lid to create a nice look that is associated with watches and jewelry. On the inside of the lid there's just enough room for a strip of led lights, which I will show in the next post.

I used a wine gift box, it's about a foot long, 4 inches high. It has a piece of wood that slides to close the box. I glued this in place cause I need the top to be closed. I then cut the box length wise to make the bottom part of the case, about 2 inches high. I then cut the remaining part again to get a thin top. Then a window was cut out through which we will be able to see the watches. Faux leather was then glued to the lid to create a nice look that is associated with watches and jewelry. On the inside of the lid there's just enough room for a strip of led lights, which I will show in the next post.
 |
| Wine box cut in pieces |
 |
| Case and lid with window |
 |
| Starting to glue leather to lid |
Wednesday, February 11, 2015
Custom Light Box
Made a light box measuring 17 by 11 inches using MDF wood, acryllic glass and CCFL tube lights. Light box can be hung on a wall or stood on a shelf or table. Powered by a 12 volt power supply and has a dimmer to control light level.

Tuesday, February 10, 2015
Illuminated Photo Frame
I'm experimenting with illuminated photo frames. Inside this standard deep photo frame are LED's that light up a backlit photo print. Runs on 12 volts and has a dimmer to control the light level. Hopefully soon available on my Etsy page

Photo by Renee Rozenveld
Photo by Renee Rozenveld
Subscribe to:
Posts (Atom)